TL;DR:
- Early detection of warning signs like breaker trips and burning odors can prevent costly repairs.
- Proper safety procedures and licensed professionals are essential for safe, effective electrical repairs.
- Preventive maintenance reduces costs, extends equipment life, and ensures property safety and reliability.
Electrical problems never wait for a convenient moment. A tripped breaker at midnight, a burning smell from an outlet, or flickering lights during a tenant walkthrough can throw your entire day off course. For Kansas City homeowners and property managers, unplanned electrical failures are not just stressful, they are expensive. Reactive repairs are three times more expensive than preventive maintenance, which means every ignored warning sign costs you more in the long run. This guide walks you through the full electrical repair process, from spotting early trouble signs to verifying a finished fix, so you can protect your property and make smarter decisions.
Table of Contents
- Understanding the causes of electrical problems
- Preparing for safe electrical repairs
- Step-by-step electrical repair process
- Troubleshooting and preventing recurring issues
- Our expert take: What most guides miss about electrical repairs
- Reliable electrical repair services in Kansas City
- Frequently asked questions
Key Takeaways
| Point | Details |
|---|---|
| Safety first | Always follow Lockout/Tagout procedures and verify zero energy before starting electrical repairs. |
| Six-step process | A systematic troubleshooting and repair method helps resolve issues efficiently and prevents future problems. |
| Preventive maintenance | Regular electrical checks extend asset life, reduce emergencies, and save money compared to reactive fixes. |
| Hire licensed professionals | Choosing local, licensed electricians ensures compliance, safe repairs, and protects property value. |
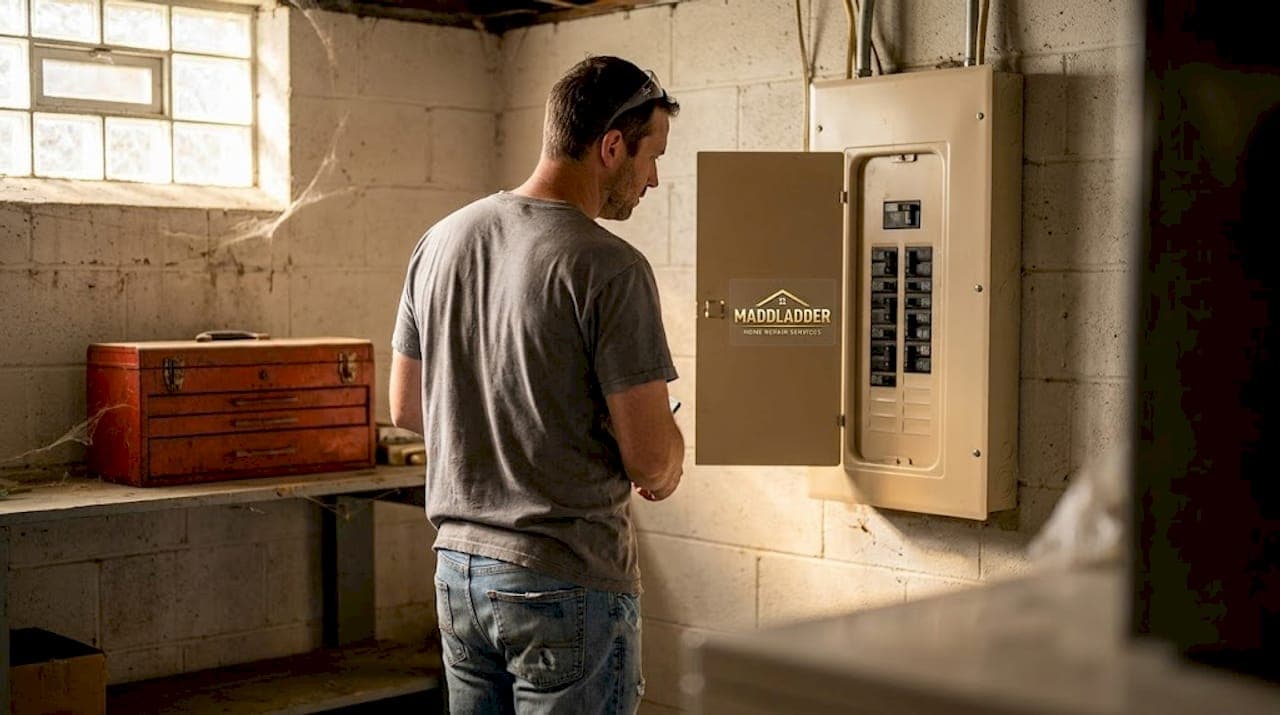
Understanding the causes of electrical problems
Before you can fix anything, you need to know what you are dealing with. Electrical issues in homes and rental properties usually follow recognizable patterns, and catching them early makes every repair faster and safer. Building on the importance of cost and prevention, let us start by recognizing common electrical problems before diving into repairs.
The most common warning signs include:
- Frequent breaker trips: Your circuit breaker is designed to protect your home. When it trips repeatedly, something is wrong, not just inconvenient.
- Burning smells or scorch marks: These are urgent. Discoloration around outlets or a sharp burning odor means heat is building where it should not be.
- Flickering or dimming lights: Often a sign of a loose connection or an overloaded circuit.
- Outlets that feel warm to the touch: Normal outlets stay cool. Warmth signals excessive current draw or a wiring problem.
- Old wiring types: Aluminum wiring (common in homes built before 1973) and knob-and-tube wiring (pre-1940s) are fire hazards that require full replacement, not patching.
Gathering initial information on symptoms and recent changes is the first step in the troubleshooting process. Think about what changed before the problem started. Did you plug in a new appliance? Did a storm roll through? Did the issue appear after a renovation? These details narrow down the cause quickly.
Repeated breaker trips are usually caused by one of three things: an overload (too many devices on one circuit), a short circuit (wires touching where they should not), or a ground fault (current taking an unintended path to ground). Each has a distinct fix, but all three need proper diagnosis before you touch anything.
For routine electrical repair situations, identifying the pattern is half the battle. If the same breaker trips every time you run the microwave and the toaster together, that is an overload. If the breaker trips immediately when you flip a switch, that points to a short circuit.
Pro Tip: Keep a simple log of when and where electrical issues occur. Note the time, what was running, and what the symptom looked like. This information is gold for any technician and can cut diagnostic time significantly. Staying current with property repair trends also helps you recognize when aging systems need more than a quick fix.
Preparing for safe electrical repairs
Once you have identified the issue, it is critical to prepare for repairs safely and correctly. Skipping preparation is where most DIY electrical accidents happen. Even experienced technicians follow a strict safety checklist every single time.
The industry standard is the Lockout/Tagout (LOTO) procedure. LOTO is a safety practice that ensures equipment is fully de-energized before anyone works on it. Here is how it works:
- Notify: Tell anyone in the building that electrical work is starting.
- Identify energy sources: Locate every circuit or panel that feeds the area you are working on.
- Shut off: Turn off the breaker or disconnect the power source.
- Lock and tag: Apply a physical lock to the breaker so no one can accidentally restore power. Attach a tag explaining why it is locked.
- Verify zero energy: Use a voltmeter to confirm there is no live current before touching anything.
Always prioritize safety with Lockout/Tagout (LOTO), including verification with a voltmeter, before beginning any repair work.
Safety rule: Always verify zero energy before starting work. A voltmeter reading of zero is the only confirmation that counts.
Here is a quick comparison of essential tools versus optional ones:
| Tool | Essential or Optional | Purpose |
|---|---|---|
| Voltmeter/multimeter | Essential | Confirms zero energy, tests circuits |
| Insulated gloves | Essential | Protects against accidental contact |
| Flathead and Phillips screwdrivers | Essential | Panel and outlet access |
| Non-contact voltage tester | Essential | Quick live-wire check |
| Wire stripper | Optional (for repairs) | Prepares wire ends |
| Circuit tracer | Optional | Maps circuits in older homes |
Proper scheduling home repairs in advance gives you time to gather tools and avoid rushing. Rushing is how mistakes happen. Also, make sure your workspace is dry, well-lit, and clear of clutter before you begin. Wet conditions and electricity are a dangerous combination, and good lighting helps you see exactly what you are working with. For broader home safety upgrades, proper electrical preparation is always the foundation.
Step-by-step electrical repair process
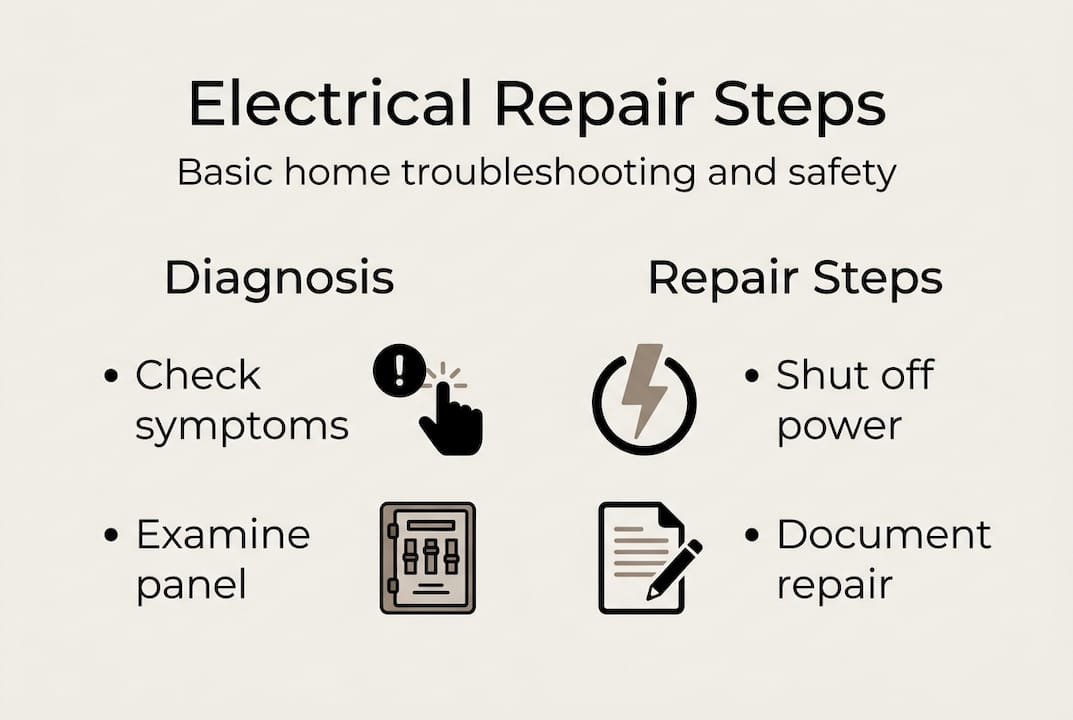
With preparation complete, follow this systematic approach for effective troubleshooting and repairs. A structured process eliminates guesswork and gets you to the right answer faster.
The standard process for electrical repairs involves six steps and can reduce diagnostic time by up to 70%. Here is how each step works:
- Gather information: Collect all symptom details, recent changes, and any error history. Talk to the occupant if it is a rental property.
- Verify the problem: Reproduce the issue if possible. Confirm it is real and not intermittent before assuming a cause.
- Identify possible causes: Based on symptoms, list the most likely culprits. Start with the simplest explanations first.
- Test systematically (half-split method): Divide the circuit in half and test each half to isolate the fault. This cuts testing time dramatically compared to checking every component one by one.
- Repair and verify under load: Fix the identified fault, then restore power and test the circuit under normal operating conditions. A repair that works with no load may fail when appliances are running.
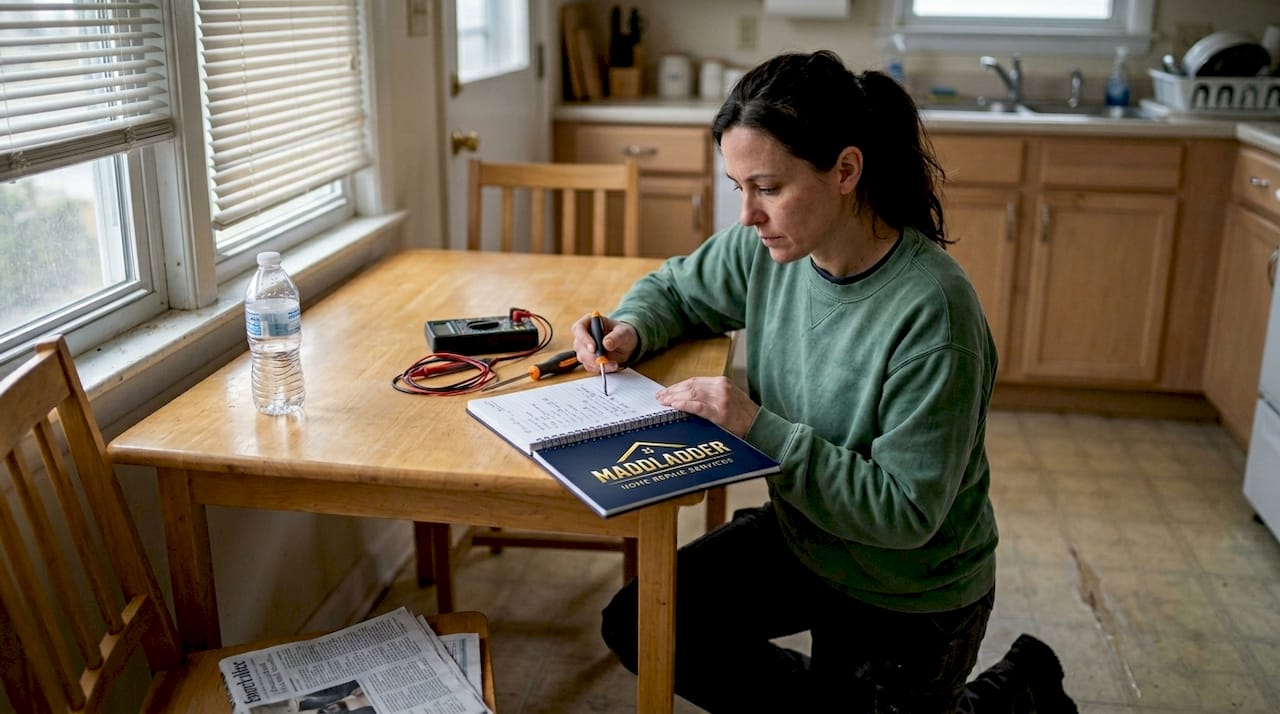
- Document the repair: Record what was found, what was done, what parts were used, and the date. This step is skipped constantly and causes real problems later.
Pro Tip: Always document repairs for future maintenance and liability. If you ever sell the property or file an insurance claim, documented electrical work is proof that repairs were done correctly.
Here is how a structured approach compares to unstructured troubleshooting:
| Approach | Average diagnostic time | First-attempt success rate |
|---|---|---|
| Unstructured (trial and error) | 2 to 4 hours | 45% |
| Six-step systematic method | 30 to 75 minutes | 85 to 90% |
For general home repair projects, the same logic applies: a defined process always beats guessing. Busy homeowners and landlords especially benefit from this efficiency, which is exactly why understanding handyman value in Kansas City comes down to process as much as skill.
Troubleshooting and preventing recurring issues
Even after repairs, staying ahead of recurring issues ensures reliability and saves money over time. A one-time fix that keeps coming back is not really a fix at all.
Here is why preventive maintenance beats reactive repairs every time:
- Cost control: Preventive maintenance extends asset life by 35% and reduces repair costs by 25%, while reactive repairs drain budgets unpredictably.
- Fewer emergencies: Structured maintenance programs cut emergency calls by 70 to 85%, which matters enormously for property managers with multiple units.
- Longer equipment life: Panels, outlets, and wiring last significantly longer when they are inspected and serviced on a schedule.
- Tenant satisfaction: For rental properties, fewer outages mean fewer complaints and lower turnover.
- Insurance compliance: Some policies require documented maintenance to honor claims related to electrical damage.
Statistic to remember: Reactive repairs cost three times more than preventive maintenance. If you manage more than one property, that gap adds up fast.
Common sources of recurring problems include undersized circuits that were never upgraded, connections that were not tightened properly during the original repair, and moisture intrusion in older junction boxes. Each of these is preventable with a proper inspection schedule.
Staying current with property value trends shows that electrical upgrades consistently rank among the top improvements buyers and tenants notice. Pairing your maintenance plan with smart home upgrades like smart circuit monitors can give you real-time alerts before a small issue becomes a costly repair.
Our expert take: What most guides miss about electrical repairs
Here is our honest advice, hard-won from years of experience serving Kansas City homeowners and property managers.
Most online guides tell you to reset the breaker and see what happens. That is bad advice. Never reset breakers repeatedly for safety, and persistent trips always mean something needs professional attention. A breaker that keeps tripping is doing its job. Forcing it back on is fighting against the only protection standing between your wiring and a fire.
The second thing guides skip is licensing. Kansas City electricians must be licensed under Missouri city or county requirements, with Kansas following similar rules, and all work must meet NEC (National Electrical Code) standards. Hiring an unlicensed contractor might save money upfront, but if that work causes damage or fails inspection, your insurance may deny the claim entirely. That is a risk no property owner should take.
Documentation is the third overlooked piece. Every repair, every inspection, every part replaced should be recorded. This protects you legally, supports electrical safety upgrades over time, and gives future buyers or tenants confidence that the property has been properly maintained. Treat your electrical records the same way you treat your mortgage documents.
Reliable electrical repair services in Kansas City
Ready for repairs or routine maintenance? Here is how to connect with trustworthy Kansas City experts.

At MaddLadder, we provide licensed, dependable electrical repair services built specifically for Kansas City homeowners and property managers. Whether you need a single outlet replaced or a full inspection of an aging panel, our team follows the same systematic process outlined in this guide. Our plumbing and electrical services are available for one-time calls or as part of a subscription maintenance plan. You can also explore our full range of repair and replacement options to address multiple needs in one visit. Contact the Kansas City repair experts at MaddLadder today for a free estimate and get your electrical issues resolved the right way.
Frequently asked questions
What is the standard process for home electrical repairs?
The standard six-step process covers gathering information, verifying the issue, identifying causes, testing systematically, repairing and verifying under load, and documenting to prevent recurrence. Following each step in order is what separates a reliable fix from a temporary patch.
Why is preventive electrical maintenance better than reactive repairs?
Preventive maintenance extends asset life by up to 35% and reduces repair costs by 25%, while reactive repairs are three times more expensive and increase emergency risks significantly. For property managers, the financial difference over a single year can be substantial.
How do I ensure my electrician is qualified in Kansas City?
Ask for city or county licenses under Missouri or Kansas requirements and verify NEC compliance before any work begins. Licensed and insured electricians are the only contractors whose work will hold up to insurance scrutiny and city inspection.
What should I do if a breaker keeps tripping or I smell burning?
Stop resetting the breaker and call a professional immediately. Burning smells or scorch marks require urgent intervention and should never be treated as minor inconveniences.
How can documenting electrical repairs help property owners?
Documenting repairs supports future maintenance planning, reduces liability exposure, and can strengthen property value by proving that all work was completed correctly and by qualified professionals.