
TL;DR:
- Proper tools and materials are essential for efficient, confident DIY repairs in Kansas City.
- Seasonal maintenance like gutter cleaning and HVAC checks prevents costly future damage.
- Mastering basic repairs saves money but knowing limits ensures safety and code compliance.
Small problems have a way of turning into big headaches. A nail pop here, a dripping faucet there, a driveway crack that widens every winter. 65% of US homeowners tackle at least one repair every two years, yet most feel uncertain about where to start. If you own or manage a property in Kansas City, you already know the region's freeze-thaw winters and humid summers push homes harder than most. This guide cuts through the guesswork. You'll get the tools, the steps, and the troubleshooting tips to handle the most common fixes confidently, without wasting a weekend or calling a pro for something you can handle yourself.
Table of Contents
- What every Kansas City homeowner should keep on hand
- Step-by-step DIY: Repairing drywall holes and cracks
- Addressing driveway cracks: Simple exterior fixes
- Quick fixes for creaks and leaks: Squeaky floors and leaky faucets
- Seasonal home maintenance: Staying ahead of Kansas City's year-round repairs
- A pro's perspective: Why mastering the basics beats calling for help
- Need more help? Turn to Kansas City's trusted repair experts
- Frequently asked questions
Key Takeaways
| Point | Details |
|---|---|
| Start with the right tools | Basic, quality tools and materials will cover most Kansas City DIY repairs safely and efficiently. |
| Follow proven steps | Clear, step-by-step fixes for drywall, driveway cracks, squeaks, and leaks make repairs manageable for most homeowners. |
| Maintain seasonally | Regular home maintenance each season prevents bigger and more costly issues later. |
| Know your limits | Tackle fixture-level tasks yourself but hire licensed pros for major systems or structural work. |
What every Kansas City homeowner should keep on hand
Before starting any repair, you'll want the right tools and materials ready. Having a stocked kit means you can fix a problem the moment it appears, not a week later after two hardware store trips. For Kansas City home repairs, the climate adds specific demands: exterior caulk that handles temperature swings, HVAC filters for dusty summers, and gutter scoops for fall leaf buildup.
Here are the 10 essentials that cover the vast majority of common home fixes:
- Spackle and joint compound for wall and ceiling patches
- Sandpaper (80, 120, and 220 grit) for smooth finishes
- Caulk gun and exterior/interior caulk for sealing gaps
- Multi-bit screwdriver for fixtures, plates, and hardware
- Pliers for grip work on pipes and fittings
- Utility knife for scoring drywall and cutting materials
- Primer and touch-up paint matched to your wall color
- Safety gloves and a dust mask for protection during repairs
- Measuring tape for accurate cuts and placements
- Gutter scoop and HVAC filters for seasonal Kansas City maintenance
| Tool or material | Primary use | Estimated cost |
|---|---|---|
| Spackle (small tub) | Wall patch fills | $5 to $10 |
| Caulk gun + caulk tube | Sealing gaps, trim | $10 to $20 |
| Multi-bit screwdriver | All fixture work | $15 to $30 |
| Joint compound | Larger drywall patches | $10 to $18 |
| Sandpaper pack | Smoothing surfaces | $6 to $12 |
| Exterior caulk | Weather sealing | $8 to $15 |
As DIY essentials guides confirm, the right materials make repairs faster and cleaner. Stick to fixture-level repairs and avoid touching main electrical or gas systems without a licensed pro.
Pro Tip: A multi-bit screwdriver handles Phillips, flathead, and Torx heads in one tool. Pair it with a quality paintable caulk and you'll handle 80% of common fixes without buying anything else.
Step-by-step DIY: Repairing drywall holes and cracks
Now that you have your toolkit, let's tackle one of the most common indoor fixes: drywall repair. The size of the hole determines your approach. Small holes under half an inch only need joint compound. Larger holes need a patch kit or a backing board to support the new material.
Follow these 6 steps for drywall repair:
- Clean the area. Remove loose debris, dust, and any torn paper around the hole.
- Sand lightly. Smooth the edges so the compound bonds properly.
- Apply spackle or compound. Use a putty knife to fill the hole, pressing firmly.
- Sand again when dry. Feather the edges outward so the patch blends with the wall.
- Prime the patch. Primer seals the compound and prevents paint from soaking in unevenly.
- Paint to match. Use your stored touch-up paint for a clean, invisible finish.
Always wear a dust mask when sanding drywall. Fine particles irritate lungs and eyes, especially in older Kansas City homes where drywall dust can mix with older paint residue.
| Method | Best for | Drying time | Difficulty |
|---|---|---|---|
| Quick patch (spackle) | Holes under 1/2 inch | 2 to 4 hours | Easy |
| Traditional compound | Holes 1/2 to 4 inches | 24 hours per coat | Moderate |
| Patch kit with mesh | Holes over 4 inches | 24 to 48 hours | Moderate |
If your patch blisters, you applied compound too thick. If paint doesn't match, the primer step was skipped. If the area sags, the compound wasn't pressed firmly enough into the backing. Learn more about drywall repair types and use the drywall repair checklist to stay organized on larger jobs.
Pro Tip: Always feather your compound edges at least 6 inches beyond the patch. A wide, thin taper is invisible once painted. A sharp edge will show through even two coats of paint.
Addressing driveway cracks: Simple exterior fixes
With indoor fixes underway, let's move outside to tackle another homeowner concern: driveway cracks. Kansas City's freeze-thaw cycles are brutal on concrete and asphalt. Water seeps into small cracks, freezes, expands, and turns a hairline split into a pothole. Catching cracks early is the single best thing you can do for your driveway's lifespan.
Follow these 5 steps for driveway repair:
- Clean the crack. Use a wire brush and hose to remove dirt, debris, and loose material.
- Insert a backer rod. For cracks deeper than half an inch, press in a foam backer rod to reduce the amount of filler needed.
- Apply crack filler. Use non-sag filler for vertical or angled cracks; self-leveling filler for flat surfaces.
- Smooth the surface. Use a putty knife or trowel to level the filler with the surrounding driveway.
- Allow full cure. Most fillers need 24 to 48 hours before foot traffic and several days before vehicles.
| Material | Best use | Estimated cost |
|---|---|---|
| Concrete crack filler | Concrete driveways | $10 to $25 |
| Asphalt crack filler | Asphalt driveways | $10 to $20 |
| Foam backer rod | Deep cracks (over 1/2 inch) | $5 to $10 |
| Self-leveling sealant | Flat surface cracks | $15 to $30 |
Timely repairs prevent water from reaching your foundation and causing far more expensive structural damage. See cost-saving repair examples to understand how a $15 tube of filler today can prevent a $1,500 foundation fix later.

Pro Tip: Schedule driveway repairs in early spring or late fall. Temperatures between 50 and 80 degrees Fahrenheit allow fillers to cure correctly. Hot summer pavement and frozen winter ground both cause filler to fail prematurely.
Quick fixes for creaks and leaks: Squeaky floors and leaky faucets
Moving to smaller aggravations, creaky floors and dripping faucets are both easy and satisfying to fix. These two issues account for a huge share of homeowner frustration, yet both can be resolved in under an hour with basic tools.
Fixing a squeaky floor:
- Walk the floor slowly to pinpoint the exact squeak location.
- Identify the nearest floor joist using a stud finder.
- Use a repair kit with screws designed to pull the subfloor tight to the joist without splitting the wood.
- Drive the screw at the marked depth, then snap off the top so it sits flush below the surface.
- Cover the hole with a matching wood filler crayon.
Fixing a leaky faucet:
- Turn off the water supply valve under the sink before doing anything else.
- Remove the faucet handle using a screwdriver or Allen wrench.
- Inspect the washer and O-ring. If worn or cracked, replace them.
- For cartridge-style faucets, pull the cartridge and take it to the hardware store for an exact match.
- Reassemble and test slowly. Replacing washers and cartridges instead of calling a plumber saves real money on routine drips.
A single dripping faucet can waste over 3,000 gallons of water per year. That's money running straight down your drain every month.
Knowing when to stop is part of the skill. Review DIY vs handyman value to understand when a pro saves you more than you'd spend doing it yourself.
Pro Tip: Keep a set of repair crayons in your toolkit. They match most wood floor colors and make screw holes completely invisible after a squeaky floor fix.
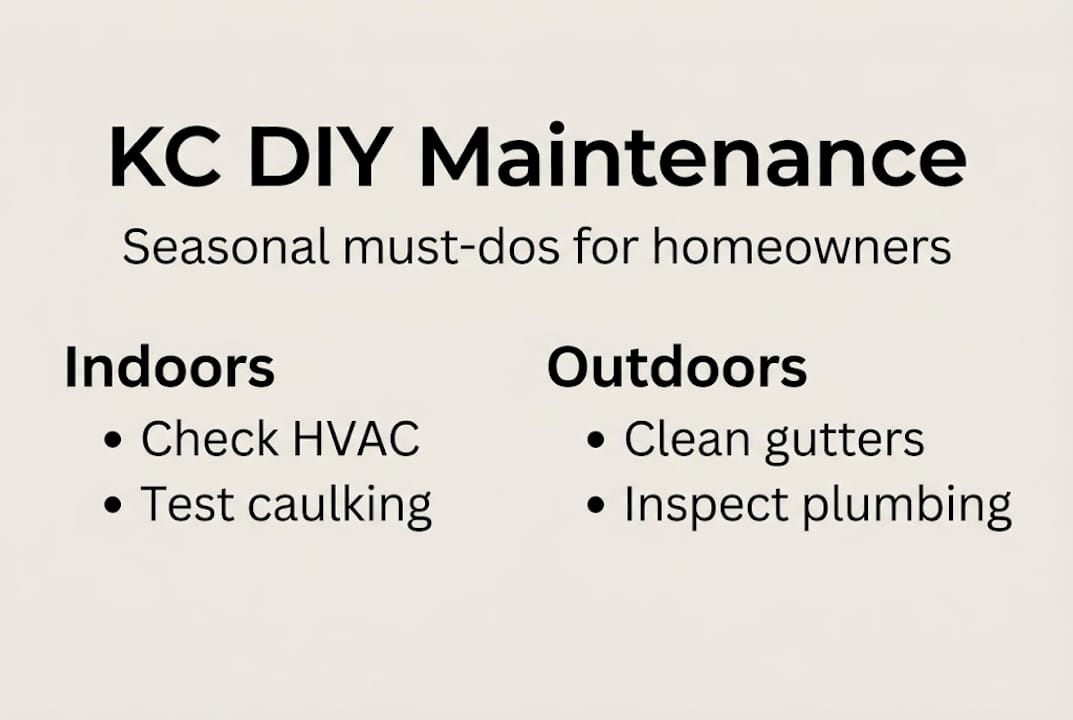
Seasonal home maintenance: Staying ahead of Kansas City's year-round repairs
Repairing is essential, but proactive maintenance stops most issues before they start, especially in Kansas City's variable climate. A little attention each season prevents the kind of damage that turns a $20 fix into a $2,000 emergency.
Spring:
- Clean gutters after winter debris buildup
- Inspect deck boards and railings for rot or loose fasteners
- Touch up exterior paint and caulk around windows and doors
Summer:
- Inspect and replace HVAC filters monthly
- Wash siding and check for new cracks or gaps
- Recaulk bathroom and kitchen fixtures
Fall:
- Clean gutters again after leaves drop
- Schedule heating system inspection before the first cold snap
- Check weatherstripping on all exterior doors
Winter:
- Insulate exposed pipes in crawl spaces and garages
- Keep cabinet doors open under sinks during hard freezes
- Test smoke and carbon monoxide detectors
The Kansas City seasonal checklist confirms that gutters, HVAC, caulking, heating, and plumbing protection are the four pillars of year-round home health here. Cleaning your HVAC filter monthly and staying ahead with preventive maintenance can meaningfully lower your energy bills and repair costs over time.
Pro Tip: Set a recurring smartphone reminder on the first of each month for HVAC filter checks. Pair it with a fall reminder for heating inspections. You'll never miss a critical window again. Also review routine electrical maintenance as part of your annual checklist.
A pro's perspective: Why mastering the basics beats calling for help
With the foundation in practical steps, here's a real-world take on why hands-on repair skills matter most. We've seen Kansas City homeowners spend hundreds of dollars on service calls for jobs that took a professional less than 20 minutes. Not because the pro was fast, but because the fix was simple and the homeowner just didn't know the steps.
Learning fixture-level repairs is genuinely empowering. You stop feeling at the mercy of your house. A crack in the drywall stops being a source of dread and becomes a Saturday morning project. That shift in confidence has real financial value too. Fixture-level repairs save $150 to $250 per job compared to hiring out, and those savings add up fast across a year of normal home ownership.
But here's the part most DIY guides skip: knowing your limits is just as important as knowing the steps. Never touch your main electrical panel, gas lines, or load-bearing walls without a licensed handyman or contractor. These aren't just safety rules. They're code requirements that protect your investment and your family. Fixture-level repairs are your ticket to real savings. Knowing your limits keeps your investment safe.
Need more help? Turn to Kansas City's trusted repair experts
Even well-prepared DIYers occasionally need a professional touch. When a repair involves your main plumbing stack, electrical panel, gas connections, or anything structural, it's time to call in a licensed pro. Attempting those jobs without the right credentials puts your safety and your home's value at risk.

MaddLadder's home services cover everything from drywall and trim to smart home upgrades, minor plumbing fixes, and safety installations across the Kansas City metro. Whether you've hit a wall on a DIY project or need a recurring maintenance partner, the team is ready to help. Explore the full range of Kansas City repair services and request a free estimate today. Fast response times, flexible pricing, and licensed work you can count on.
Frequently asked questions
What home repairs should I never do myself?
Avoid main electrical panel upgrades, structural changes, gas line repairs, or any task requiring a permit. These require a licensed pro for safety and code compliance.
How much can I save by doing DIY home repairs?
Basic repairs like fixing drywall or leaky faucets can save $150 to $250 or more per job compared to hiring a professional.
When should I call a professional handyman in Kansas City?
If repairs involve complex systems, major plumbing or electrical work, or anything requiring a permit, call a licensed Kansas City handyman to avoid code violations and liability.
What are the must-do seasonal maintenance tasks in Kansas City?
Clean gutters twice a year, inspect HVAC before each season change, caulk gaps around windows and doors, and protect plumbing before hard freezes each winter.