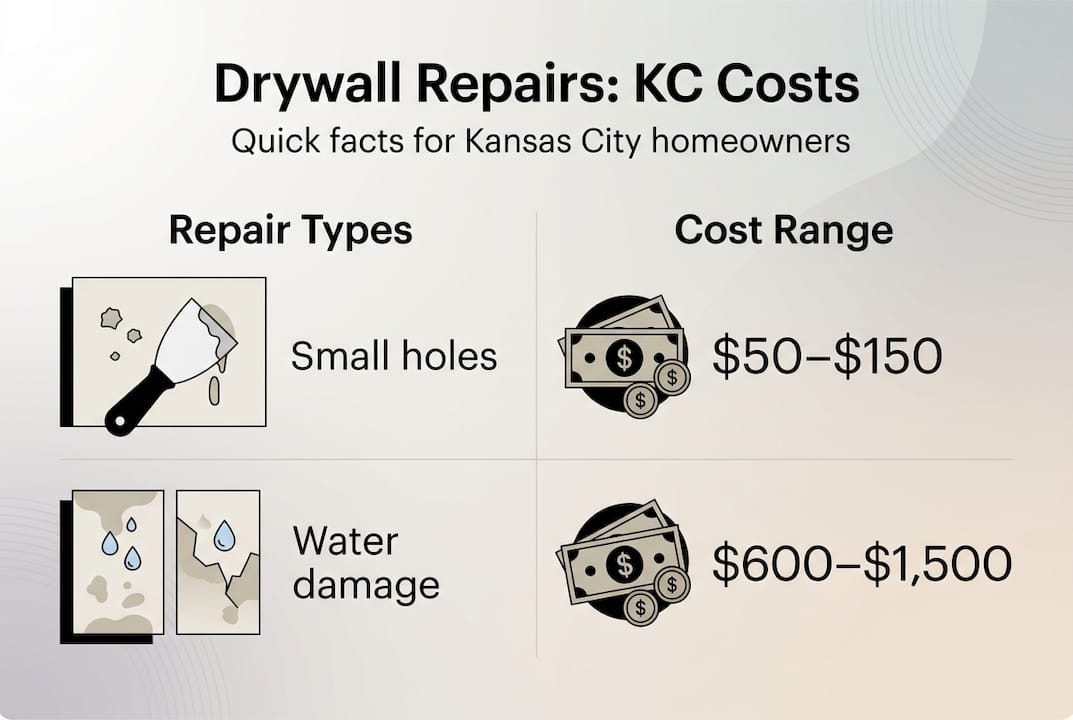
A small crack in your drywall might seem harmless, but ignoring it can turn a $75 fix into a $600 or more nightmare. Small hole repairs cost $50 to $150, yet water-damaged drywall can push that bill past $1,500. For Kansas City homeowners and property managers, understanding when and how to act on drywall issues is one of the smartest moves you can make. This article walks you through the types of drywall damage, what professional repairs involve, what you should expect to pay, and how to protect your property's value before small problems grow into expensive ones.
Table of Contents
- Why drywall repairs matter for Kansas City properties
- Drywall repair types: From minor fixes to major restoration
- Step-by-step guide: How professionals fix drywall
- Drywall repair costs: Kansas City benchmarks and factors
- Reliable drywall repair services in Kansas City
- Frequently asked questions
Key Takeaways
| Point | Details |
|---|---|
| Early repairs save money | Fixing small drywall issues promptly prevents larger, more expensive damage. |
| Professional skill matters | Experienced licensed handymen ensure seamless repairs and long-term durability. |
| Costs vary by damage | Repair costs in Kansas City range based on issue size, urgency, and complexity. |
| Prevention is key | Addressing leaks and structural movement first stops recurring drywall problems. |
Why drywall repairs matter for Kansas City properties
Drywall is more than just a wall surface. It plays a real role in your home's insulation, fire resistance, and overall structural feel. When it cracks, dents, or gets water-damaged, the problem rarely stays contained. Drywall repairs restore structural integrity and aesthetics while stopping further damage from spreading, especially for small to medium issues like holes, dents, and cracks.
Kansas City properties face specific challenges. The region's clay-heavy soil causes frequent foundation settling, which shows up as diagonal cracks near door frames and corners. Humidity swings between summer and winter also cause drywall to expand and contract, weakening joints over time. These are not just cosmetic issues. Left alone, they invite moisture, mold, and bigger structural headaches.
For landlords and property managers, the stakes are even higher. Damaged walls reduce rental appeal, invite tenant complaints, and can lower your property's appraised value. Staying ahead of repairs with a solid drywall repair checklist is one of the most cost-effective habits you can build. Pairing that with smart home improvement decisions keeps your investment protected year after year.
Here are the most common warning signs that your drywall needs attention:
- Diagonal cracks near door frames or windows
- Bubbling or soft spots that suggest moisture behind the wall
- Nail pops or visible tape seams pulling away
- Discoloration or staining from water intrusion
- Cracks that return after being patched
Pro Tip: Fix leaks or settling before repairing drywall to prevent the same damage from coming back within months. Patching over an active problem is just delaying a bigger bill.
For rental properties specifically, staying current on rental property safety upgrades alongside drywall maintenance helps you meet habitability standards and protect your investment.
Drywall repair types: From minor fixes to major restoration
Not every drywall problem needs the same solution. Knowing the difference between a repair and a full replacement saves you time and money.
Small holes under nickel-size use spackle only; medium holes up to 6 inches need tape and backing; large damage requires a new drywall section. The general rule is straightforward: repair holes and cracks under 6 inches if the drywall is firm; replace if water-damaged, structurally compromised, or covering large sections.
Here is a quick comparison to help you assess your situation:
| Damage type | Size | Recommended fix | Estimated cost |
|---|---|---|---|
| Nail holes, small dents | Under 1 inch | Spackle and paint | $50 to $100 |
| Medium holes | 1 to 6 inches | Patch kit with tape and compound | $100 to $350 |
| Large holes | Over 6 inches | New drywall section | $300 to $600 |
| Water damage | Any size | Replace and treat moisture source | $600 to $1,500 |
| Structural cracks | Varies | Professional assessment required | Varies |
Texture matching is one of the trickiest parts of any drywall repair. If your walls have a knockdown, orange peel, or skip trowel finish, a patch that does not match will stand out under light. This is where DIY repairs often fall short and why professional results look seamless.
Recurring cracks deserve special attention. If you patch a crack and it comes back within a few months, that is a signal of foundation movement or ongoing settling. No amount of joint compound will fix a structural problem. Staying informed about home repair trends can help you recognize when a repair is a band-aid and when it is a real solution.
Pro Tip: Always address the root cause first. Whether it is a leaking pipe, poor drainage, or foundation movement, fixing the source before patching the wall is the only way to get a lasting result. This also applies to accessibility upgrades where wall integrity matters for mounting grab bars and support fixtures.
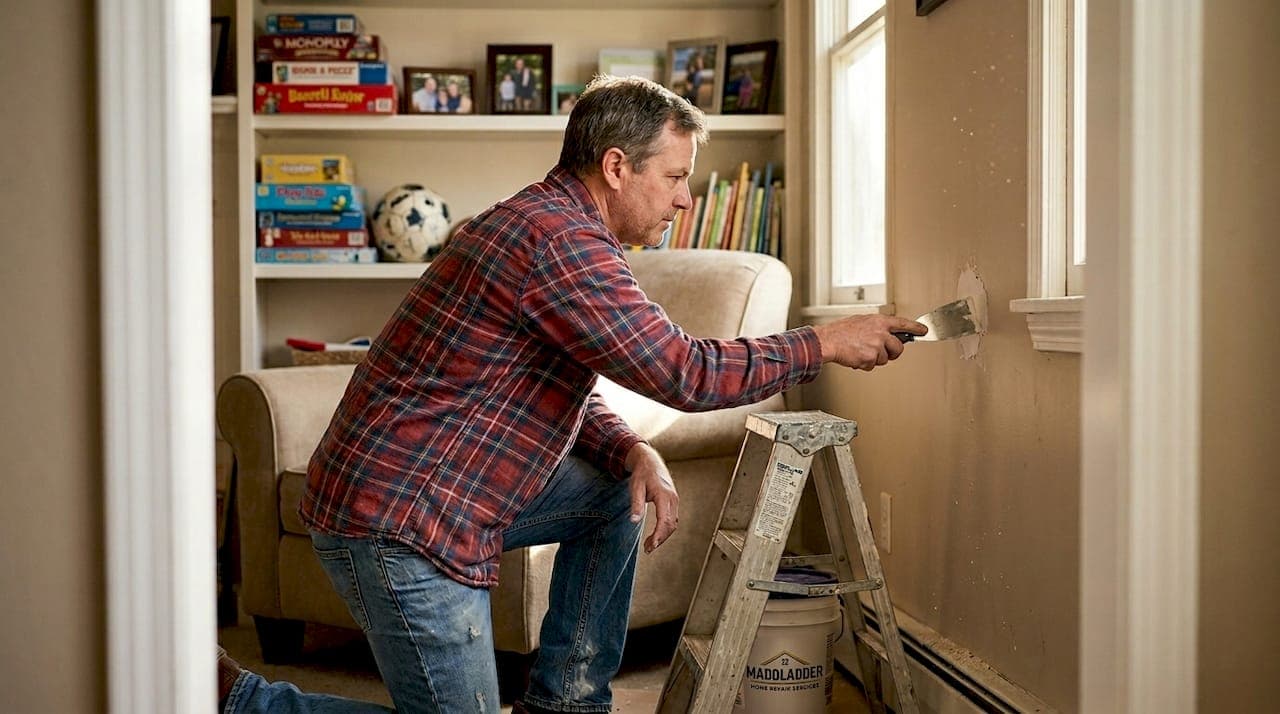
Step-by-step guide: How professionals fix drywall
Professional drywall repair is not just about slapping on some joint compound and calling it done. The sequence matters, and skipping steps is exactly what leads to visible patches and callbacks.
The professional repair sequence goes: clean the hole, bevel the edges, apply backing, embed tape in a thin layer of joint compound, apply 2 to 3 thin feathered coats, sand smooth, then prime before painting. Each step builds on the last, and rushing any of them shows in the final result.
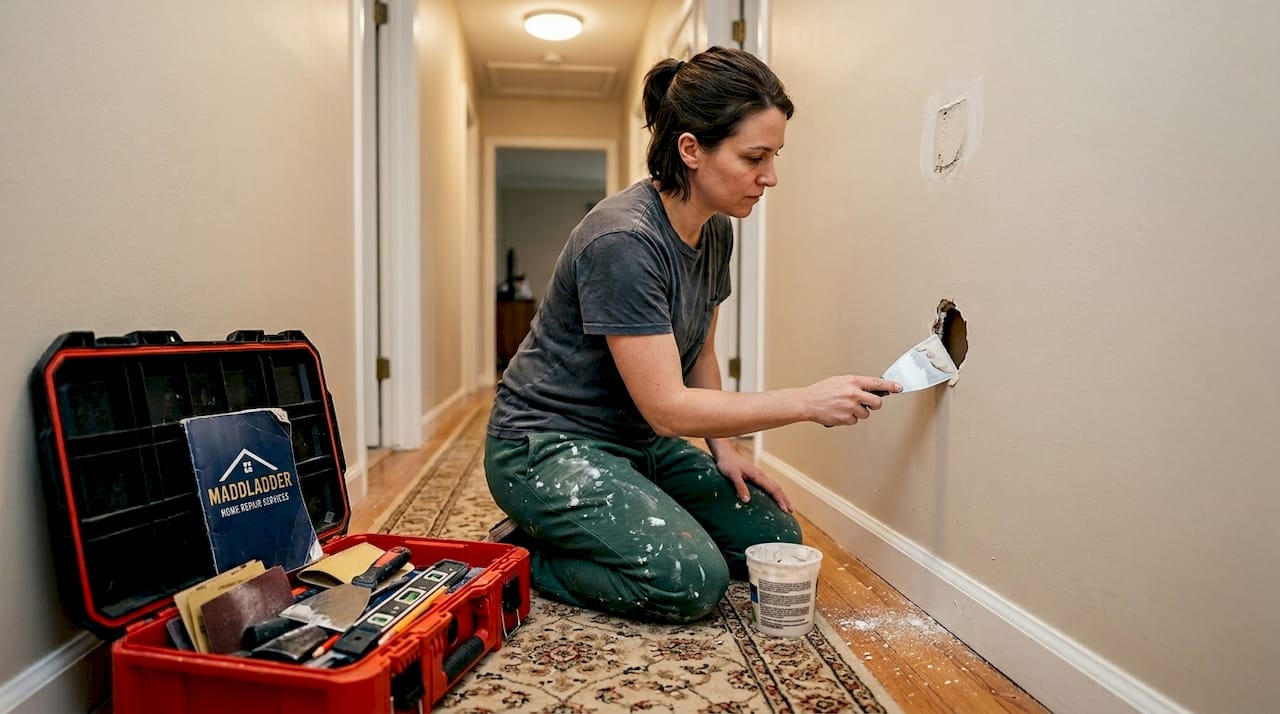
Here is how a professional approaches a standard medium-sized repair:
- Assess the damage and check for moisture or structural issues behind the wall before touching anything.
- Clean and prep the area by removing loose material and beveling the edges of the hole for better compound adhesion.
- Install backing or a patch kit to give the compound something solid to grip, especially for holes over 2 inches.
- Apply the first coat of joint compound thinly, embedding mesh or paper tape to reinforce the repair.
- Let it dry fully (usually 24 hours per coat) before applying the next layer.
- Apply 2 to 3 additional feathered coats, extending each coat slightly wider than the last to blend into the surrounding wall.
- Sand lightly between coats by scraping high spots rather than aggressive sanding, which raises dust and can damage the surface.
- Prime the repaired area before painting to prevent flashing (where the patched spot looks different from the rest of the wall under light).
- Match and apply texture if needed, then paint with the correct sheen and color.
Thin coats prevent shrinkage and cracking; scraping high spots instead of sanding between coats saves time; never skip primer or you will get flashing. These are the details that separate a professional finish from a visible patch.
Pro Tip: Patience is the real secret ingredient. Rushing the drying time between coats is the number one reason DIY repairs look obvious. Thin layers and full drying time make repairs invisible.
For homeowners thinking about broader upgrades alongside repairs, pairing drywall work with smart home upgrades like thermostat or camera installations is a smart way to bundle work and reduce labor costs.
Drywall repair costs: Kansas City benchmarks and factors
Budgeting for drywall repairs does not have to be a guessing game. Here is what you can realistically expect to pay in the Kansas City metro area.
Small hole repairs run $50 to $150; medium repairs $150 to $350; water damage repairs $600 to $1,500; the national average sits between $295 and $924, with $609 being the typical midpoint. Kansas City pricing tracks closely with these national benchmarks, though local factors can push costs up or down.
| Repair type | Low estimate | High estimate | KC average |
|---|---|---|---|
| Small hole (under 1 inch) | $50 | $150 | $75 |
| Medium hole (1 to 6 inches) | $150 | $350 | $225 |
| Large section repair | $300 | $600 | $450 |
| Water damage repair | $600 | $1,500 | $900 |
| Full room drywall replacement | $1,000 | $3,000+ | $1,800 |
The $609 average is a useful benchmark, but your actual cost depends on several factors:
- Size and number of repairs: More holes mean more labor and materials.
- Texture matching: Complex textures like knockdown or skip trowel add time and skill.
- Water damage: Mold remediation or structural drying adds significant cost before repairs can even begin.
- Urgency: Same-day or emergency service typically carries a premium.
- Access: High ceilings or tight spaces increase labor time.
For a clear picture of what your specific project might cost, checking local drywall pricing or reviewing service cost estimates gives you a realistic starting point. Understanding home repair cost factors also helps you compare options and avoid overpaying. If you are evaluating providers, looking at repair service alternatives in the KC area can help you make a confident choice.
Reliable drywall repair services in Kansas City
Knowing what your drywall needs is only half the battle. Finding someone you can trust to fix it right the first time is the other half.

At MaddLadder, we provide licensed handyman services across the Kansas City metro, including expert drywall repairs with texture and paint matching that blends seamlessly with your existing walls. Our team handles everything from small nail pops to full section replacements, and we address root causes before patching so you are not calling us back for the same problem in six months. Whether you manage a rental portfolio or just want your home looking its best, our Kansas City repair services are built around your schedule and budget. We offer free estimates, flexible pricing starting at $75 per hour, and subscription maintenance plans for property managers who want consistent upkeep without the hassle. Reach out today and let us take drywall off your to-do list for good.
Frequently asked questions
What causes recurring cracks in drywall?
Recurring cracks often signal structural issues like foundation settling or ongoing movement. If a crack keeps coming back after patching, have a professional inspect the foundation and check for active leaks before repairing again.
Can I repair drywall myself or should I hire a pro?
DIY works fine for tiny nail holes, but larger or textured repairs risk a poor finish that stands out and often needs to be redone. A professional ensures the texture matches and the repair holds long-term.
How long does drywall repair take?
Most repairs take 3 to 5 days when you account for drying time between coats. Professionals work efficiently within that timeline and deliver a finish that does not need touch-ups.
Are drywall repairs covered under rental property maintenance?
Yes, drywall upkeep is a standard part of maintaining a habitable rental unit. Staying on top of repairs protects your property's value, reduces tenant complaints, and helps you avoid larger restoration costs down the road.
What's the average cost of drywall repairs in Kansas City?
Small repairs cost $50 to $150, medium repairs $150 to $350, and major water damage up to $1,500. The local average sits around $609, though your final cost depends on the size, texture complexity, and whether moisture damage is involved.