
TL;DR:
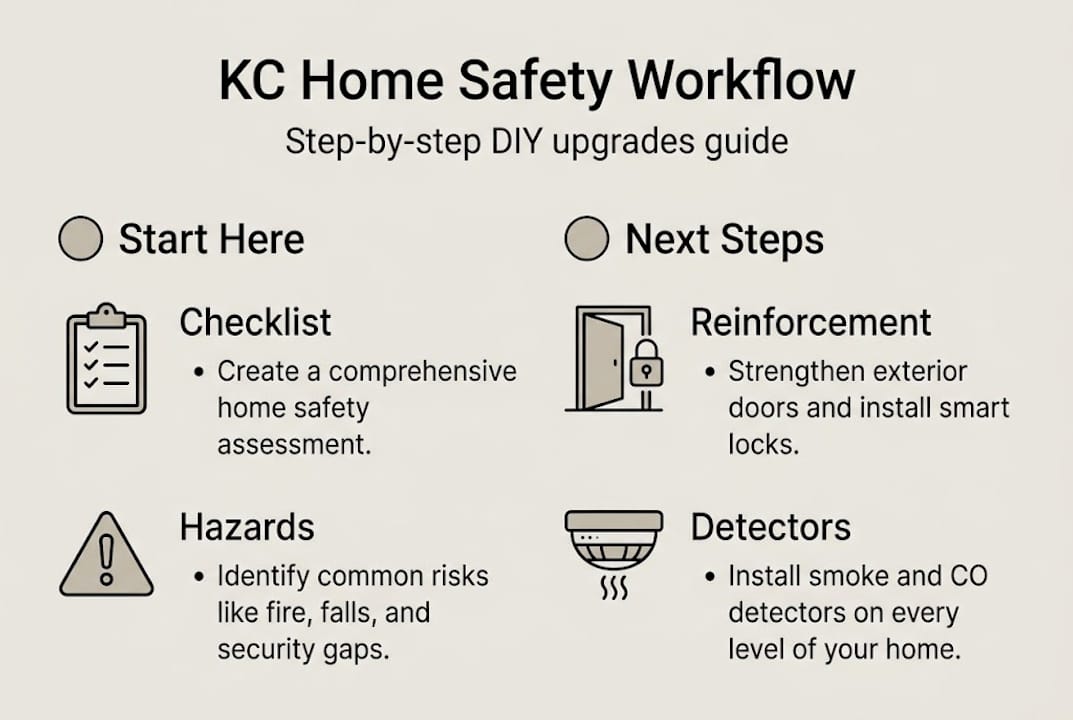
- A thorough safety assessment is essential before implementing home upgrades to identify vulnerabilities.
- Reinforcing doors, windows, and exterior lighting enhances Kansas City's home security effectively.
- Regular maintenance and professional help for complex tasks ensure ongoing safety and code compliance.
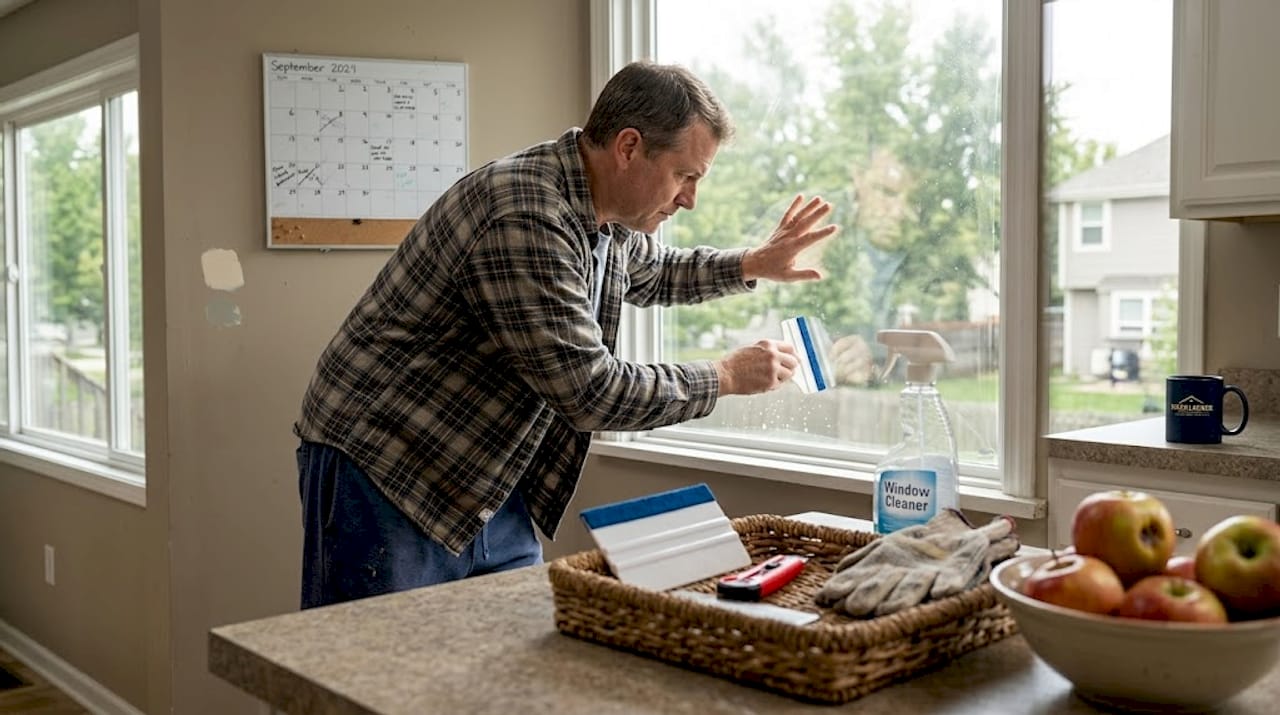
Kansas City homes face a real mix of risks: aging infrastructure, severe weather, and neighborhoods where break-ins happen more often than homeowners expect. The good news is that a structured DIY safety workflow can address most of these hazards before they become emergencies. But skipping steps or rushing the process is where things go wrong. Falls cause most DIY injuries according to CPSC data, and that number climbs when homeowners take on tasks beyond their skill level. This guide walks you through assessment, entry point reinforcement, detector upgrades, exterior protection, and compliance so you can work smarter and safer.
Table of Contents
- Assessing your home's safety: Checklists and hazard identification
- Doors and windows: Reinforcement steps for security
- Detector and alarm upgrades: Smoke, CO, and smart home systems
- Exterior and environment: Motion lighting, landscaping, and layered deterrence
- DIY limits, compliance, and preventing injury in Kansas City
- What most KC homeowners miss about DIY safety upgrades
- How MaddLadder can help you upgrade safely
- Frequently asked questions
Key Takeaways
| Point | Details |
|---|---|
| Start with assessment | A thorough checklist-driven evaluation prevents missed hazards and guides all future upgrades. |
| Reinforce entry points | Door and window reinforcement reduces break-in risk and strengthens your home’s first line of defense. |
| Focus on detectors | Proper placement and regular testing of smoke and CO detectors protect against fire and air hazards. |
| Use layered security | Combining lighting, landscaping, and interior upgrades increases deterrence and overall safety. |
| Know DIY limits | Understanding local codes and your skill boundaries prevents fines and injuries. |
Assessing your home's safety: Checklists and hazard identification
Every solid safety upgrade starts with knowing exactly what you're dealing with. Skipping the assessment phase is like painting over a crack without fixing the wall underneath. You need a clear picture of your home's vulnerabilities before spending a single dollar on hardware.
A room-by-room safety inspection using checklists from NFPA 72, UL standards, and CPSC guidelines gives you that picture. The process is straightforward: walk through each room with a printed checklist and mark every issue you find. Entry points, smoke detectors, carbon monoxide alarms, lighting levels, trip hazards, and electrical outlets all need to be on your list.
Here's a quick breakdown of what to check in each area:
- Entry points: Check door frames for cracks, test lock resistance, inspect window latches
- Detectors: Verify placement, test batteries, check expiration dates on units
- Lighting: Note dark hallways, stairwells, and exterior corners
- Trip hazards: Loose rugs, uneven flooring, cluttered pathways
- Electrical: Look for exposed wiring, overloaded outlets, and missing outlet covers
Use the Kansas City home safety checklist from MaddLadder's blog as a starting point, then customize it for your specific home layout. Older KC homes built before 1980 often have additional concerns like outdated wiring or deteriorating weatherstripping that newer checklists don't always flag.
| Area | What to inspect | Priority level |
|---|---|---|
| Front door | Frame condition, lock type, hinges | High |
| Windows | Latches, glass condition, film | High |
| Kitchen | Detector placement, fire extinguisher | High |
| Bedrooms | CO detector, egress window function | Medium |
| Exterior | Lighting, shrub visibility, tool storage | Medium |
The DIY repairs guide on the MaddLadder blog pairs well with this checklist if you find issues that need immediate attention.
Pro Tip: Print your checklist and keep a dated copy after each quarterly review. This creates a simple maintenance log that's useful if you ever sell your home or file an insurance claim.
Doors and windows: Reinforcement steps for security
Once you've assessed your home, your entry points deserve attention first. Doors and windows are the most common access points for intruders, and reinforcing them is one of the highest-return upgrades you can make.
Frame failure accounts for 34% of break-ins, which means the door itself often isn't the problem. It's the frame around it. Here's how to fix that:
- Replace standard strike plates with heavy-duty versions using 3-inch screws driven into the wall studs, not just the door frame
- Upgrade hinges to security hinges with non-removable pins
- Add a door bar or floor-mounted security brace for sliding or secondary doors
- Install a deadbolt if you don't already have one, positioned at least 6 inches from the knob lock
For windows, 4-mil security film holds shattered glass in place and significantly slows forced entry. Polycarbonate panels can be up to 250 times stronger than standard glass and are worth considering for basement or ground-floor windows in higher-risk areas.
| Method | DIY or pro | Approx. cost | Effectiveness |
|---|---|---|---|
| 3-inch strike plate screws | DIY | $5 to $15 | High |
| Security film (4-mil) | DIY | $30 to $80 | Medium-high |
| Reinforced hinges | DIY | $20 to $50 | High |
| Polycarbonate window panels | Pro recommended | $100 to $300+ | Very high |
| Door security bar | DIY | $25 to $60 | High |
These upgrades also contribute to boosting security and value in your home, which matters if you're planning to sell or refinance.
Pro Tip: Install security film on a warm, dry day. The adhesive bonds better above 60°F, and you'll get fewer bubbles and lifting edges over time.
Detector and alarm upgrades: Smoke, CO, and smart home systems
Securing entry points handles one category of risk. Fire and carbon monoxide are a different kind of threat entirely, and they're silent. You need the right detectors in the right places, tested regularly.
Per NFPA 72 standards, every bedroom needs a smoke detector, and there should be one outside each sleeping area and on every level of the home. CO detectors follow the same placement logic. All units should be UL 2034 or UL 2075 listed, and you should test them monthly.
The scale of the risk is worth understanding:
Kitchen fires account for 1.5 to 1.7 million incidents per year nationally, with heating equipment ranking as the second leading cause. CO alarms under UL 2034 standards must respond at 70 ppm within 60 to 240 minutes. Falls remain the leading cause of death for adults over 65 in residential settings.
Here's what a proper detector setup looks like:
- Smoke detectors: One per bedroom, one outside each sleeping area, one per floor
- CO detectors: Required on every level, especially near sleeping areas and attached garages
- Combination units: Available for smaller homes where space is limited
- Smart detectors: Connect to your phone via app, send alerts even when you're away
| Feature | Basic detector | Smart detector |
|---|---|---|
| Cost | $10 to $30 | $40 to $120 |
| App alerts | No | Yes |
| Interconnected | Optional | Yes |
| Voice alerts | Rare | Common |
| Battery backup | Yes | Yes |
If you have older family members at home, consider pairing detector upgrades with accessibility upgrades like strobe alarms or bed shakers designed for those with hearing loss. The practical accessibility upgrades guide covers those options in detail.
Exterior and environment: Motion lighting, landscaping, and layered deterrence
Once your interior is secure, the outside of your home becomes the next line of defense. Exterior upgrades work best when they're layered, meaning no single measure does all the work.
CPTED principles (Crime Prevention Through Environmental Design) guide most of these recommendations. The core idea is simple: make your home look occupied, visible, and difficult to approach without being noticed.
Motion-activated lighting is your starting point. Place fixtures at all entry points, along the driveway, and in any corner of the yard where someone could hide. Aim lights downward to avoid blinding neighbors while still illuminating the ground level.
Landscaping matters more than most homeowners realize. Overgrown shrubs near windows and doors create cover for intruders. Trim everything below window height and keep hedges at least 3 feet away from the home's foundation.
Here's a layered deterrence checklist to work through:
- Install motion lights at all exterior entry points
- Trim shrubs and trees to eliminate hiding spots
- Store ladders, tools, and outdoor equipment in a locked shed or garage
- Add visible security camera housings (even dummy cameras deter opportunistic crime)
- Use timer-controlled interior lights when you're away
- Post a security system sign near the front entry
Layered deterrence, combining lighting, visibility, and secured assets, meaningfully reduces burglary risk compared to relying on any single measure. These upgrades also connect well to broader home improvement ideas that add both safety and resale value.
Pro Tip: Swap any incandescent bulbs in exterior fixtures for LED bulbs rated for outdoor use. They last up to 25 times longer and cost a fraction to run, which matters when lights are triggered multiple times a night.
DIY limits, compliance, and preventing injury in Kansas City
Knowing what you can legally do yourself is just as important as knowing how to do it. Kansas City has clear rules about what requires a permit and what doesn't, and ignoring them can lead to fines or problems when you sell.
According to kcmo.gov, sheds under 200 square feet, minor reroofing under 32 square feet, and fences generally don't require permits. Most safety upgrades covered in this guide, including detector installation, door reinforcement, and window film, fall into the no-permit category. But code compliance is always required, permit or not.
Here's a quick list of what's typically DIY-safe in Kansas City:
- Installing smoke and CO detectors
- Reinforcing door frames and adding strike plates
- Applying window security film
- Installing motion-activated exterior lights
- Adding door bars and window locks
- Landscaping for visibility
What you should not attempt without a licensed pro:
- Electrical panel upgrades or new circuit installation
- Structural modifications to walls or load-bearing elements
- Full alarm system wiring
The CPSC reports that falls are the leading cause of DIY injuries. Always use proper PPE, never work alone on ladders, and be honest about whether a task matches your skill level. A $200 mistake that sends you to urgent care costs far more than hiring help.
The licensed handyman guide explains how to evaluate when professional help makes sense. If you manage rental properties, the rental property safety upgrades guide covers compliance requirements specific to landlords in KC.
Pro Tip: When you're unsure whether a project needs a permit, call the Kansas City Development Concierge line directly. A five-minute call can save you from a costly code violation.
What most KC homeowners miss about DIY safety upgrades
Here's a perspective that most articles won't give you: one-time upgrades don't keep homes safe. Routines do.
The homeowners we see who feel most secure aren't the ones who did a big safety overhaul three years ago. They're the ones who do quarterly walkthroughs, replace batteries on schedule, and update their setup as their household changes. A smoke detector installed in 2018 with a dead battery is worse than useless because it gives false confidence.
Older Kansas City homes, especially those built before 1970, often have electrical systems that weren't designed for modern loads. Adding smart devices and upgraded lighting to an outdated panel is a real fire risk. That's where DIY pride can work against you. Calling in a licensed pro for an electrical assessment doesn't mean you've failed at DIY. It means you understand the limits of what a checklist can catch.
Layered safety also beats single-device thinking. One great deadbolt is not a security system. One smoke detector is not a fire plan. The essential safety upgrade tips reinforce this layered approach and are worth revisiting every year as your home and family's needs evolve.
How MaddLadder can help you upgrade safely
This workflow gives you a strong foundation, but some upgrades are faster, safer, and more reliable when a professional handles them.

MaddLadder serves Kansas City homeowners with exactly the kind of support that fills the gap between DIY and major contractor work. Need smart home upgrades like cameras, thermostats, or interconnected alarm systems installed correctly? We handle that. Have questions about plumbing and electrical services that go beyond what a checklist can address? We're licensed for that too. And for households with mobility or accessibility needs, our ADA safety and mobility services cover grab bars, ramps, and more. Get a free estimate and let us help you finish what this guide started.
Frequently asked questions
What are the most common DIY safety mistakes in Kansas City homes?
The most common mistakes are skipping the initial assessment, taking on tasks that don't match your skill level, and ignoring local code requirements. All three can lead to injury or fines that far outweigh the cost of doing it right the first time.
Do I need a permit for basic safety upgrades like door reinforcement or detector installation?
Most basic safety upgrades do not require permits in Kansas City, but code compliance is always required regardless. When in doubt, contact the city's Development Concierge before starting any project.
How often should I check or maintain safety upgrades?
Monthly detector testing and quarterly home walkthroughs are the minimum recommended schedule. Set a recurring calendar reminder so reviews don't slip through the cracks.
Are there safety upgrades professionals should always handle?
Yes. Electrical panel upgrades, structural changes, and full alarm system wiring should always be handled by licensed professionals to meet code and avoid serious safety risks.