
TL;DR:
- Painting, hardware, and lighting are the most impactful bathroom vanity upgrades, with structural checks ensuring long-term success. Proper prep, including degreasing, sanding, and moisture-resistant priming, is crucial for durable finishes, while lighting updates provide significant visual improvements. Most cosmetic refreshes are DIY-friendly, but structural issues and plumbing require licensed professional assistance.
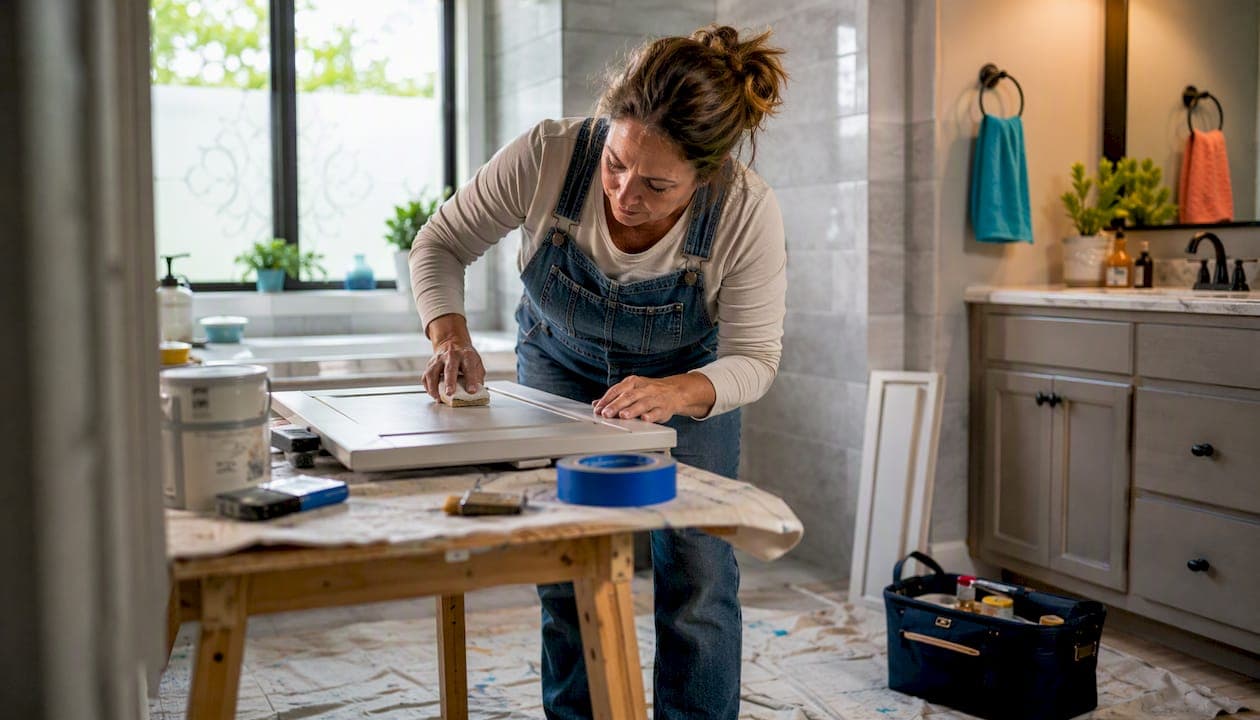
The fastest, highest-return moves for a bathroom vanity makeover are paint, hardware, and lighting — in that order. Before you buy a single can of primer, though, run a quick structural check: press the toe-kick, open every door, and look under the sink for soft wood or mildew. If the bones are solid, you can finish a meaningful refresh in a single weekend. If they're not, cosmetic work is money wasted.
Here's the weekend action list to get you started:
- Structural check: press toe-kick, inspect hinges, look for soft spots or water stains under the sink
- Degrease: wipe every surface with TSP substitute or a strong degreaser; skip this and paint will peel within months
- Prime: use a moisture-resistant solvent-based primer — not standard latex — to block tannin bleed and hold adhesion in a humid bathroom
- Paint: two thin coats of cabinet-grade enamel; allow dry-to-touch time of several hours between coats, but plan for about a month cure window before the finish reaches full hardness
- Swap hardware: remove old pulls, measure hole patterns, fill gaps if needed, install new knobs or pulls
- Replace faucet (if footprint matches): shut off supply valves, disconnect, swap — typically 1–2 hours when the centerset or widespread pattern is unchanged
- No shower steam for 48 hours after painting to protect the fresh film
Maddladder handles the jobs on this list that cross into licensed plumbing or electrical territory, but the cosmetic work above is genuinely DIY-friendly for most homeowners.
Table of Contents
- How to update your bathroom vanity with high-impact weekend projects
- What are your countertop and sink options?
- How do you know if the vanity needs replacing instead of refreshing?
- What does a realistic project timeline and budget look like?
- Tools and materials checklist for a vanity refresh
- What do pros know about paint adhesion that most DIYers miss?
- When should you DIY, and when should you call a pro?
- Key Takeaways
- The part of vanity updates most guides get wrong
- Maddladder can handle the parts you'd rather not DIY
- Useful sources for further reading
How to update your bathroom vanity with high-impact weekend projects
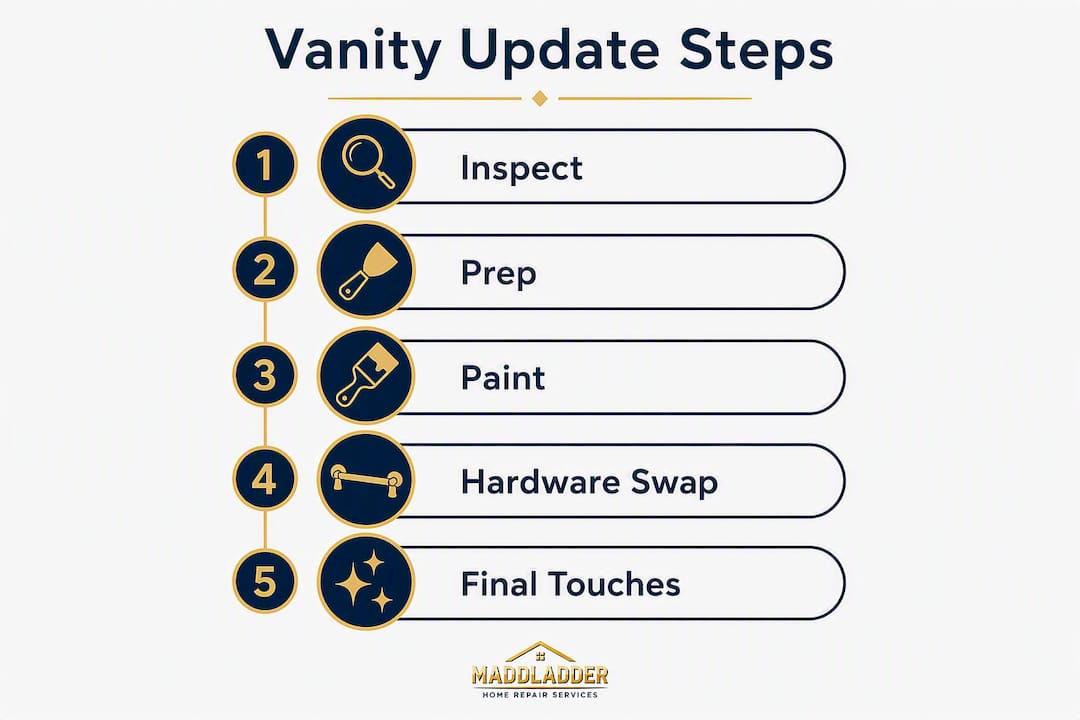
The order of operations matters more than most guides admit. Paint before hardware, hardware before styling — and always prep before anything else. Skipping ahead costs you a full redo.
Step-by-step: painting the cabinets
- Remove all doors, drawers, and hardware; label each piece with painter's tape so reassembly is fast.
- Degrease every surface with TSP substitute; rinse and let dry completely.
- Sand with 120–150 grit to scuff the existing finish, then wipe with a tack cloth.
- Apply a moisture-resistant solvent-based primer in one even coat; let it dry 24 hours.
- Lightly sand again with 180–220 grit, tack off dust.
- Apply two thin coats of cabinet-grade enamel (Benjamin Moore Advance or Sherwin-Williams Emerald Urethane are solid choices), allowing full dry time between coats.
- For the smoothest finish, use a high-density foam roller on flat panels and an angled brush on edges; an HVLP sprayer eliminates brush marks entirely if you have access to one.
Pro Tip: Before committing to a full paint job, prime a small test patch, wait 24 hours, then try to scratch it off with a coin. If it lifts, your degreasing wasn't thorough enough. Redo that step — it's faster than repainting the whole cabinet.
Hardware swap
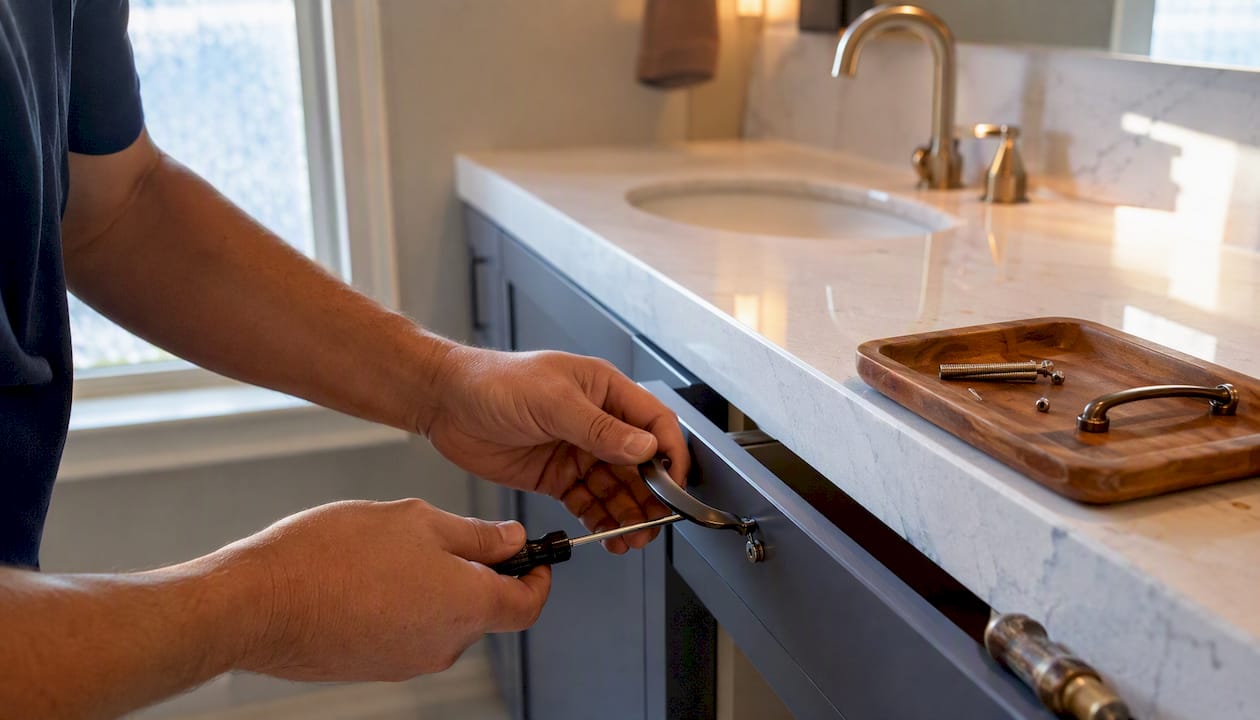
Measure the existing hole pattern first (center-to-center distance for pulls). Standard pulls run 3", 3.75", or 5" on center. If you're switching from knobs to pulls, you'll need to fill the old holes with wood filler, sand flush, and re-drill. Mixed metals are a strong 2026 trend: brushed gold pulls against a navy or sage cabinet read as intentional and current, not mismatched.
Faucet replacement
Confirm whether your sink is centerset or widespread before ordering a new faucet — this single check keeps the project DIY-friendly. Shut off both supply valves under the sink, place a bucket under the P-trap, disconnect the supply lines and drain, then swap the fixture. If the footprint matches, the whole job runs 1–2 hours.
Mirror and lighting
Lighting upgrades deliver the biggest perceived quality jump for the least money of any vanity change. A new fixture changes how your paint color reads in the mirror more than almost any other single swap. Look for bulbs rated CRI 90 or higher and a color temperature of 2700K–3000K for warm, flattering light that also shows true paint color. Replacing a basic builder-grade bar with a modern sconce or a lighted mirror frame is a half-day project with a full-room visual payoff.
What are your countertop and sink options?
Countertop decisions split into three tiers based on budget, skill, and how long you need the result to last.
| Option | Time | Approx. Cost (materials) | Durability | Best For |
|---|---|---|---|---|
| Epoxy/resurfacing kit | 1–2 days | $50–$150 | 3–7 years with care | Budget weekend refresh |
| Peel-and-stick overlay | Half-day | $30–$80 | 2–4 years | Renters, short-term fix |
| Concrete microtopping | 2–3 days | $80–$200 | 5 years (sealed) | Intermediate DIYers |
| Full countertop replacement | 1–3 days | $200–$800+ | — | Structural damage, new sink |
Epoxy and resurfacing kits (Rust-Oleum Tub & Tile is a widely available option) require thorough cleaning, light sanding, and careful mixing. The finish looks solid for several years if you keep it dry between uses and reseal annually. Edges and seams are the weak point — water that sits in a corner will eventually lift the coating.
Peel-and-stick overlays are the fastest option and genuinely renter-friendly. They don't hold up to standing water, so they work best on vanities where the sink is separate from the countertop surface.
Concrete microtopping takes more skill: you're troweling thin layers and sealing with a penetrating sealer. Done right, it's one of the most durable DIY options and looks genuinely custom. Done wrong, it cracks at the edges within a year.
Full replacement makes sense when the countertop has structural damage, when you're changing the sink footprint, or when you want a material (quartz, solid surface) that will outlast everything else in the bathroom. For professional-grade refinishing techniques that bridge the gap between DIY and replacement, factory-finish approaches can extend the life of an existing surface significantly.
How do you know if the vanity needs replacing instead of refreshing?
A cosmetic update on a structurally compromised vanity is a short-lived fix. Run this check before you buy a single supply.
- Press the toe-kick firmly. Soft or spongy material means moisture has been sitting in the base — often a sign of particleboard that has swollen and begun to crumble.
- Open and close every door. Sagging doors indicate failing hinges or a warped frame; the latter is harder to fix than it looks.
- Inspect the underside and back panel for dark staining, mildew smell, or delaminated plywood. A flashlight and your nose are your best tools here.
- Check hinge stability. Loose hinges on solid wood can be re-drilled and re-set; loose hinges on crumbling particleboard mean the cabinet wall itself has failed.
Soft spots, delamination, or rot signal replacement rather than refresh — no amount of paint fixes a cabinet that's structurally compromised.
When to replace outright: structural rot in the base or sides, repeated leaks that have soaked the cabinet floor, nonstandard plumbing that needs rerouting, or a layout change (adding a double sink, for example) that requires a wider cabinet.
Short mitigation steps: a sagging door can be shimmed temporarily; a single soft spot on a solid-wood frame can sometimes be treated with wood hardener and filler. But if you find mold behind the cabinet or the base collapses when pressed, stop the DIY and call a licensed contractor.
Pro Tip: Smell matters. A musty odor from inside the cabinet that doesn't go away after airing out usually means mold is growing somewhere you can't see. Don't paint over it.
What does a realistic project timeline and budget look like?
Three project shells cover most bathroom vanity renovation scenarios:
-
One-day refresh (paint touch-up, hardware swap, new mirror): 4–6 hours active work; materials run $50–$150 depending on hardware quality and whether you already own primer and brushes.
-
Weekend full paint and hardware (full cabinet repaint, new hardware, faucet swap, lighting update): roughly 8–12 hours spread across two days to allow proper dry time; materials typically run $150–$400.
-
3–5 day resurfacing or countertop overlay (epoxy countertop kit, concrete microtopping, or new countertop with sink): 2–3 days of active work plus cure time; materials range from $200 to $600+ depending on countertop choice.
Updating an existing vanity rather than replacing it can save homeowners up to ~70% compared to a full replacement — a meaningful difference when a new vanity with installation runs $800–$2,500 or more.
Order of operations (to avoid rework):
- Structural check and any repairs first
- Countertop work before cabinet painting (dust and debris from sanding will land on wet paint)
- Cabinet painting before hardware installation
- Faucet and plumbing work before final styling
- Mirror and lighting last — they're the finishing layer
Tools and materials checklist for a vanity refresh
Gather everything before day one. A mid-project hardware run kills momentum and extends dry times unpredictably.
Prep and safety:
- TSP substitute or heavy-duty degreaser
- Respirator or N95 mask (solvent-based primers require ventilation)
- Nitrile gloves and drop cloths
- Painter's tape (3M ScotchBlue or equivalent)
- Tack cloths or HEPA vacuum
Sanding and bonding:
- 120, 150, and 220 grit sandpaper
- Sanding block or orbital sander
- Wood filler (for old hardware holes)
- Moisture-resistant solvent-based primer
- Cabinet-grade enamel or alkyd paint
- Clear topcoat or sealer (for countertop work)
Application tools:
- Quality angled brush (Purdy or Wooster)
- High-density foam roller
- HVLP sprayer (optional but worth renting for a smooth finish)
- Small detail brush for recessed panels
Plumbing and hardware:
- Adjustable wrench and basin wrench
- Screwdriver set (flathead and Phillips)
- Drill and assorted bits
- Plumber's tape (PTFE)
- Bucket for P-trap removal
- Hole-filling materials if changing hardware pattern
For a deeper look at fixture replacement tools and techniques, Maddladder's step-by-step guide covers the plumbing side in more detail.
What do pros know about paint adhesion that most DIYers miss?
The gap between a paint job that lasts two years and one that lasts ten comes down almost entirely to prep — specifically, mechanical bonding and primer selection.
Sanding to a physical profile using 120–180 grit gives the primer something to grip. "No-sand" primers are convenient, but in a steam-prone bathroom they're a gamble. The mechanical bond is what keeps the finish intact when the room heats up and cools down daily.
The scratch test: prime a small patch, wait 24 hours, then try to lift it with a coin or fingernail. If it peels, your surface wasn't clean enough. Redo the degreasing step before you prime the whole cabinet. This five-minute test saves hours of rework.
Dry time vs. cure time is the other thing most DIYers underestimate. Paint feels dry to the touch in roughly 4 hours, but the finish doesn't reach full hardness for 25–30 days. During that window, avoid slamming doors, scrubbing the surface, or letting shower steam sit on fresh paint. The 48-hour no-shower rule is the minimum — longer is better.
Common mistakes that cause early failure:
- Skipping degreasing entirely (the single most common cause of peeling)
- Using standard latex trim paint instead of cabinet-grade or moisture-resistant enamel
- Applying one thick coat instead of two thin ones
- Poor masking that lets sanding dust contaminate wet primer
- Choosing the wrong bulb color temperature and then repainting because the color "looks wrong" in the finished room
On that last point: a bulb at 5000K (daylight) will make a warm greige look almost gray. Test your lighting before you commit to a paint color — or at least buy the bulbs before you finalize the swatch.
For factory-finish refinishing standards that go beyond typical DIY results, professional-grade coatings and process timing make a measurable difference in how long the finish holds up in a bathroom environment.
When should you DIY, and when should you call a pro?
Most of the work in this guide is genuinely DIY-friendly. A few situations are not.
Safe to DIY:
- Painting cabinets (with proper prep)
- Hardware swaps
- Mirror and lighting fixture changes (when no new wiring is needed)
- Faucet replacement when the footprint matches and supply lines aren't corroded
Call a licensed pro when:
- You find structural rot or mold behind the cabinet
- Supply lines are corroded or the shutoff valves won't close fully
- The new sink requires a different plumbing footprint (new drain location)
- Lighting work requires a new electrical box or additional wiring
- You smell persistent mildew that doesn't clear after airing out
Diagnosing complexity before you start:
- Visible rot or soft wood anywhere in the cabinet structure
- Multiple active or past leak points (staining in more than one spot)
- A plan to change the sink size or countertop cutout
- Any gas appliance within the same wall cavity
Maddladder's repair and replacement services cover fixture replacement, minor plumbing, and code-aware electrical help for Kansas City area homeowners. The estimate-first approach means you get a scoped price before any work starts — useful when you're not sure whether a repair or a full replacement makes more financial sense.
For KC-specific fixture replacement guidance and code-aware checklists, Maddladder's local resources cover the details that national guides often skip.
Key Takeaways
Updating a bathroom vanity with proper mechanical bonding, moisture-resistant primer, and the right order of operations can save homeowners up to ~70% compared to full replacement while delivering a finish that lasts years, not months.
| Point | Details |
|---|---|
| Run the structural check first | Press the toe-kick and inspect under the sink before buying any materials — rot or mold changes the whole plan. |
| Mechanical bonding beats no-sand shortcuts | Sand with 120–180 grit and use a solvent-based primer; this is the single biggest factor in long-term adhesion in humid bathrooms. |
| Cure time is 25–30 days | Paint feels dry in ~4 hours but needs a full month to harden — avoid shower steam for at least 48 hours after painting. |
| Lighting is the highest-ROI swap | A CRI 90+ bulb at 2700K–3000K changes how every other finish reads; buy bulbs before finalizing your paint color. |
| Maddladder for the hard parts | Kansas City homeowners can request a free estimate for fixture replacement, minor plumbing, or any job that crosses into licensed trade territory. |
The part of vanity updates most guides get wrong
Most DIY guides spend 80% of their word count on paint colors and hardware trends. The part that actually determines whether your project looks good in three years — or three months — is the 45 minutes of prep work nobody photographs.
Degreasing is unglamorous. Sanding between coats feels like extra work when the primer already looks fine. Running the scratch test on a small patch before committing to the full cabinet seems overly cautious. But these are exactly the steps that separate a finish that holds up from one that starts peeling at the door edges by winter.
There's also a tendency in DIY content to treat "dry" and "done" as the same thing. They're not. A cabinet that feels dry to the touch after four hours is still chemically curing. Slamming it shut, scrubbing it down, or letting shower steam sit on it during that 25–30 day window is how you undo a weekend of good work. The fix is simple: be patient with the finish even when it looks finished.
One more thing worth saying plainly: if you open the cabinet and it smells like a basement, stop. Mold behind a vanity doesn't get better with paint. It gets worse, and it eventually becomes a much more expensive problem than a new cabinet would have been.
Maddladder can handle the parts you'd rather not DIY
Painting and hardware are well within reach for most homeowners on a weekend. But the moment you find corroded supply lines, a shutoff valve that won't budge, or soft wood that goes deeper than you expected, the project changes character.

Maddladder serves Kansas City area homeowners with licensed handyman support for exactly these situations: fixture replacement, minor plumbing repairs, hardware installs, and code-aware electrical help for lighting upgrades. The process starts with a free estimate — photo-based or on-site — so you know the scoped cost before any work begins. No guessing whether a repair is worth it versus a full replacement.
If your vanity project hits a snag, or if you'd simply rather hand off the plumbing and electrical pieces to someone licensed and local, request a free estimate from Maddladder. Quick response times and flexible scheduling mean you're not waiting weeks to get your bathroom back in service.
Useful sources for further reading
The following sources informed the guidance in this guide and are worth bookmarking for deeper reference:
- How to Update a Bathroom Vanity Without Replacing It — primary source for primer selection, cure time, mechanical bonding, and the scratch test
- Updating an Old Bathroom Vanity on a Budget — weekend timeline guidance and faucet footprint advice
- Instant Tips to Refresh Your Bathroom Vanities Without a Full Remodel — lighting upgrade ROI and CRI recommendations
- Bathroom Vanity Makeover Step-by-Step Tutorial — structural integrity check methodology
- How to Update Your Vanity — Home Depot's step-by-step faucet and vanity installation guide
- How to Replace a Bathroom Vanity — This Old House guide for full vanity replacement, including plumbing and carpentry considerations
- Easy Bathroom Vanity Upgrades On A Budget — budget-focused makeover ideas and before-and-after examples
For code-specific or complex plumbing and electrical work, always consult the product manufacturer's instructions and a licensed local professional before proceeding.