
TL;DR:
- Replacing a light fixture is a straightforward DIY task that involves turning off power, removing the old fixture, and wiring the new one safely. It requires essential tools like a voltage tester, screwdrivers, and a ladder, with safety precautions including verifying power is off before touching wires. If the junction box is damaged or the wiring looks unsafe, professional help is necessary to avoid fire or shock hazards.
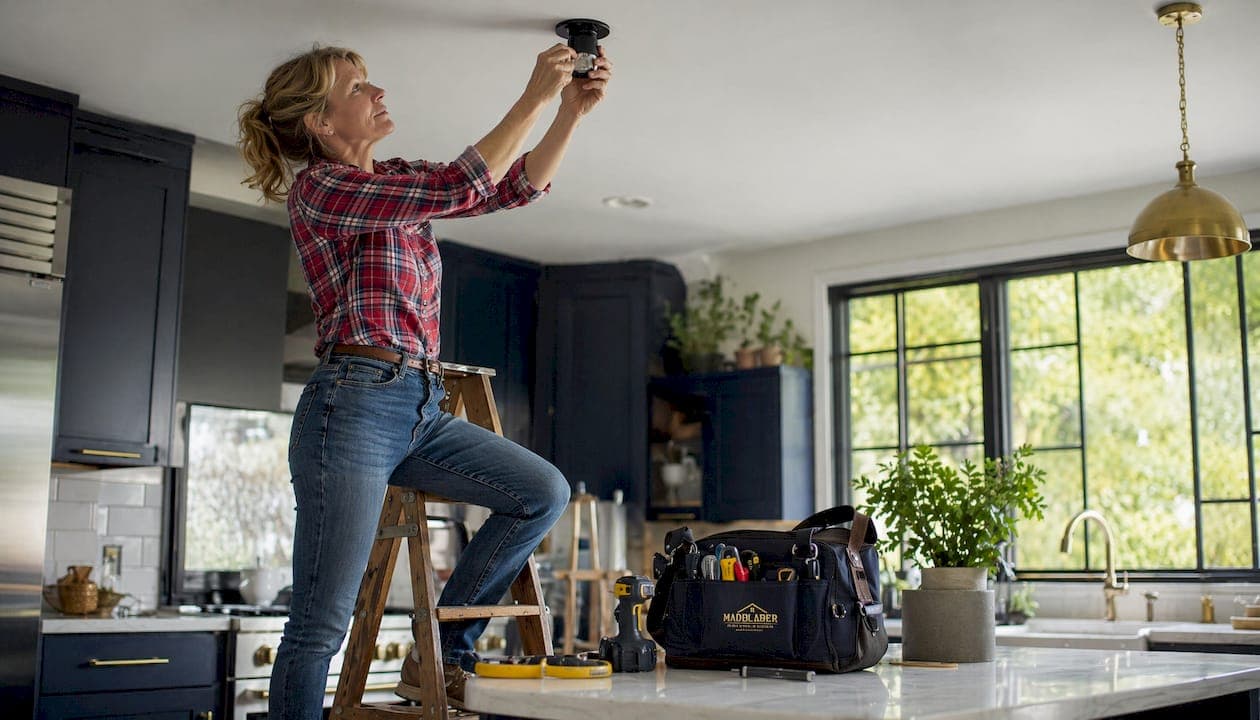
Replacing a light fixture is one of the most approachable electrical tasks a homeowner can tackle. A solid diy fixture replacement guide covers everything from shutting off power at the breaker to testing your new light, and the whole job typically takes 30–45 minutes. The standard industry term for this work is "light fixture installation," and you will see both terms used throughout. This guide walks you through every step: gathering tools, removing the old fixture, wiring the new one, and knowing when to call a licensed electrician instead.
What does a DIY fixture replacement guide require before you start?
Every successful fixture swap starts with the right tools and a firm safety plan. Skipping either one turns a 45-minute project into a dangerous mess.
Tools you need:
- Non-contact voltage tester
- Flathead and Phillips screwdrivers
- Wire strippers
- Needle-nose pliers
- Wire nuts (usually included with the new fixture)
- Safety glasses
- Sturdy stepladder
The non-contact voltage tester is the single most important item on that list. It confirms the circuit is dead before your hands go anywhere near the wiring. A wall switch cuts power to the fixture, but it does not de-energize the wires inside the junction box. Only the circuit breaker does that.
Pro Tip: Position your ladder on a flat, level floor directly below the fixture. Overreaching from an unstable ladder causes more DIY injuries than electrical mistakes do. A properly positioned ladder keeps you stable and your hands free.
Safety glasses protect your eyes from dust, old insulation, and the occasional wire fragment that falls when you open a junction box. Put them on before you touch the ceiling.
How do you safely remove the old fixture?
Removal is where most DIY mistakes happen. Moving too fast through this stage creates wiring confusion that costs you an extra hour later.
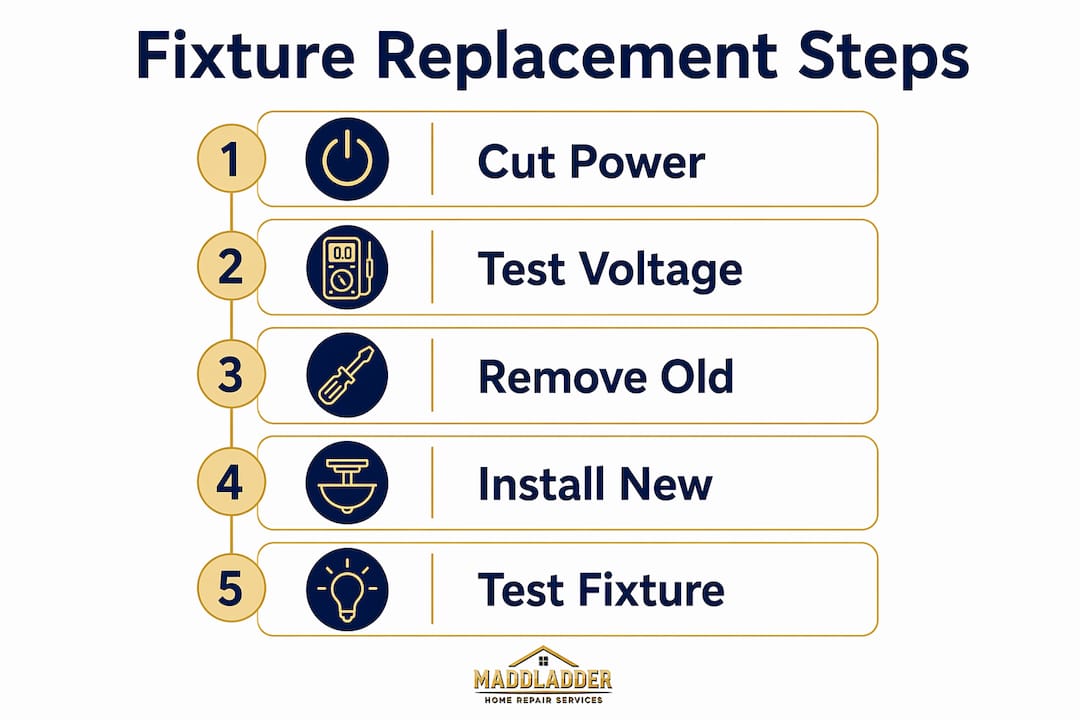
- Go to the breaker panel and flip the circuit breaker for the room to the OFF position.
- Return to the fixture and test with your non-contact voltage tester. Hold it near the switch plate and the fixture itself. Zero reading means the circuit is off.
- Unscrew the canopy or cover plate while supporting the fixture with one hand. Never let the fixture hang by its wires.
- Photograph the wiring before you disconnect a single wire. Photographing connections before disconnecting prevents confusion during reinstallation, especially when wire colors do not match the standard.
- Disconnect the wires by unscrewing the wire nuts and separating each pair.
- Inspect the junction box. Push on it firmly. A box that wobbles or feels loose is a problem you must fix before installing anything new.
Look carefully at the wires and the inside of the box. Damaged, brittle wires or scorch marks are a hard stop. Put the old fixture back, restore power, and call a licensed electrician. No DIY lighting installation is worth a fire or a shock.
Standard residential wiring uses three colors: black (hot), white (neutral), and bare copper or green (ground). Your photo from step 4 is your reference if anything looks unfamiliar.
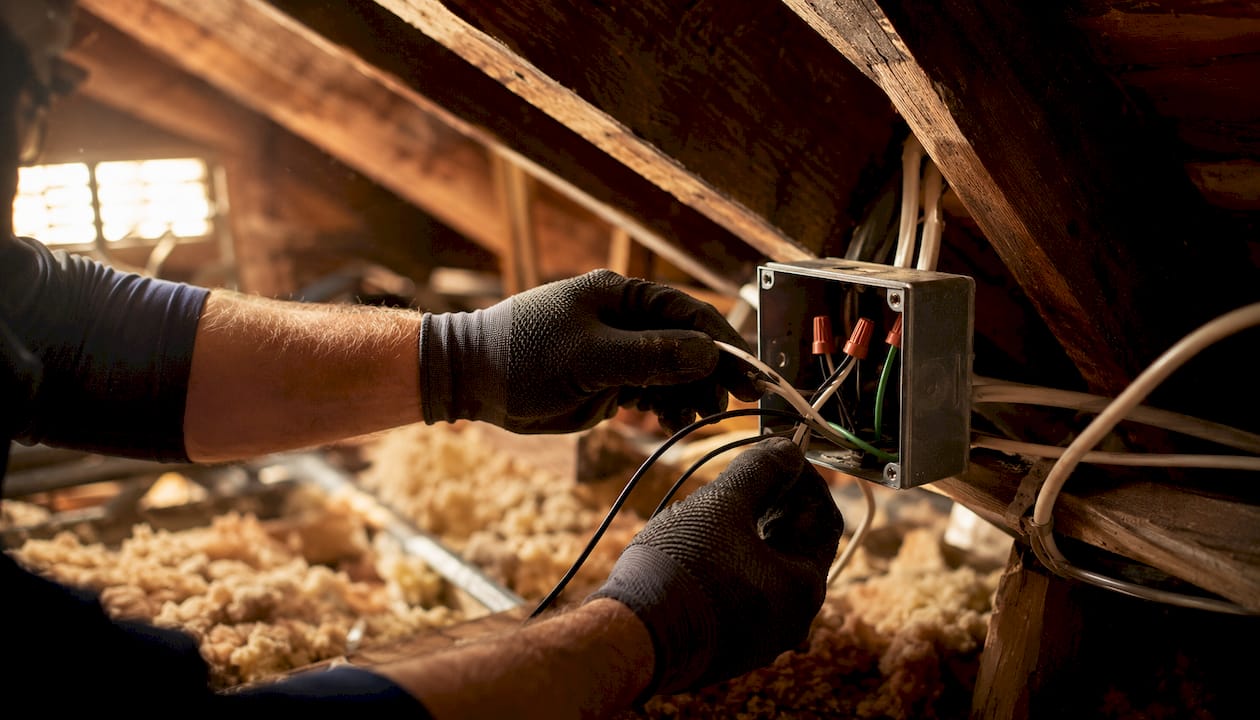
Pro Tip: If the junction box feels loose, check whether it is a remodel box clipped to drywall or a box nailed to a joist. Remodel boxes can loosen over time. Tighten the mounting screws or replace the box before proceeding.
How to install the new fixture: mounting and wiring
With the old fixture down and the box confirmed solid, installation follows a clear sequence. Work through each step without skipping ahead.
- Attach the mounting bracket from your new fixture's hardware kit to the junction box. Most kits include a crossbar or strap that screws directly into the box's threaded holes.
- Thread the fixture wires through the bracket or center nipple as the fixture's instructions specify.
- Connect black to black. Twist the two black wires together clockwise, then thread on a wire nut and tighten it firmly.
- Connect white to white using the same clockwise twist and wire nut method.
- Connect the ground wire. Bare copper or green from the fixture connects to the bare copper from the house wiring. If your home has no ground wire, attach the fixture's ground wire to the metal box grounding screw. Older homes often lack ground wires, and this connection provides essential fault protection.
- Perform the tug test. After each wire nut is on, gently pull each wire. A secure wire connection does not slip. If a wire pulls free, reconnect it and tighten the nut again.
- Fold the wires neatly into the junction box. Avoid sharp bends. Pinched wires cause heat buildup over time.
- Mount the canopy to the bracket. Tighten the screws until the canopy sits flush against the ceiling. Do not overtighten. Cracked canopies are a common and avoidable mistake.
Pro Tip: Check the fixture's maximum wattage rating before installing bulbs. Exceeding the rated wattage causes heat buildup that can damage the fixture or start a fire. LED bulbs draw far less wattage than incandescent bulbs and almost never exceed fixture limits.
Weight matters as much as wiring. Standard junction boxes support up to 50 lbs, but fixtures heavier than 35 lbs require a fan-rated box or a brace bar anchored to the ceiling joists. Check the fixture's listed weight before you buy it.
For more detail on wiring standards and minor electrical upgrades that pair well with new fixtures, the minor electrical upgrade options guide covers common 2026 practices for residential settings.
How do you test the fixture and fix common problems?
Testing is the final checkpoint before you call the job done. It also reveals any wiring errors before they become hazards.
Restore power at the breaker, then flip the wall switch. The fixture should light immediately. If it does not, go back to the breaker, cut power again, and work through this checklist:
- Check wire nuts. Loose wire nuts are the most common cause of a dead fixture after installation.
- Verify wire color matching. A reversed black and white connection will not light the fixture and can trip the breaker.
- Confirm the bulb is seated. A bulb that is not fully screwed in will not make contact.
- Check the bulb wattage. An overloaded fixture can trip a thermal cutoff inside the socket.
- Test the dimmer switch. Not all LED bulbs work with older dimmer switches. If the light flickers or buzzes, the dimmer may need replacing. Flickering lights after installation often point to a dimmer compatibility issue rather than a wiring fault.
"If the breaker trips the moment you restore power, stop immediately. A tripped breaker after fixture installation signals a short circuit, which means two wires are touching that should not be. This is not a DIY troubleshooting situation. Turn off the breaker and call a licensed electrician."
Never assume a tripped breaker is a fluke. Reset it once. If it trips again, the circuit has a fault that requires professional diagnosis.
How do you choose the right fixture and when should you call a pro?
Picking the right fixture before you buy saves a return trip to the hardware store and prevents a mismatch between the fixture and your junction box.
Match weight to box rating. Fixtures heavier than 35 lbs need a fan-rated or joist-mounted box. Standard remodel boxes are not rated for that load.
Match fixture size to room scale. A 24-inch drum shade in a small bathroom overwhelms the space. A 10-inch flush mount in a large dining room disappears. Measure ceiling height and room square footage before choosing.
Call a licensed electrician when you find any of these:
- Wires that are brittle, cracked, or have discolored insulation
- Scorch marks inside the junction box or on wire insulation
- A junction box that moves when you push on it
- Aluminum wiring (silver-colored wires instead of copper)
- No ground wire and no metal box to attach the fixture ground to
- A breaker that trips during installation or testing
The Kansas City fixture replacement checklist outlines the specific conditions that require a licensed electrician under local code, which is useful if you are working in the Kansas City metro area.
Damaged wiring or an unstable box requires professional diagnosis and repair. Attempting to work around either one creates fire and shock risks that no fixture upgrade is worth.
Key Takeaways
Safe DIY fixture replacement requires cutting power at the breaker, verifying with a voltage tester, matching wire colors correctly, and confirming the junction box can support the fixture's weight before installation begins.
| Point | Details |
|---|---|
| Always cut power at the breaker | Turning off the wall switch alone does not de-energize the wires inside the junction box. |
| Photograph wiring before disconnecting | A photo prevents color-matching errors when reconnecting wires on the new fixture. |
| Perform the tug test on every wire nut | Gently pulling each wire after securing confirms the connection is tight and fire-safe. |
| Check junction box weight rating | Fixtures over 35 lbs require a fan-rated or joist-mounted box, not a standard remodel box. |
| Stop and call a pro for damaged wiring | Brittle wires, scorch marks, or a loose box are signs the job exceeds DIY scope. |
What I have learned from watching homeowners replace fixtures
The most common mistake I see is not the wiring. It is the confidence gap between "I turned off the switch" and "I verified the circuit is dead." Those are two completely different things, and the gap between them is where people get hurt.
Every time I walk through a fixture replacement with a homeowner, the voltage tester moment is the one that changes their approach. Holding that tester near a wire and watching the light stay dark is the only confirmation that actually matters. After that, the rest of the job is just mechanical.
The photo step surprises people too. Most homeowners skip it because they assume they will remember which wire goes where. They almost never do. One photo taken before you disconnect anything eliminates that entire category of error.
My honest advice: if you open the junction box and something looks wrong, trust that instinct. Scorch marks, wires that crumble when you touch them, a box that shifts when you push it. These are not minor issues to work around. They are signals that the electrical system needs attention beyond a fixture swap. The step-by-step fixture replacement guide covers the standard process well, but no guide replaces the judgment call you make when something looks off in your specific home.
DIY fixture replacement is genuinely achievable for most homeowners. The ceiling is not the limit. Knowing when to stop is.
— Jennifer
When Maddladder makes the job easier
Not every fixture replacement goes according to plan. Sometimes the junction box is the wrong type, the wiring does not match any standard color code, or the fixture you want weighs more than your current box can handle.

Maddladder serves homeowners across the Kansas City metro area with licensed repair and installation services, including fixture repair and replacement for situations that go beyond standard DIY scope. The team handles electrical fixture work, smart home upgrades, and minor electrical repairs, all with free estimates and flexible pricing starting at $75/hour. If you hit a wall on your installation or want a professional to handle the whole job, Maddladder offers a straightforward path to getting it done right. You can also explore the full range of electrical and plumbing services for other home projects that pair well with a lighting upgrade.
FAQ
Do I need an electrician to replace a light fixture?
Most standard light fixture replacements do not require a licensed electrician. You need one when you find damaged wiring, scorch marks, an unstable junction box, or aluminum wiring.
What tools do I need to replace a light fixture?
The core tools are a non-contact voltage tester, flathead and Phillips screwdrivers, wire strippers, needle-nose pliers, wire nuts, and a sturdy stepladder.
How do I know if my junction box can hold the new fixture?
Standard ceiling junction boxes support up to 50 lbs, but fixtures heavier than 35 lbs require a fan-rated box or a brace bar anchored to the ceiling joists.
Why won't my new fixture light up after installation?
Check for loose wire nuts, reversed wire colors, a bulb that is not fully seated, or a dimmer switch that is incompatible with LED bulbs. Always cut power at the breaker before rechecking connections.
Is it safe to replace a fixture if my home has no ground wire?
Yes, with one condition. Attach the fixture's ground wire to the metal junction box grounding screw if one is present. If no grounding screw exists, consult a licensed electrician before proceeding.