TL;DR:
- Upgrading older homes involves a careful sequence focusing on structure, mechanical systems, insulation, and finishes to protect and preserve original features. Essential updates include repairing the foundation and roof, modernizing electrical and plumbing, and restoring historic elements like wood windows and floors. Proper planning and professional assessments prevent costly surprises and ensure lasting improvements that maintain character and safety.
Upgrade ideas for older homes are defined as targeted improvements that increase safety, comfort, and property value while keeping the original character intact. The best approach follows a clear sequence: structure first, then mechanical systems like LED lighting and 200-amp electrical panels, then insulation, and finally finishes. Skipping that order costs money. Homes built before 1950 often hide asbestos, lead paint, knob-and-tube wiring, and galvanized steel pipes behind perfectly charming walls. The upgrades below are ranked by impact and sequenced so each one protects the work that follows it.
1. upgrade ideas for older homes: start with structure and exterior
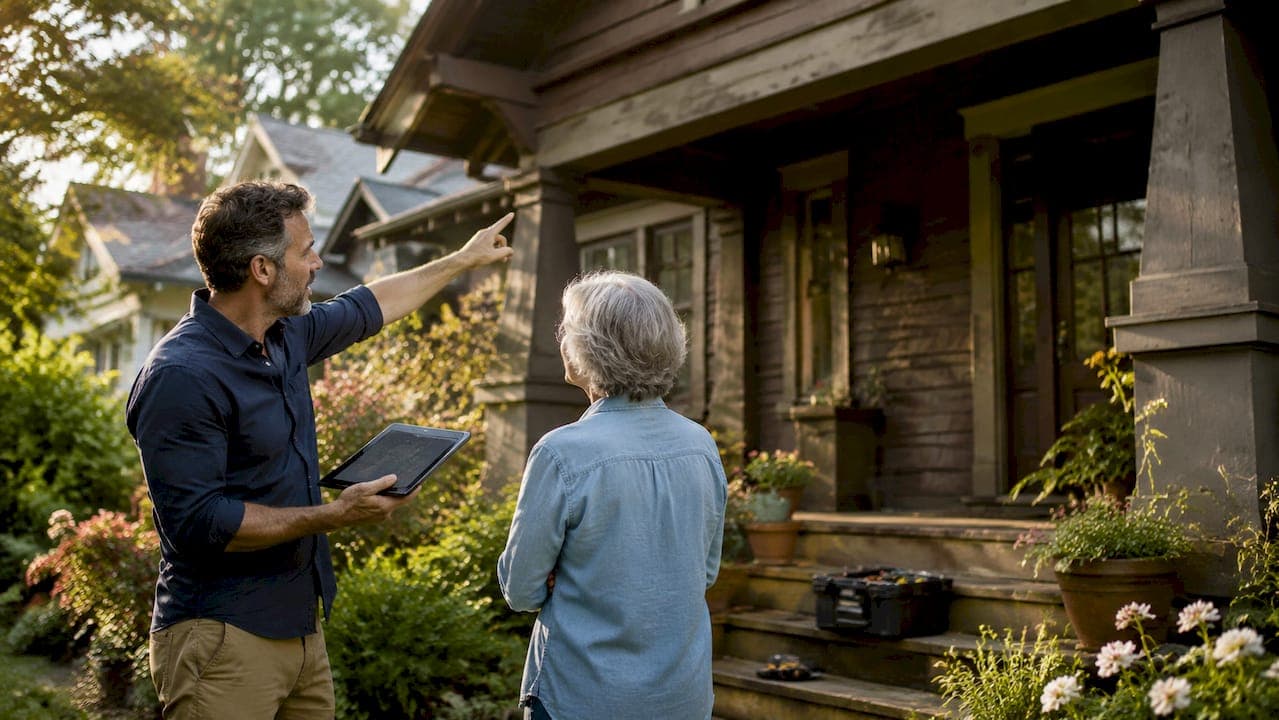
The foundation, roof, and exterior envelope are the first upgrades to address in any older home. Cosmetic work done before fixing these will be damaged or undone when structural repairs finally happen.
Start with a thorough inspection of the roof, foundation, siding, and drainage. Look for soft spots, water staining, efflorescence on masonry, and gaps in flashing. These are not cosmetic problems. They are the source of mold, rot, and structural failure that will compromise every upgrade you make afterward.
Before any walls open, test for asbestos and lead paint. Homes built before 1978 commonly contain lead paint. Homes built before 1980 may have asbestos in insulation, floor tiles, or pipe wrap. Remediation is not optional. It is a safety and legal requirement in most municipalities.
- Repair or replace the roof before any interior work begins
- Seal the foundation and improve grading to direct water away from the home
- Address mold and remediate hazardous materials before opening walls
- Repair or repaint exterior siding to protect the building envelope
Pro Tip: Budget a 30% contingency on top of your estimated project cost for homes over 100 years old. Hidden problems almost always appear once walls are opened, and that buffer prevents the project from stalling.
Sequencing matters more than speed. Proper upgrade sequencing through structure, mechanicals, insulation, and finishes protects completed work and extends the life of every improvement you make.
2. modernize electrical, plumbing, and HVAC systems
Mechanical systems are the second phase of any serious older home renovation. Outdated systems are not just inconvenient. They are fire hazards, health risks, and barriers to homeowner's insurance.
Electrical
Upgrading to a 200-amp panel and replacing knob-and-tube or aluminum wiring is the single most important electrical upgrade in an older home. Modern households run dishwashers, EV chargers, air conditioners, and home offices simultaneously. A 60-amp or 100-amp panel cannot handle that load safely. Many insurance carriers now require updated panels before issuing or renewing policies. Check your local electrical repair options before assuming DIY fixes are sufficient for this scope of work.
Plumbing
Replace lead or galvanized steel pipes with PEX or copper. Lead pipes leach into drinking water. Galvanized steel corrodes from the inside out, reducing water pressure and eventually failing. PEX is flexible, freeze-resistant, and significantly cheaper to install than copper in tight spaces. For a full breakdown of your options, residential plumbing upgrades are worth reviewing before you commit to a material.
HVAC
Ductless mini-split systems are the best HVAC solution for most older homes. They require no ductwork, which means no cutting through original plaster ceilings or framing. Each zone is controlled independently, which improves comfort and reduces energy waste. Understanding HVAC efficiency ratings helps you choose a system that performs well year-round in a Kansas City climate.
Pro Tip: Get a condition-led assessment before budgeting mechanical upgrades. Opening one wall cavity often reveals past amateur repairs, hidden moisture, or undersized systems that change the entire project scope.
3. affordable cosmetic updates that make a real difference
Cosmetic upgrades deliver the highest visible return per dollar spent. The key is choosing updates that look intentional rather than patched together.
Paint is the most cost-effective upgrade in any home. Cabinet painting done correctly requires proper curing time before use. Skipping that step causes premature peeling, which costs more to fix than the original paint job. Use a bonding primer on cabinets and allow full cure before loading shelves or closing doors repeatedly.
Hardware swaps are underrated. Replacing builder-grade cabinet knobs, switch plates, and outlet covers with a consistent finish transforms a room without touching a wall. Matte black switch plates run about $0.98 each. Cabinet knobs cost $2–$5 each. LED bulbs cost $10–$20 per pack. These are under-$50 upgrades that read as intentional design choices, not budget fixes.
- Swap all light fixtures to a consistent metal finish (brushed nickel, matte black, or unlacquered brass)
- Replace dated switch plates and outlet covers throughout the home
- Add peel-and-stick backsplash tile in the kitchen or bathroom for a low-commitment refresh
- Use large-format area rugs to define spaces and add warmth without flooring work
- Install mirrors strategically to increase perceived light and square footage
Lighting ambiance matters more than most homeowners realize. Replacing incandescent or fluorescent fixtures with warm-toned LED alternatives changes how a room feels at every hour of the day. This single swap also cuts lighting energy costs significantly over time.
4. preserve and enhance original historic features
Thoughtful stewardship of a historic home means maintaining original elements rather than replacing them with modern substitutes. The distinction between renovating and stewarding is real and it affects both the character and the resale value of the property.
Original hardwood floors, old-growth wood trim, and built-in cabinetry are worth restoring rather than replacing. Old-growth wood is denser and more stable than anything available today. Sanding and refinishing original floors costs a fraction of new flooring installation and produces a result that no engineered product can replicate.
"Preservationists consistently find that original wood windows, when properly maintained and fitted with interior storm inserts, outperform modern vinyl replacements in both longevity and thermal performance." — Updating a Vintage Home
Interior storm window inserts are a smarter choice than full window replacement in most historic homes. Original wood windows often outlast modern replacements and retain the home's architectural integrity. Adding a storm insert improves thermal performance without destroying the original sash. Repairing original window trim is also far less expensive than full replacement and keeps the home's proportions correct.
| Approach | Outcome |
|---|---|
| Replace original wood windows with vinyl | Loses character, may underperform long-term |
| Restore wood windows and add storm inserts | Preserves character, improves efficiency |
| Remove load-bearing walls for open concept | Risks structural damage, erases intimacy |
| Widen doorways and add cased openings | Improves flow, preserves structure |
| Replace original hardwood with engineered flooring | Loses density and authenticity |
| Sand and refinish original hardwood | Restores beauty at a fraction of the cost |
Widening doorways and adding cased openings creates an open, connected feel without removing load-bearing walls. This approach respects the home's structural integrity and preserves the room-by-room intimacy that makes older homes worth living in. Use subway tile, unlacquered brass fixtures, and period-appropriate millwork to keep new additions consistent with the home's era.
5. add smart home upgrades that fit older architecture
Smart home technology integrates into older homes without requiring major construction. The right devices improve daily comfort and security while staying invisible within the home's existing aesthetic.
A smart thermostat like the Google Nest or Ecobee replaces a standard thermostat in under an hour and learns your schedule to reduce energy waste. Smart door locks, video doorbells, and indoor cameras add security without rewiring. These devices connect to existing Wi-Fi and require no new low-voltage wiring in most cases.
Smart lighting controls are particularly useful in older homes with limited outlet placement. Plug-in smart switches and dimmers work with existing wiring and allow voice or app control without touching the electrical panel. For a full range of smart home upgrade services tailored to older properties, Maddladder covers installation of thermostats, cameras, and connected devices throughout the Kansas City metro area.
Pro Tip: Install smart smoke and carbon monoxide detectors in older homes before any other smart device. Homes with original gas lines or aging electrical systems carry higher risk, and interconnected detectors alert every room simultaneously.
6. improve safety and accessibility without altering character
Safety upgrades protect the people living in the home and reduce liability for landlords and property managers. Many of these improvements are also required under local building codes when a home changes ownership or undergoes permitted renovation.
Grab bars in bathrooms, non-slip flooring in wet areas, and improved stair lighting are the highest-priority safety upgrades in older homes. These are not institutional additions. Modern grab bars come in brushed nickel, matte black, and bronze finishes that blend with period-appropriate bathroom fixtures. Maddladder's ADA safety and mobility services cover grab bar installation, ramp construction, and accessibility modifications for Kansas City homeowners.
Stair railings in older homes frequently fail to meet current code for height and spacing. Replacing or reinforcing them is a straightforward upgrade that significantly reduces fall risk. Exterior lighting upgrades, including motion-activated fixtures at entries and walkways, improve security and reduce trip hazards after dark.
Key takeaways
The most effective approach to upgrading an older home is to sequence improvements from structure to systems to finishes, preserving original features wherever restoration outperforms replacement.
| Point | Details |
|---|---|
| Sequence upgrades correctly | Address structure and exterior before mechanical systems, insulation, or finishes. |
| Budget for surprises | Add a 30% contingency for homes over 100 years old to cover hidden damage. |
| Restore before replacing | Original hardwood, wood windows, and trim outperform modern substitutes in most cases. |
| Cosmetic wins are affordable | Hardware swaps, LED bulbs, and paint deliver high visual impact for under $50 per item. |
| Smart tech fits old homes | Devices like Nest thermostats and smart locks install without major electrical work. |
What i've learned from working on older homes
I have seen homeowners spend $30,000 on a kitchen remodel only to discover knob-and-tube wiring behind the new cabinets six months later. The contractor had to open walls that had just been finished. That project cost an additional $12,000 and months of frustration. It is the most common and most avoidable mistake in older home renovation.
The homes I respect most are the ones where the owner treated the upgrade process like a conversation with the building rather than a battle against it. A condition-led assessment at the start of any project reveals what the house actually needs, not just what looks obvious from the surface. That assessment changes the budget, the timeline, and the sequence of every decision that follows.
My honest opinion: most homeowners underestimate how much character they destroy by moving too fast. Vinyl windows, laminate over original hardwood, and drywall over plaster all save money in the short term and cost far more in regret and resale value later. Patience and phased planning produce homes that feel genuinely improved rather than patched.
— Jennifer
How Maddladder helps you upgrade your older home
Older homes need professionals who understand the difference between a quick fix and a lasting improvement. Maddladder serves homeowners, landlords, and property managers across the Kansas City metro area with licensed, dependable service for exactly the upgrades covered in this article.

From plumbing and electrical upgrades to smart home installations, grab bar mounting, trim replacement, and drywall repair, Maddladder handles the work that older homes demand. Free estimates make it easy to start with a realistic scope before committing to a budget. Whether you need a single repair or a phased upgrade plan, Maddladder's repair and replacement services are built for the complexity that vintage properties bring. Call or request your free estimate online today.
FAQ
What upgrades add the most value to an older home?
Electrical panel upgrades, plumbing replacement, and roof repairs add the most measurable value because they address safety and insurability. Cosmetic updates like refinished hardwood floors and fresh paint deliver the highest visible return per dollar spent.
How do i modernize an older home without losing its character?
Restore original features like hardwood floors and wood windows rather than replacing them. Add modern function through smart thermostats, updated fixtures, and widened doorways instead of removing walls or installing materials that clash with the home's era.
What is the correct order for renovating an older home?
Follow a four-phase sequence: structure and exterior first, then mechanical systems (electrical, plumbing, HVAC), then insulation and walls, then finishes. This order prevents completed work from being damaged by later repairs.
Are affordable home upgrade ideas actually worth the effort?
Yes. Swapping cabinet hardware, replacing switch plates, and upgrading to LED bulbs each cost under $50 per item and produce results that read as intentional design. These small changes compound across a home and significantly improve how a space feels.
Do older homes need a professional assessment before renovating?
A professional condition-led assessment is strongly recommended before any renovation in a home over 50 years old. Hidden mold, past amateur repairs, and hazardous materials like asbestos or lead paint routinely appear once walls are opened, and finding them early prevents costly project overruns.