
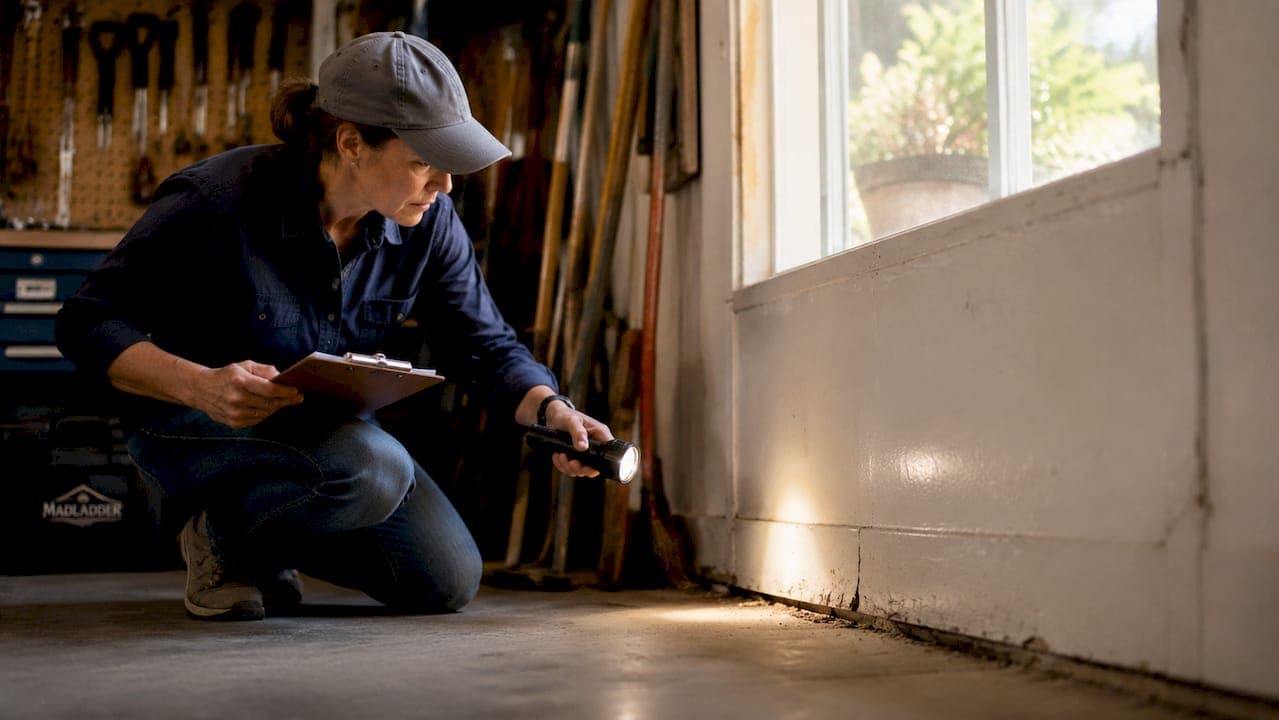
TL;DR:
- Regular home inspections help detect safety hazards and maintenance needs early, saving money and preventing damage. Homeowners should conduct biannual DIY walkthroughs with basic tools, focusing on exterior and interior systems, and seek professionals for major issues like foundation cracks or mold. A structured routine and documentation protect your property value and support timely repairs.
A routine home inspection is the process of systematically evaluating your property's condition to catch maintenance needs and safety hazards before they turn into expensive repairs. Think of it as a physical for your house. Most homeowners skip it until something breaks, and that's exactly when the bills get painful. This routine home inspection guide walks you through the tools you need, the steps to follow, and the red flags that demand immediate attention. Whether you own one home or manage multiple rental properties, a structured annual home review is the single most cost-effective maintenance habit you can build.
What does a routine home inspection guide actually cover?
A routine property assessment covers every major system and surface of your home, from the foundation to the roof. The industry term for a self-conducted version is a "DIY walkthrough," while a licensed professional performs what the industry calls a "standard home inspection" under guidelines set by organizations like InterNACHI (International Association of Certified Home Inspectors). Both serve different but complementary purposes.
Homeowners should perform DIY walkthroughs at least twice a year, ideally in spring and fall, with monthly checks on smoke detectors and plumbing. That seasonal rhythm matters because winter stress and summer heat each create distinct failure patterns. A comprehensive professional inspection can take up to 4 hours depending on home size, while a focused DIY walkthrough typically runs 30 minutes to 2 hours. Knowing that range helps you block the right amount of time and avoid rushing past critical areas.
The preventive benefit is real. Small issues caught early, like a hairline crack in caulking or a slow drain, cost far less to fix than the water damage or mold that follows if you ignore them. Regular DIY inspections paired with periodic professional evaluations provide the most complete picture of your home's health.
Tools and preparation for an effective home inspection
The right tools make the difference between a thorough check and a casual glance. You do not need professional-grade equipment for a DIY walkthrough.
Basic tools every homeowner needs:
- Flashlight (or a headlamp): for attics, crawl spaces, and dark corners
- Ladder: to safely check gutters, eaves, and roof edges
- Moisture meter: detects hidden water behind walls and under floors
- Level: confirms floors and window frames are not shifting
- Smartphone camera: documents conditions over time with dated photos
Essential DIY inspection tools like these can be sourced affordably at any hardware store. The smartphone camera is particularly underrated. A photo taken in march and compared to one from september reveals gradual changes that your eye alone will miss.
Pro Tip: Store all your inspection tools in one labeled bin or bag. Before each walkthrough, pull the bin out and check that batteries are fresh and the moisture meter is calibrated. A five-minute setup saves you from stopping mid-inspection to hunt for a flashlight.
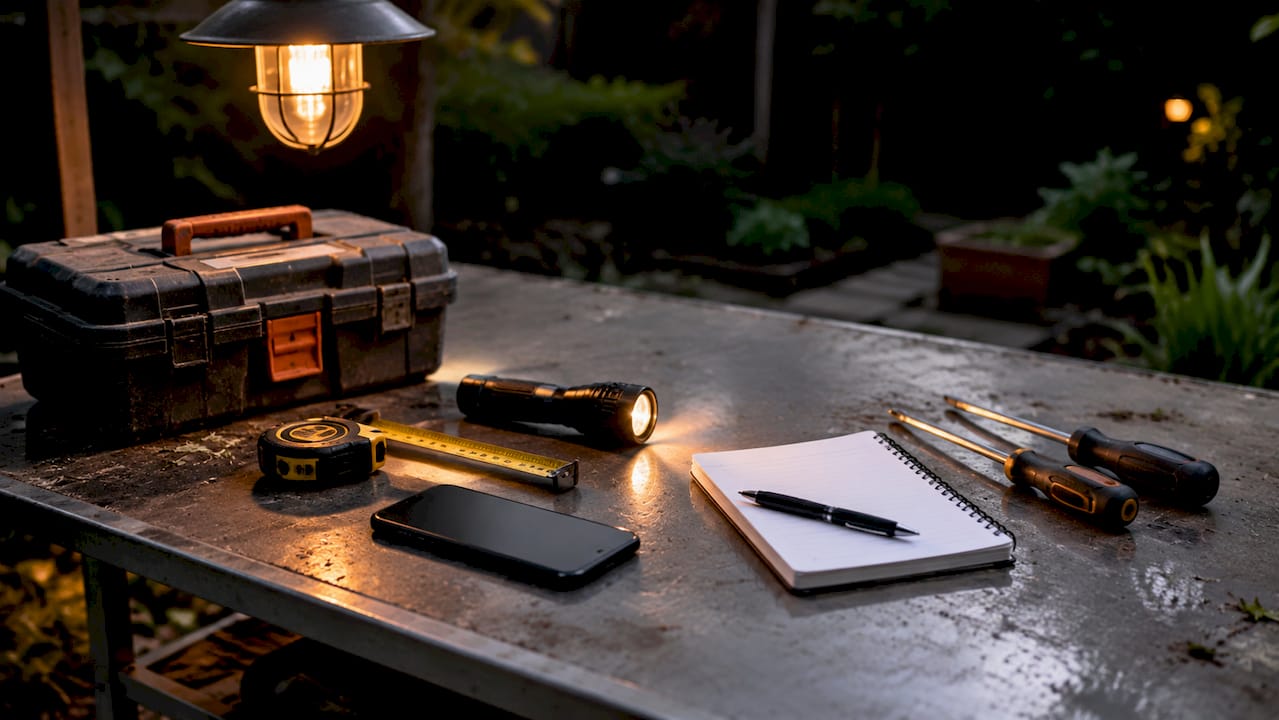
Preparation also means reviewing your notes from the last inspection. If you flagged a soft spot on the deck last fall, that is your first stop this spring. Embedding checklists in a digital system, whether a notes app or a simple spreadsheet, prevents issues from falling through the cracks between visits. Print or pull up your home inspection checklist before you start, and work through it in order rather than improvising.
| Preparation step | Why it matters |
|---|---|
| Review prior inspection notes | Tracks whether flagged issues have worsened |
| Charge devices and test tools | Avoids mid-inspection delays |
| Pull up your checklist | Keeps the walkthrough systematic, not casual |
| Wear appropriate clothing | Protects you in attics, crawl spaces, and on ladders |
How to conduct a thorough home inspection step by step
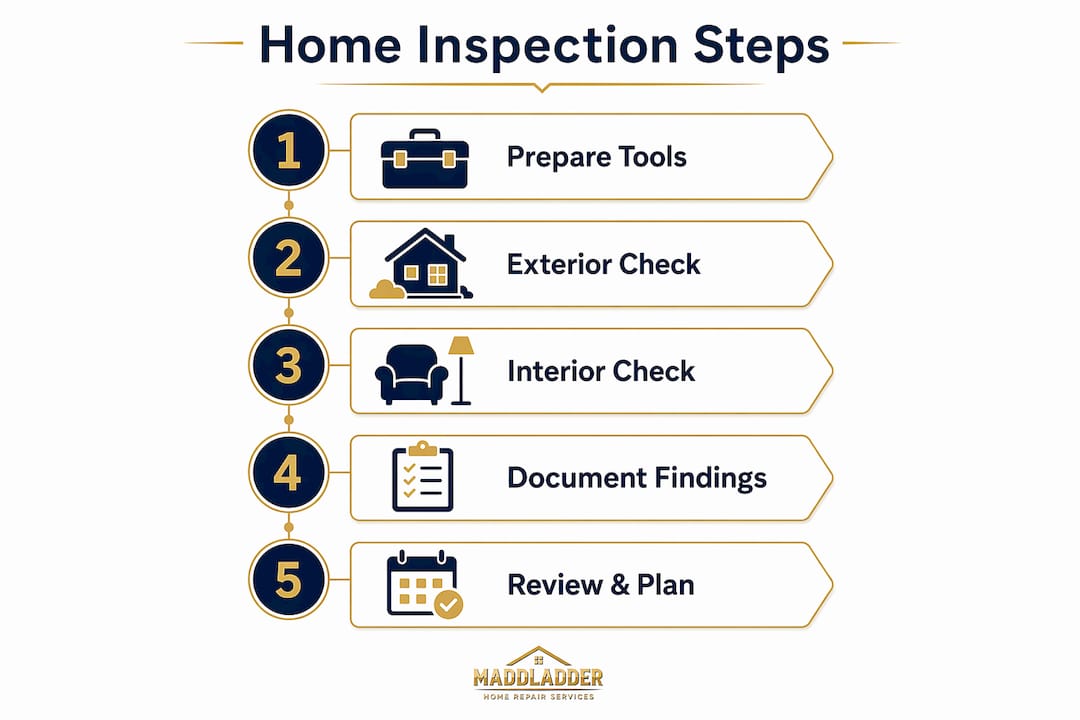
Work from the outside in, and from the top down. That order follows water, which is the source of most home damage.
Exterior inspection
- Foundation and grading: Walk the perimeter and look for cracks, settling, or gaps where the foundation meets the siding. Soil grading can settle and create low spots that pool water near the foundation. Run a garden hose along the base of the house to watch where water flows. If it runs toward the house, you have a drainage problem worth fixing before winter.
- Siding and trim: Look for warped boards, peeling paint, gaps in caulking, or rot at corners and window frames. These are entry points for water and pests.
- Roof and gutters: From the ground or a ladder at the eaves, check for missing or curled shingles, damaged flashing around chimneys and vents, and gutters pulling away from the fascia. A spring roof maintenance checklist is a useful companion for this step, especially after a harsh winter. Clear gutters of debris and confirm downspouts direct water at least 6 feet from the foundation.
- Windows and doors: Check weatherstripping, caulking, and operation. A door that sticks or a window that will not lock is both a comfort and a security issue.
Pro Tip: Take your exterior photos at the same time of day each visit. Consistent lighting makes it easier to spot changes in cracks, staining, or paint condition when you compare photos side by side.
Interior and mechanical systems
Move inside and work room by room, starting from the basement or crawl space and finishing in the attic.
- Basement and crawl space: Look for water stains, efflorescence (white mineral deposits on concrete), standing water, and signs of pest activity. Check exposed pipes for corrosion or drips.
- Attic: Confirm insulation is evenly distributed and not compressed. Look for daylight coming through the roof deck, signs of animal entry, and moisture staining on rafters.
- Interior rooms: Test every outlet with a phone charger. Check ceilings and walls for stains, bubbling paint, or soft spots that indicate moisture. Open and close every window and door.
- Kitchen and bathrooms: Run water in every sink and check under cabinets for leaks. Flush toilets and watch for slow drains or running water after the flush stops.
- HVAC system: Replace filters if they are dirty. Listen for unusual sounds when the system cycles on. Check the area around the furnace and water heater for rust, corrosion, or gas odors.
- Electrical panel: Look for tripped breakers, double-tapped wires (two wires on one breaker), or signs of heat damage. If you see any of these, call a licensed electrician.
Document every finding with a photo and a short note. Date each entry. This record becomes your maintenance log and is invaluable if you ever sell the property or file an insurance claim. For a detailed look at how roofing inspections are conducted, a professional walkthrough guide can supplement your own exterior checks.
What are the most common problems found during home inspections?
Water intrusion is the most common finding in home inspections, followed by electrical hazards, HVAC deficiencies, and structural cracks. Knowing which problems are urgent and which are cosmetic saves you from panic and from ignoring real danger.
Top safety hazards to prioritize:
- Water stains on ceilings or walls (active or past leaks)
- Tripped or frequently resetting circuit breakers
- Missing or non-functional smoke and carbon monoxide detectors
- Trip hazards: loose carpet, uneven thresholds, broken stair treads
- Handrails that wobble or are missing entirely
Falls are the leading cause of injury for older adults, which makes handrail and lighting checks a non-negotiable part of any home safety inspection guide. That risk applies to any home with stairs, not just those occupied by seniors.
Foundation cracks deserve specific attention. Hairline cracks in poured concrete foundations are usually normal settling. Stair-step cracks in brick or block, and horizontal cracks in any foundation wall, are red flags that require a structural engineer's evaluation. Do not defer those.
Smoke detectors last approximately 10 years, and carbon monoxide detectors last approximately 5 years. Pressing the test button only confirms the battery and alarm work. It does not confirm the sensor is still functional. Replace detectors on schedule, not just when the battery chirps.
Source: Healthline Home Safety Checklist
Use your inspection findings to build a prioritized repair list. Separate items into three categories: urgent safety hazards (fix within days), maintenance items (fix within 30–90 days), and cosmetic issues (schedule when budget allows). That framework keeps you from spending money on paint while a slow leak quietly damages your subfloor.
When should you call a professional inspector or repair service?
DIY walkthroughs have real limits. Certain findings require a licensed professional, and recognizing that line protects both your safety and your investment.
Call a professional when you find:
- Horizontal or stair-step foundation cracks
- Mold or suspected mold in attics, crawl spaces, or behind walls
- Electrical panels with double-tapped breakers or aluminum wiring
- Evidence of active roof leaks with unknown source
- Gas odors near the furnace, water heater, or stove
Homeowners who accompany professional inspectors can ask questions in real time and learn to distinguish urgent structural issues from cosmetic ones. That knowledge pays off in every future DIY walkthrough you conduct. Schedule a professional inspection every 3–5 years for a well-maintained home, or annually for older properties and rental units.
Pro Tip: Before a professional inspector arrives, write down every concern you noticed during your last DIY walkthrough. Hand the list to the inspector at the start. Professionals cover more ground when they know which areas the homeowner has already flagged.
Maddladder's plumbing and electrical repair services are designed for exactly the findings that fall outside DIY territory. Minor plumbing leaks, outlet replacements, and GFCI installations are the kinds of repairs that follow naturally from a thorough home inspection checklist. Having a reliable service contact ready before you find a problem means faster resolution when you do.
Key Takeaways
A consistent inspection routine, conducted twice yearly with a structured checklist, is the most cost-effective way to protect your home's safety and long-term value.
| Point | Details |
|---|---|
| Inspect twice a year | Spring and fall walkthroughs catch seasonal damage before it compounds. |
| Use a digital checklist | Standardized checklists prevent issues from being missed between visits. |
| Know your crack types | Hairline concrete cracks are normal; horizontal or stair-step cracks need a structural engineer. |
| Replace detectors on schedule | Smoke detectors last 10 years; CO detectors last 5 years. Button tests are not enough. |
| Call professionals for key findings | Mold, foundation movement, and electrical defects require licensed evaluation, not DIY fixes. |
Why I think most homeowners inspect too late
Most homeowners I talk to treat a home inspection like a fire alarm. They only think about it after something has already gone wrong. That reactive mindset is the single most expensive habit in home ownership.
The homeowners who come out ahead financially are the ones who inspect on a calendar, not on a crisis. They walk their property every spring and fall, they keep a photo log, and they have a short list of trusted professionals ready to call. They are not spending more time on maintenance. They are spending it at the right time.
The part that surprises people is how much you learn from your own home when you look at it systematically. A moisture meter reading that was 12% in march and is now 18% in september tells you something is changing behind that wall. You would never notice that with a casual glance. That kind of early signal is what separates a $200 caulking job from a $4,000 mold remediation.
Landlords especially underestimate the value of documented inspections. A dated photo log showing the condition of a unit before and after a tenancy is one of the most useful records you can have. It protects you legally and gives you a clear maintenance baseline for every property you manage. For more on building that habit, why regular safety checks matter is worth reading before your next walkthrough.
— Jennifer
Maddladder is ready when your inspection finds a problem
After a thorough walkthrough, your repair list needs a reliable team behind it.

Maddladder serves homeowners and landlords across the Kansas City metro with licensed repair and replacement services, from drywall and trim to minor plumbing and electrical fixes. When your inspection turns up a leaking shutoff valve, a broken outlet, or a door that will not close properly, Maddladder's repair and replacement services handle it without the wait. Maddladder also installs smart home upgrades like thermostats and security cameras, which add a layer of ongoing monitoring between your seasonal walkthroughs. Free estimates and flexible scheduling make it easy to act on your inspection findings the same week you find them.
FAQ
How often should I do a routine home inspection?
Homeowners should conduct DIY walkthroughs at least twice a year, in spring and fall, with monthly checks on smoke detectors and plumbing fixtures.
What is the difference between a DIY inspection and a professional one?
A DIY walkthrough uses basic tools to identify visible issues, while a professional inspection follows InterNACHI standards and covers systems a homeowner cannot safely access or evaluate alone.
How long does a home inspection take?
A focused DIY walkthrough takes 30 minutes to 2 hours. A comprehensive professional inspection can run up to 4 hours for larger or more complex properties.
What foundation cracks should I worry about?
Hairline cracks in poured concrete are typically normal. Stair-step or horizontal cracks in brick, block, or any foundation wall signal structural movement and require a licensed structural engineer.
When should smoke and carbon monoxide detectors be replaced?
Smoke detectors should be replaced every 10 years and carbon monoxide detectors every 5 years. Testing the button only confirms power, not sensor function.