
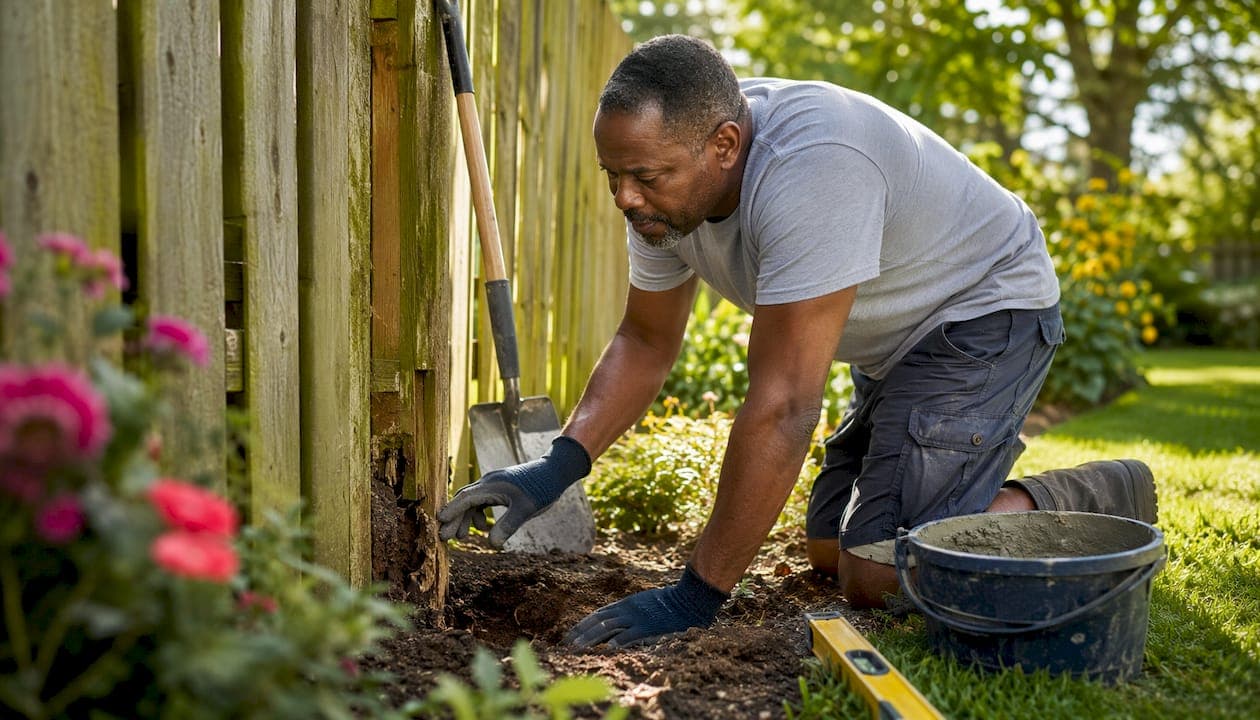
Fixing fence posts comes down to one decision: is the wood still solid, or has rot taken over? If the post passes the screwdriver test (press firmly at ground level and the blade doesn't sink in), you can stabilize it without replacement. If it sinks in easily, you need a new post. The five main repair methods are sistering a new post alongside the old one, installing a steel post mender, resetting the base in fresh concrete, using expanding foam, or driving a ground spike. Most of these are genuine Saturday-afternoon projects that cost well under $100 in materials.
The core rule: repair works when the wood above ground is sound. Replacement is the only real fix when rot has compromised the structural section.
- Sistering: bolt a new post alongside the leaning one
- Steel post mender (Simpson Strong-Tie E-Z Mender style bracket): cut the rotted base, slide on the bracket, drive it into the ground
- Concrete reset: excavate, re-plumb, pour fresh concrete
- Expanding foam: fast-set product like Sika Post Fix sets in 3 minutes and reaches full strength in 3 hours.
- Ground spike: drive a metal spike, drop the post in, tighten the bolts
Table of Contents
- Before you start: how to assess and prepare for the repair
- Step-by-step repair methods for fence posts
- Final inspection and maintenance after the repair
- When to call a professional for fence post work
- Maddladder handles fence post repairs in the Kansas City area
- Key takeaways
Before you start: how to assess and prepare for the repair
The wiggle test tells you almost everything. Grab the post at waist height and push it side to side. Solid resistance means the footing has shifted but the wood is fine. Noticeable movement combined with soft, spongy wood at the soil line means replacement, not repair. A post leaning 2–4 inches can almost always be reset; one that has snapped at the base cannot.
Tools and materials to gather before you dig:
- Post hole digger or digging bar
- Level (a quality one, not a dollar-store bubble level)
- Cordless drill with long bits
- Reciprocating saw (for cutting rotted sections)
- Concrete mix or Sika Post Fix foam
- Gravel (3/4-inch crushed stone)
- Carriage bolts, lag screws, or Simpson Strong-Tie E-Z Mender bracket
- Safety gloves and eye protection
Pro Tip: Use pressure-treated lumber rated UC4B or higher for any new post or sister post going into the ground. That rating means the wood is treated to resist rot and insects below grade, not just at the surface.
Stabilize the fence panels on both sides of the damaged post before you start digging. A leaning post under tension can snap or pull adjacent rails when you loosen its base. Two 2x4 braces staked at angles will hold things steady while you work.
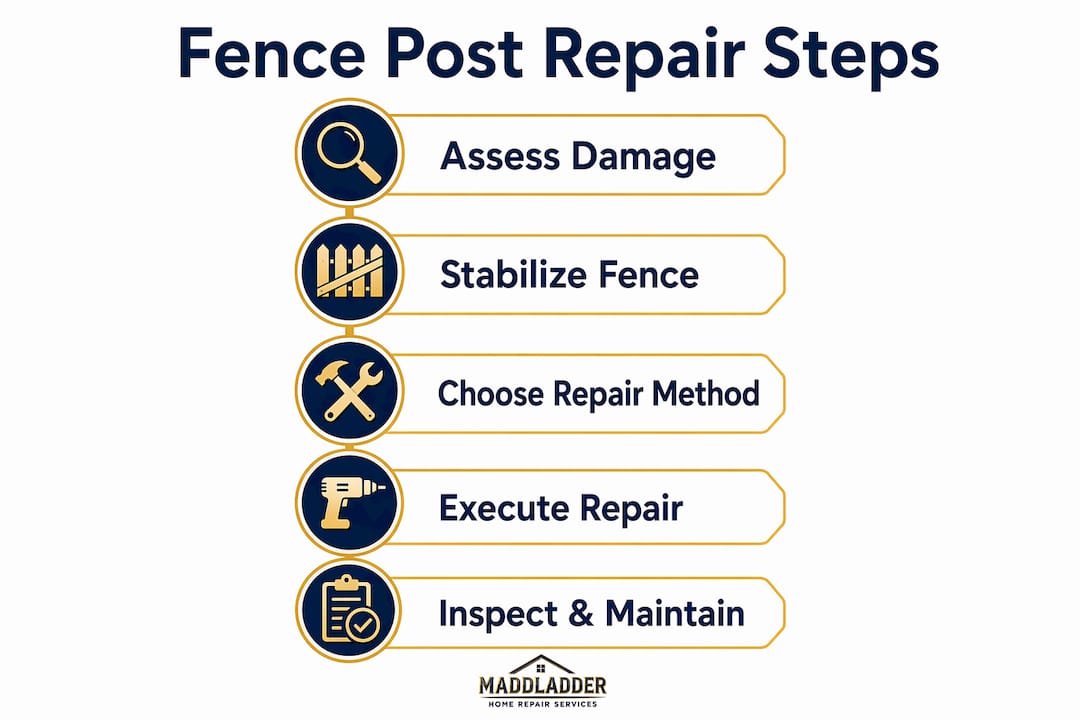
Step-by-step repair methods for fence posts
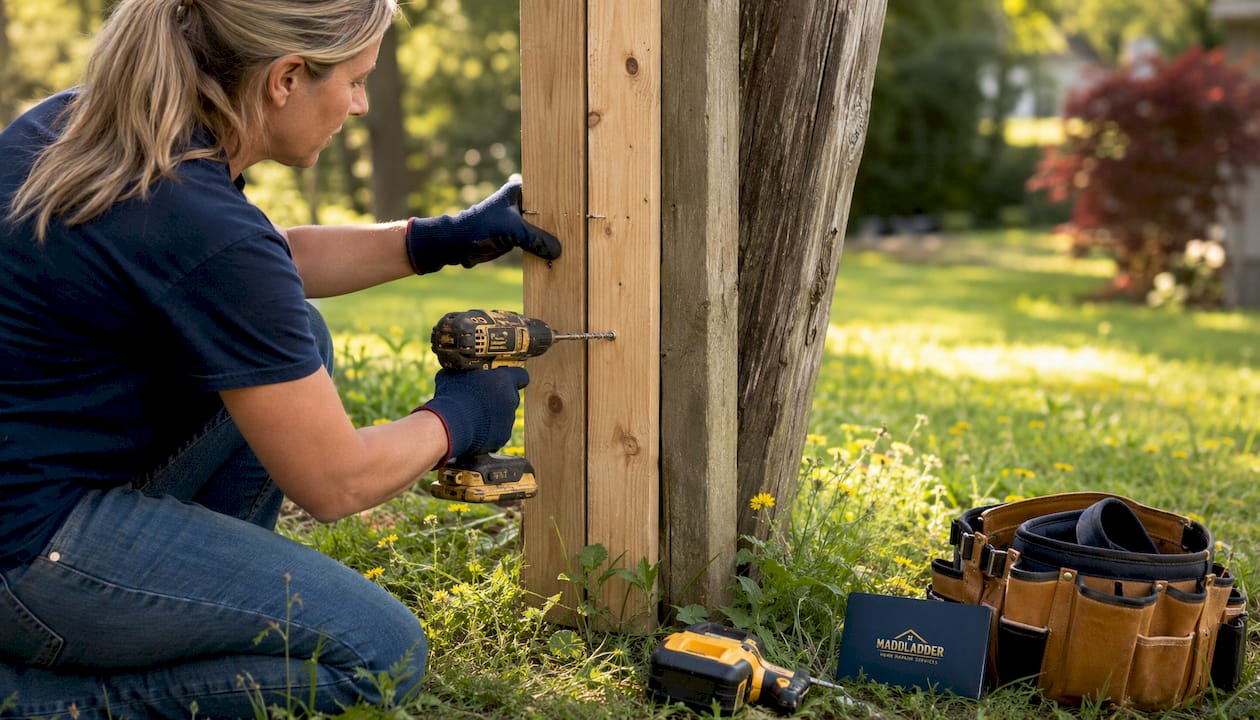
1. Sistering a new post
Sistering is the fastest permanent fix when the original post is leaning but the wood is still solid. You drive a new post directly alongside the old one and bolt them together. The new post takes over the structural load.
- Drive a new pressure-treated 4x4 or steel post into the ground directly beside the leaning post to a depth appropriate for the fence height.
- Push the leaning post back to plumb and clamp both posts together.
- Drill through both posts and install two 3/8-inch carriage bolts, one near the top of the overlap and one near the bottom.
- Tighten firmly, backfill disturbed soil, and tamp it down.
No fence disassembly required. Total time: under two hours.
2. Steel post mender (E-Z Mender bracket)
This method works when the post is rotted at ground level but solid above. A steel post mender is an E-shaped bracket that bolts to the remaining solid post and extends into the ground for support.
- Dig out soil around the rotted base, exposing enough length of the post to attach the mender securely.
- Cut away the rotted section with a reciprocating saw.
- Slide the Simpson Strong-Tie E-Z Mender onto the remaining solid post.
- Drive the bracket's ground spike into the earth, or set it in concrete for maximum strength.
- Bolt the mender to the post with lag screws.
The bracket is visible at ground level, but the repair takes 30–60 minutes per post and requires no fence disassembly.
3. Resetting with fresh concrete
This is the gold-standard fix for a post that has simply lost its footing due to soil movement. Per AFA standards, post holes should go at least one-third the total post length deep for proper stability.
- Dig around the base to expose the existing footing.
- Break up old concrete with a digging bar if needed.
- Push the post back to plumb and brace it with diagonal 2x4s staked into the ground.
- Add 4–6 inches of gravel at the base for drainage.
- Pour fast-setting concrete mix around the post, checking plumb as you pour.
- Crown the top of the concrete so it slopes away from the post to shed water.
- Keep the post braced for 24–48 hours while the concrete cures.
Done correctly with proper drainage and sloped concrete, a reset post can last 15–25 years.
4. Expanding foam (Sika Post Fix)
Expanding foam is faster than concrete and works well for posts with solid wood that need a quick, reliable reset. Sika Post Fix sets in 3 minutes and reaches full strength in 3 hours.
- Dig out enough soil to allow the post to be reset plumb, usually 4–6 inches deep.
- Reset the post to plumb and brace it immediately.
- Break the inner seal of the Sika Post Fix bag, knead it briefly, then cut and pour into the hole.
- The foam expands to fill all gaps and sets firm in 3–5 minutes.
- Check plumb once more right after pouring. You have a very short window to adjust.
The critical constraint: foam hardens quickly with almost no room for adjustment after it sets, unlike concrete. Get the post perfectly plumb before you pour.
5. Ground spikes
Ground spikes work well when a rotted post needs full replacement and you want to skip concrete entirely. Drive the spike, drop in the post, tighten the bolts.
- Position the spike where the new post will stand.
- Drive it into the ground with a sledgehammer, checking for level every few strikes.
- Once firmly set, drop a 4x4 post into the square socket.
- Tighten the bolts to secure the post.
- Reattach fence rails and boards.
Ground spikes are fast and require minimal digging, though they work best in firm, stable soil rather than loose or sandy ground.
| Method | Best for | Key materials | Durability | Cost/ease |
|---|---|---|---|---|
| Sistering | Leaning post, solid wood | New post, carriage bolts | 15–25 years | Low cost, easy |
| Steel post mender | Rotted base, solid above | E-Z Mender bracket, lag screws | — | Moderate cost, easy |
| Concrete reset | Lost footing, solid wood | Concrete mix, gravel | 15–25 years | Low cost, moderate effort |
| Expanding foam | Quick reset, solid wood | Sika Post Fix | Similar to concrete | Low cost, very easy |
| Ground spike | Full replacement | Metal spike, new post | Long-term | Moderate cost, easy |
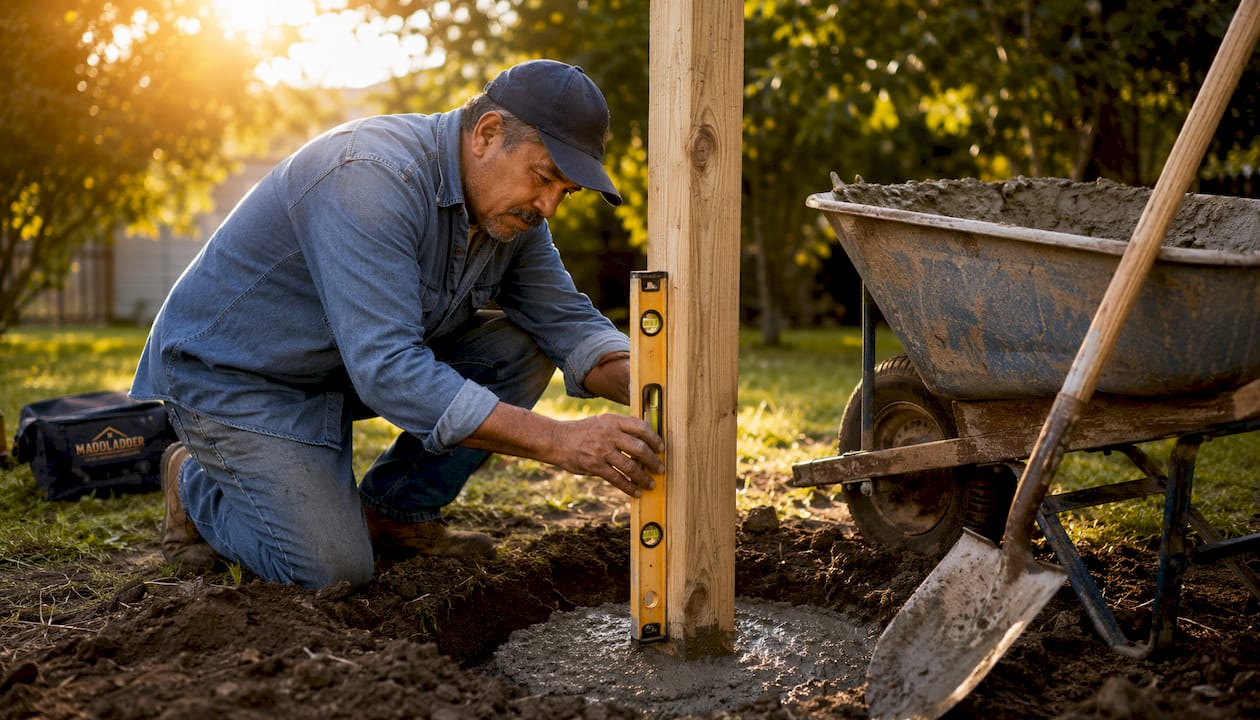
Final inspection and maintenance after the repair
Once the concrete or foam has cured, check the post in two directions with a level. Push it firmly from multiple angles. Any movement means the repair needs to be redone before you reattach panels.
Signs the repair needs attention:
- Post rocks or shifts when pushed
- Concrete has cracked or pulled away from the post
- Post is visibly out of plumb after curing
Inspect the full fence run after storms. A single leaning post creates uneven tension that can pull adjacent posts out of plumb over time, even when those posts were originally fine.
Pro Tip: Apply copper naphthenate or a similar wood preservative to the below-grade portion of any wood post before setting it. This step dramatically slows moisture absorption at the most vulnerable point.
For long-term maintenance, crown every concrete footing so water runs away from the post rather than pooling at the base. Add gravel around posts in wet or clay-heavy soil. Metal post bases that lift the wood above ground contact are worth retrofitting when you have the chance.
When to call a professional for fence post work
Some repairs genuinely call for professional help. Extracting a post set in a large concrete footing is physically demanding and often requires a breaker bar or even a small excavator. Multiple leaning posts across a fence run suggest a drainage or soil problem that a quick DIY fix won't solve.
Call a licensed handyman when:
- More than three posts need repair or replacement at once
- The existing concrete footing is massive and won't break up easily
- The post has snapped below grade and the stump is buried
- You're unsure whether the fence structure is still sound after storm damage
A professional brings the right tools, saves you a full day of labor, and can spot secondary damage you might miss. Knowing when to delegate home repairs often saves more money than doing everything yourself.
Hiring a licensed handyman for fence post work means the job gets done with the right equipment the first time. For posts set in hard concrete or situations involving multiple damaged posts, professional repair prevents the common DIY mistake of a temporary fix that fails within a season.
Maddladder handles fence post repairs in the Kansas City area
Fence post repair is straightforward when it's one post with solid wood above grade. When it's three posts, buried concrete, and a fence that's pulling apart at the rails, the project gets heavy fast.

Maddladder's licensed handyman team serves the Kansas City metro area and handles exactly this kind of repair: fence post replacement, concrete removal, sistering, and full panel reattachment. No subscription required for a one-time job. Free estimates, quick response times, and the kind of work that doesn't need a follow-up call. If your fence has been leaning since the last storm and you'd rather spend your Saturday somewhere else, reach out to Maddladder for a free estimate today.
Key takeaways
Repairing fence posts successfully depends on accurate damage assessment, the right method for the wood condition, and proper drainage to prevent the same failure from recurring.
| Point | Details |
|---|---|
| Assess before you act | Use the screwdriver and wiggle tests to decide between repair and full replacement. |
| Match method to damage | Sistering and steel menders work for solid wood; concrete reset is best for lost footings. |
| Drainage prevents recurrence | Add 4–6 inches of gravel and crown concrete footings to shed water away from the post. |
| Foam requires precision | Sika Post Fix sets in 3 minutes, so the post must be perfectly plumb before you pour. |
| Maddladder for bigger jobs | Licensed handyman service in Kansas City for multi-post repairs, concrete removal, and full replacement. |