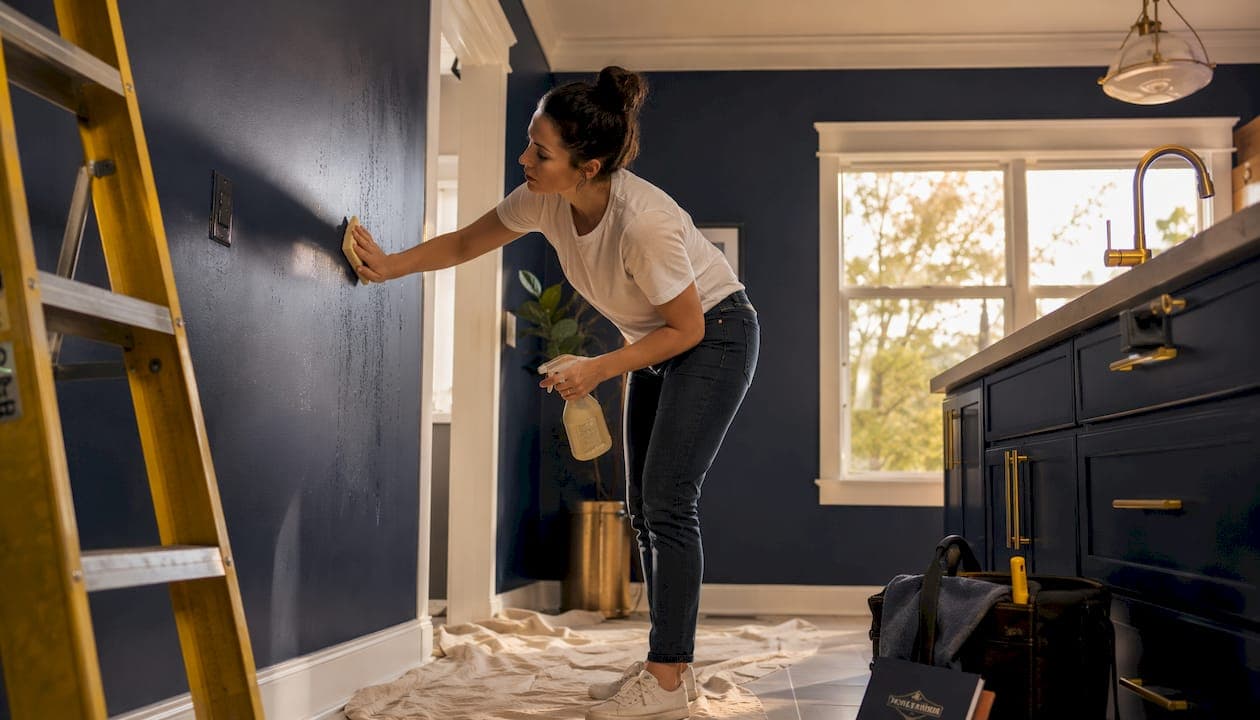
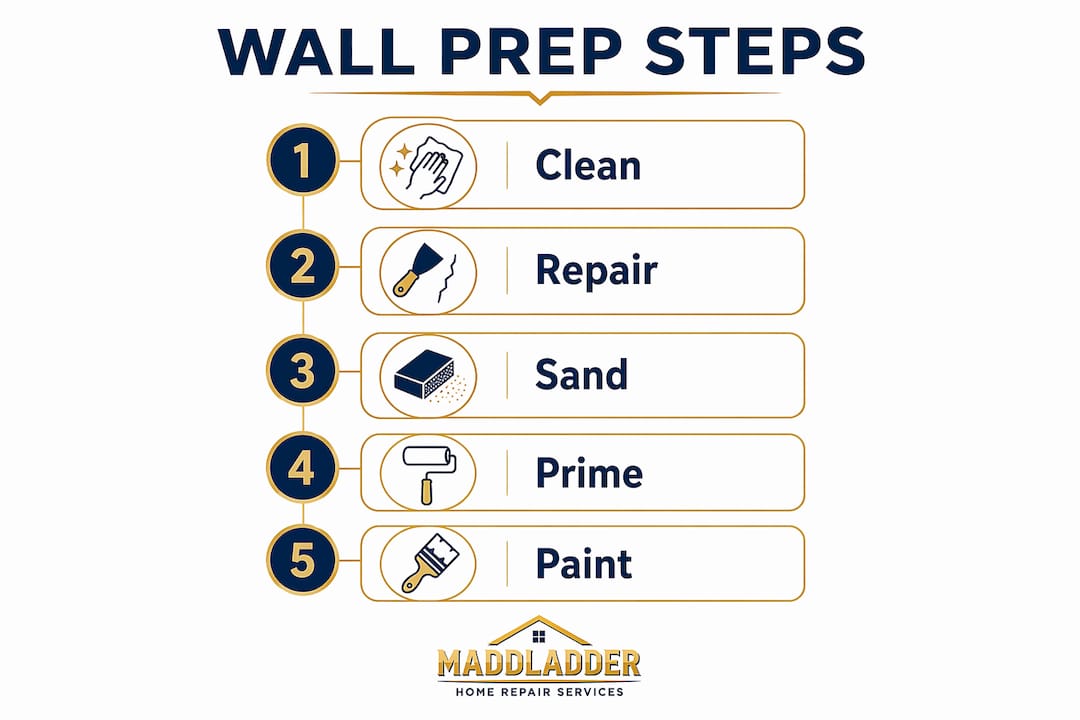
Proper wall preparation is the difference between paint that lasts a decade and paint that starts peeling within a year. The core steps are cleaning, repairing, sanding, taping, and priming. Skip any one of them and you will likely see bubbling, streaking, or flaking within months. Here is exactly what to do before you open a single can of paint:
- Clean walls to remove dust, grease, and grime that block adhesion
- Repair holes, cracks, and peeling areas with spackle or joint compound
- Sand repaired spots and any glossy surfaces for a smooth, paint-ready finish
- Tape trim, outlets, and baseboards with painter's tape to protect adjacent surfaces
- Prime the entire wall, especially after repairs, to create a uniform base
Trisodium phosphate (TSP) is the go-to degreaser for heavily soiled walls, while spackle handles small holes and joint compound works better for larger damaged areas.
What tools and supplies do you need before starting?
Getting everything together before you start saves a mid-project hardware store run. Here is what you need:
Cleaning supplies:
- Microfiber duster or vacuum with a brush attachment
- Two buckets (one for cleaning solution, one for rinsing)
- TSP or a grease-cutting dish detergent
- Non-abrasive sponges and clean rags
- Rubber or nitrile gloves
Repair materials:
- Spackle (for nail holes and small dings)
- Joint compound (for cracks and larger damaged areas)
- Putty knife and a joint knife
Sanding tools:
- Fine-grit sandpaper (for water-based painted surfaces)
- Medium-grit sandpaper, 100–150 grit, for oil-based painted surfaces
- Sanding block or sanding sponge
- Damp cloths for dust removal
Protective materials:
- Painter's tape
- Canvas drop cloths for floors (plastic versions tend to slip)
- Plastic sheeting for furniture
- Safety glasses and a dust mask
How do you clean walls before painting?
Clean walls are the foundation of any good paint job. Dust, grease, and invisible residues act as a barrier between the paint and the wall surface, leading to peeling, streaking, and uneven color. Follow these steps in order:
- Dry dust first. Use a vacuum with a brush attachment or a long-handled microfiber duster. Start at the top corners and work downward, paying attention to crown molding, baseboards, and corners where cobwebs collect.
- Mix your cleaning solution. Add a few drops of mild dish soap per gallon of warm water. For greasy surfaces like kitchen walls, use a TSP solution or a dedicated degreasing cleaner instead.
- Scrub from the bottom up. Work in manageable vertical sections, scrubbing in a circular motion. Starting at the base prevents dirty water from dripping onto already-cleaned areas below.
- Rinse thoroughly. Use a clean sponge and fresh water to wipe away all soap residue. Skipping the rinse leaves a film that prevents primer and paint from bonding properly.
- Treat mildew before anything else. Mix three to four parts water with one part bleach, apply to the affected area, let it sit for a few minutes, scrub with a soft brush, and rinse. Never paint over mildew. It grows through new paint and makes future cleaning far harder.
- Let walls dry completely. Depending on humidity, this can take several hours or overnight. Walls that feel dry to the touch may still hold moisture internally, and painting too soon causes blistering, especially on porous drywall.
Pro Tip: Avoid cleaning in direct sunlight on hot days. Walls dry unevenly in those conditions, leaving water streaks that show through paint.
How do you repair holes, cracks, and surface imperfections?
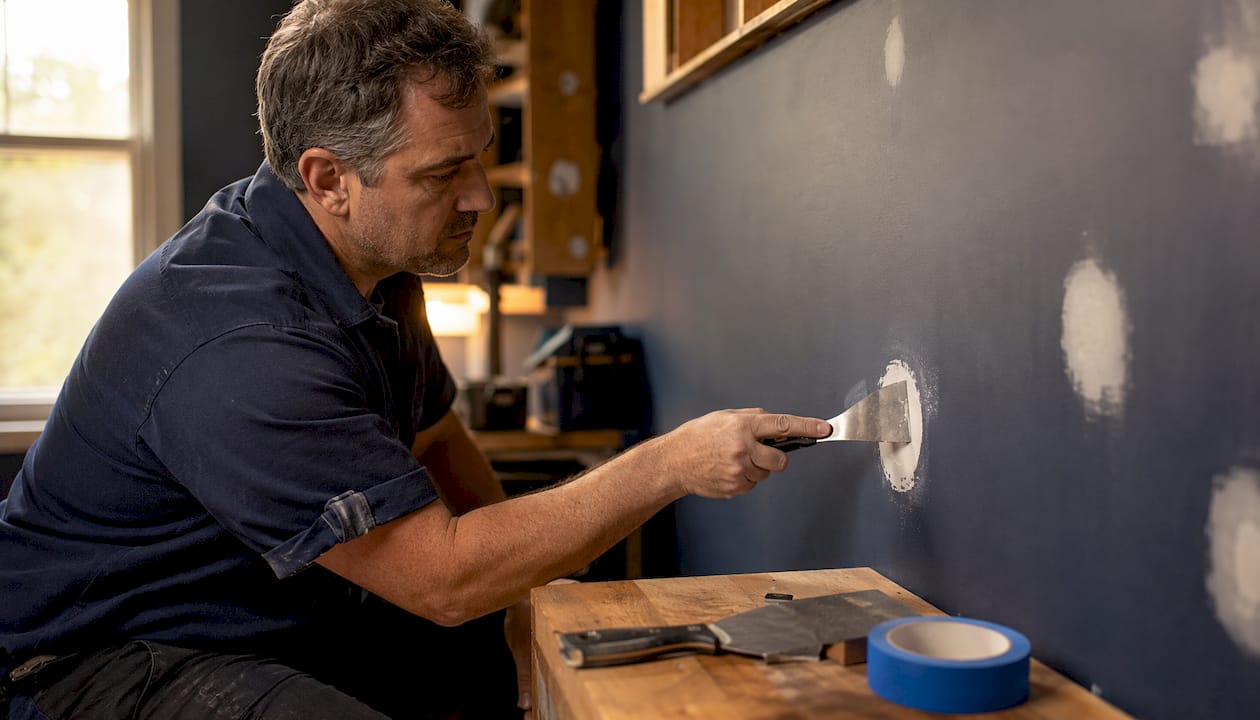
Paint does not hide wall damage. It highlights it. Repairing surfaces before painting is what separates a smooth, professional finish from one that looks rushed.
Identify what needs fixing first:
- Nail holes and small dings
- Hairline cracks or wider cracks in drywall
- Peeling or flaking paint
Repair steps:
- Scrape off any peeling or flaking paint. Painting over cracked paint is a common cause of paint failure. Remove all loose material by sanding or scraping before you do anything else.
- Fill small holes with spackle. Use a putty knife to press spackle firmly into the hole, slightly overfilling it. Let it dry completely.
- Use joint compound for larger repairs. For holes deeper than about 10mm, apply the compound in multiple thin layers, letting each layer dry before adding the next. One thick application tends to shrink and crack as it dries.
- Sand repaired areas smooth. Once fully dry, sand each patch flush with the surrounding wall using fine-grit sandpaper. Run your hand across the surface. If you can feel an edge, sand more.
- Wipe away dust with a damp cloth and let the area dry before priming.
For larger repairs, the Maddladder guide to patching holes walks through the full process with detailed instructions.
How do you sand walls properly before priming?
Sanding is not always necessary for every wall, but it is required whenever you are working with a glossy surface, a repaired area, or a wall previously painted with oil-based paint.
- Choose the right grit. For walls previously painted with water-based paint, fine-grit sandpaper is enough to scuff the surface. For oil-based paint, use medium-grit (100–150 grit) to dull the gloss and give the new paint something to grip.
- Sand evenly. Use a sanding block rather than bare sandpaper to keep consistent pressure. Work in smooth, overlapping strokes and avoid pressing too hard in one spot.
- Wipe dust with a damp cloth. After sanding, go over the entire surface with a damp cloth and let it dry before priming. Sanding dust left on the wall will mix into your primer and create a gritty texture.
- Wear protection. A dust mask and safety glasses are not optional during sanding. Fine particles stay airborne longer than you expect.
Pro Tip: If walls feel gritty after cleaning, a light sanding pass smooths the surface and helps paint stick more evenly, even if you did not do any repairs.
How do you tape and protect trim, outlets, and fixtures?
Protecting the room before painting saves cleanup time and prevents damage to surfaces you are not painting. This step also has a safety component that many homeowners overlook.
- Shut off the circuit breaker to the room before removing outlet and switch cover plates. Use a non-contact voltage tester to confirm the power is off before touching anything. For guidance on safely handling fixtures during prep, the trim and fixture guide covers the process clearly.
- Remove outlet and switch covers and tape the screws to the back of each plate so they do not get lost.
- Apply painter's tape along trim, baseboards, and door frames. Press the tape edge firmly with a clean putty knife so paint cannot seep underneath. Use longer strips rather than several short pieces to minimize gaps.
- Cover door hardware with painter's tape or small plastic bags.
- Lay drop cloths on the floor. Canvas drop cloths absorb paint drips and stay in place better than plastic sheeting, which tends to slide underfoot.
- Cover furniture that cannot be moved with plastic sheeting secured with tape.
How do you prime walls before painting?
Primer is not just a base coat. It blocks stains, seals porous surfaces, and gives paint a uniform surface to bond to. Spot priming only the patched areas often results in a blotchy finish because the primed patches absorb paint differently than the rest of the wall. Prime the entire wall after repairs for a consistent result.
- Decide if you need primer. You do if the wall is newly constructed, has water or smoke stains, has been repaired, or if you are making a significant color change. Porous drywall always needs primer.
- Cut in with a brush. Use a 2" to 2.5" angled bristle brush to apply primer along trim, corners, and edges first.
- Roll the rest of the wall. Use a roller with a 3/8" to 1/2" nap for smooth surfaces, or a 1/2" to 1" nap for textured walls.
- Let it dry completely before painting. Check the manufacturer's label for the specific dry time. Painting over wet primer causes the same problems as painting over a damp wall.
If you are painting a dark color over a light one, or vice versa, a tinted primer cuts down the number of topcoats you will need.
Removing wallpaper or old paint before you start
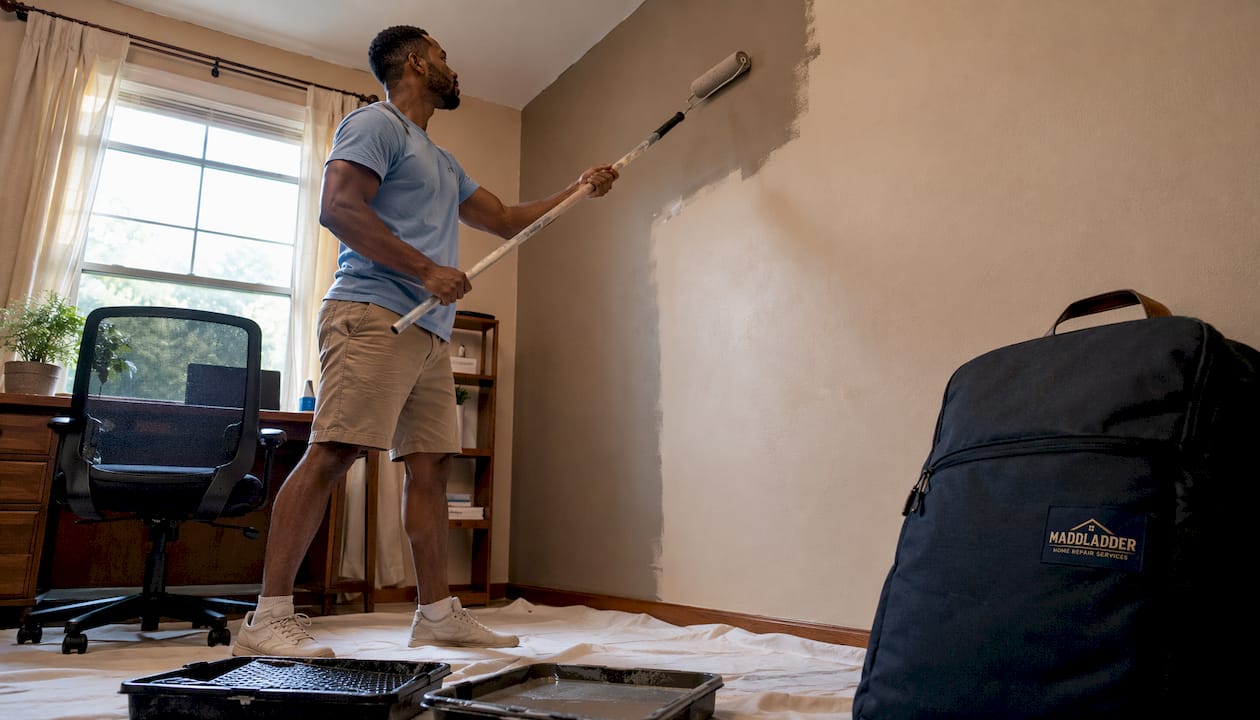
Old wallpaper and failing paint need to come off before any prep work begins. Painting over either one is a shortcut that fails fast.
For wallpaper: Score the surface lightly with a scoring tool, then apply a wallpaper removal solution or a mix of warm water and fabric softener. Let it soak in for several minutes, then peel the paper away in sections using a wide putty knife. Work slowly to avoid gouging the drywall underneath. Once the paper is off, wash the wall to remove adhesive residue and let it dry fully before moving on to repairs.
For old or failing paint: Scrape off all loose and flaking paint with a putty knife or paint scraper. Sand the edges of any remaining paint so they feather smoothly into the bare wall. If the old paint is lead-based (common in homes built before 1978), contact the EPA's National Lead Information Hotline at 1-800-424-LEAD before sanding or scraping. Lead dust is a serious health hazard, particularly for children and pregnant women.
Once the old material is removed, the wall will likely need patching and priming before it is ready for paint. For drywall-specific repairs, the drywall repair guide covers what to expect.
Key Takeaways
Thorough wall preparation, covering cleaning, repair, sanding, taping, and priming, is what determines whether a paint job lasts years or fails within months.
| Point | Details |
|---|---|
| Clean before everything else | Remove dust and grease with TSP or dish detergent; rinse fully to prevent adhesion failure. |
| Repair in layers | Apply spackle or joint compound in thin coats for deep holes; one thick layer shrinks and cracks. |
| Match sandpaper to paint type | Use fine grit for water-based surfaces; use 100–150 grit for oil-based to dull gloss. |
| Prime the whole wall | Spot priming patched areas causes uneven finish; prime the entire surface after repairs. |
| Dry time matters | Walls that feel dry may still hold internal moisture; wait overnight before priming or painting. |
Not sure where to start, or is the damage bigger than a putty knife can fix? Maddladder's drywall and repair services handle everything from patching to full surface prep in the Kansas City metro area. Free estimates, licensed pros, and no guesswork.