
TL;DR:
- Most uneven floors can be fixed DIY if the problem is from a stable concrete or wood subfloor. Accurate measurement and diagnosis are essential before choosing the appropriate repair method to prevent future cracking or failure.
Most uneven floors are fixable without a contractor. If you're dealing with a stable concrete slab with dips under 1 inch, a self-leveling underlayment like Ardex or Henry will handle it. Wood subfloors with isolated low spots respond well to plywood shims or an added plywood layer. Call a licensed pro when you find active settlement, joist rot, or variation greater than 1 inch across a room.
Quick action checklist:
- Measure the gap under a long straightedge every foot or two and sketch the pattern
- Identify the cause: slab settlement, joist deflection, or isolated subfloor warp
- Match the method to the problem (self-leveler for concrete, plywood for wood, structural repair for anything structural)
- Execute the fix or book a professional assessment if red flags appear
The method matters less than the diagnosis. Pouring self-leveler over a bouncy, deflecting subfloor will crack within months. Get the root cause right first.
Table of Contents
- How do you accurately measure and map an uneven floor?
- What tools and materials do you need for floor leveling?
- Which leveling method is right for your floor?
- Step-by-step: how to pour self-leveling underlayment
- Step-by-step: repairing and leveling a wood subfloor
- Common mistakes that cause floor leveling to fail
- When should you call a professional instead of DIYing?
- Key Takeaways
- A floor that humbles most first-timers
- Maddladder can handle the hard parts for Kansas City homeowners
- Authoritative sources and manufacturer guidance
How do you accurately measure and map an uneven floor?
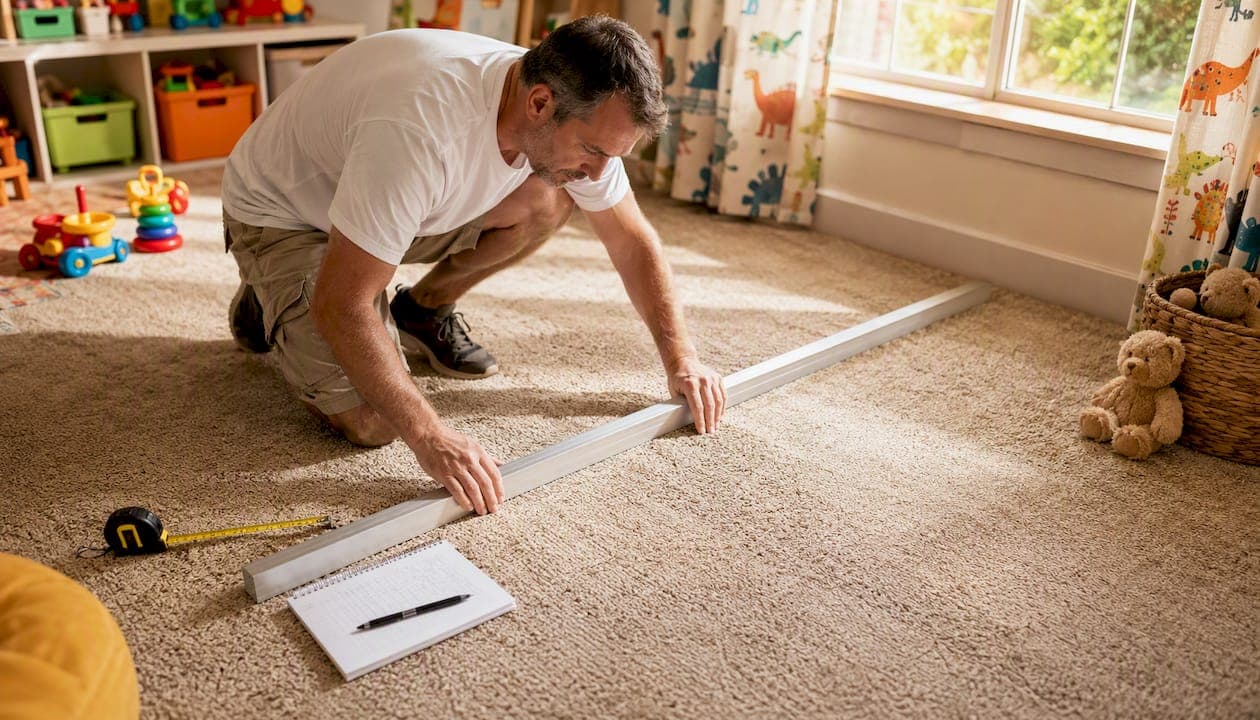
Start with a 6–10' straightedge laid flat on the floor in multiple directions. Slide it across the surface and look for daylight underneath. Most flooring manufacturers require flatness within a small tolerance over 10 feet; sensitive products like large-format tile and rigid-core LVP require an even tighter tolerance over the same distance. If your gap exceeds either threshold, you have work to do before laying finish flooring.
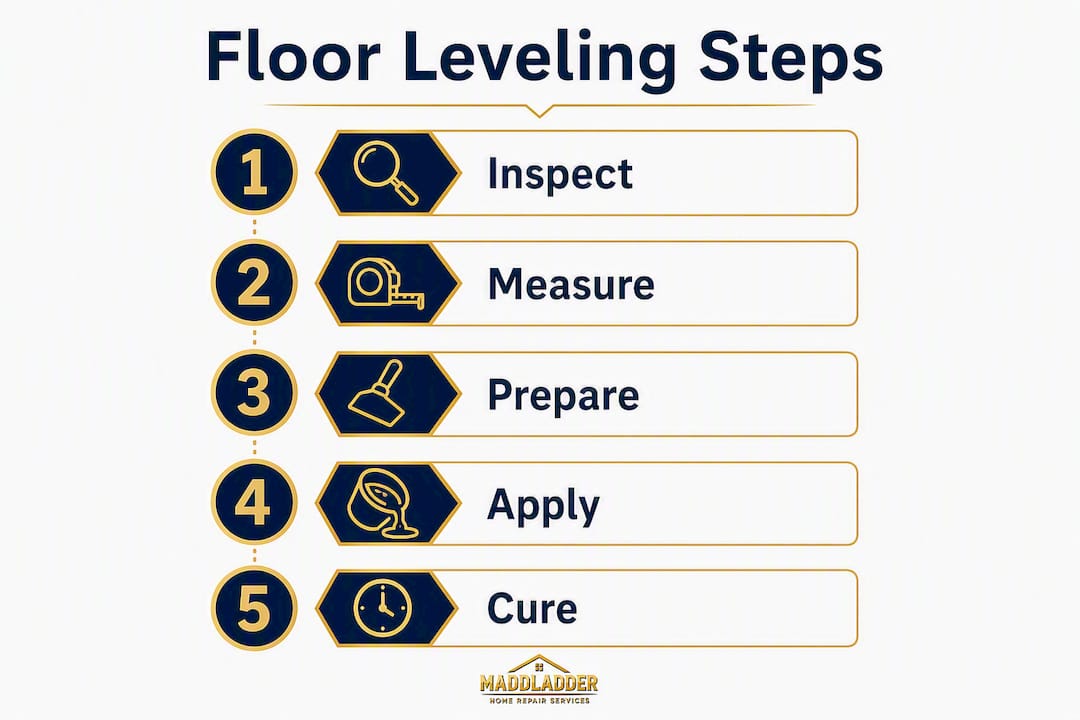
A laser level speeds up whole-room profiling. Set it on a tripod, project a line across the floor, and measure from the beam to the surface every 12–24 inches. Record each reading on a hand-drawn grid of the room. Mapping readings at that density reveals the pattern: a consistent slope in one direction usually points to foundation settlement, while isolated dips suggest joist deflection or a cracked slab.
Two quick field tests round out your diagnosis. The bounce test is simple: walk the floor and feel for springiness or flex underfoot. A floor that bounces has joist deflection, not just a surface dip, and no leveling compound fixes that. The marble test works for slope: set a marble on the floor and watch which direction it rolls. Consistent rolling in one direction confirms a slope rather than a random dip.
Pro Tip: Sketch the room on graph paper, mark each measurement point, and circle any reading that exceeds your tolerance threshold. A photo of that sketch is the single most useful thing you can hand a structural engineer or contractor on a first visit.
What tools and materials do you need for floor leveling?
The right list depends on whether you're working concrete or wood. Buying the wrong product wastes money and time.
For concrete and self-leveling pours:
| Item | Example Brands / Notes |
|---|---|
| Self-leveling underlayment | Ardex K-15, Henry 555 FloorPro |
| Cement-based floor patch | Quikrete Floor Leveler |
| Floor primer for self-levelers | Match to SLU manufacturer's TDS |
| Mixing drill with paddle | 1/2" drill |
| Gauge rake | Sets pour depth accurately |
| Spiked roller | Removes air bubbles after pour |
| Foam backer rod | Seals gaps at walls and pipes |
| Cardboard/wood dams | Block doorways before pouring |
For wood subfloor repairs:
| Item | Notes |
|---|---|
| 3/4" exterior-grade plywood | For full-layer additions or patches |
| Plywood shims (1/8"–1/4") | Feather low spots gradually |
| Construction adhesive | Liquid Nails or equivalent |
| Decking/structural screws | 2" or 3" depending on depth |
| Circular saw or jigsaw | Cutting panels to fit |
| Oscillating tool | Undercutting door casings |
| Sander or planer | Knocking down high spots |
Safety kit for both jobs: N95 or P100 respirator (mandatory for concrete grinding), safety glasses, hearing protection, knee pads, and a HEPA vacuum for silica dust control.
For larger pours, consider renting a floor grinder with dust collection and a mixing pump. Rental costs vary by market and equipment size; call your local tool rental shop for current rates.
Which leveling method is right for your floor?
The decision comes down to substrate type, depth of correction, and whether the floor is structurally stable.
- Patch with cement-based floor patch (Quikrete): isolated low spots under 1/4" on concrete; quick and inexpensive for small areas
- Pour self-leveling underlayment: stable concrete or concrete board subfloors with dips up to 1 inch per pour; some specialized products can reach about 1.5 inches, but larger or structural problems need professional assessment. Always check the manufacturer's technical data sheet for your specific product.
- Shim or add plywood: wood subfloors with low spots; preferred over cement-based levelers because standard SLU over moving wood leads to cracking
- Wood-rated leveler with metal lath: wood subfloors where plywood isn't practical; only use products specifically rated for wood substrates
- Structural repair (sistering, jacking, beam work): any floor that bounces, any correction deeper than 1", or any sign of rot or active settlement
Before committing to a pour, run through this stability check:
- Walk every square foot: zero bounce allowed
- Inspect visible joists from below if accessible
- Confirm no active water intrusion or rot smell
- Check that existing subfloor panels are screwed down tight, not just nailed
Pro Tip: Pull up a floor register or outlet cover and look at the subfloor edge. Delamination, dark staining, or soft material means moisture damage is present. Fix that before any leveling work.
Step-by-step: how to pour self-leveling underlayment
This process works for concrete slabs and stable concrete board subfloors. Do not skip the primer step; it is the most common cause of bond failure.
Preparation
Sweep and vacuum the slab thoroughly. Fill cracks wider than 1/16" with a cement-based crack filler and let it cure fully. Install foam backer rod at all wall-floor joints and around pipe penetrations. Build cardboard or plywood dams at doorways to contain the pour. Apply the manufacturer's specified primer with a roller and let it dry to the touch per the technical data sheet — typically 30–60 minutes, but always confirm on the product label.
Mixing and staging
| Step | Detail |
|---|---|
| Batch size | Mix only what you can pour in 10–15 minutes |
| Water ratio | Follow TDS exactly; do not eyeball it |
| Mixing time | 2–3 minutes per bucket with paddle drill |
| Helper role | One person mixes, one person pours and rakes |
| Working time | Fast-setting formulas set in 10 minutes |
Have all buckets, water, and bags staged before you open the first bag. Once you start, there is no pausing.
Pouring and finishing
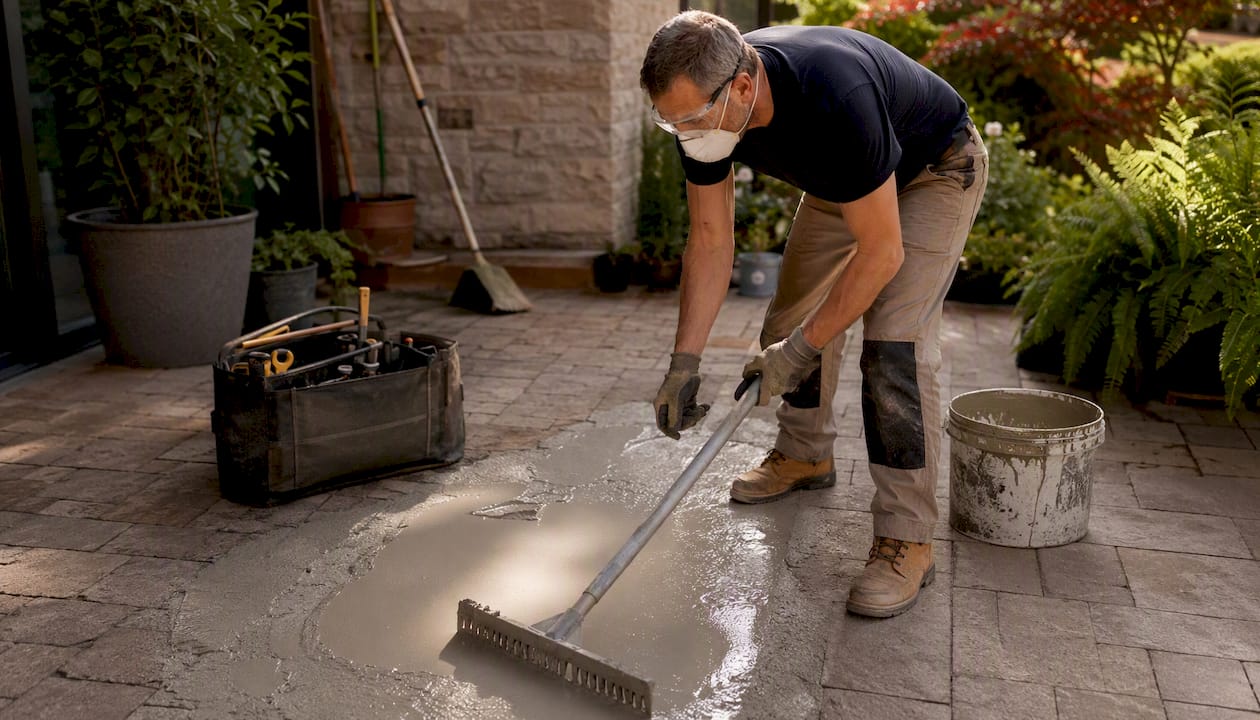
Start at the lowest point of the room and work toward the exit. Pour each batch adjacent to the last while it is still fluid. Use the gauge rake to spread the compound to your target depth. Immediately follow with a spiked roller to release trapped air bubbles. Feather the edges at transitions to adjacent rooms or height changes.
Pro Tip: Stage mixing buckets in sequence and pre-measure water into each one before you start. With a fast-setting product, losing 90 seconds searching for a bucket can mean a ruined batch.
Walkable cure time is typically 2–4 hours; finish flooring installation usually waits 16–24 hours, though some products require longer. Re-check flatness with your straightedge after full cure. High spots that remain can be ground down with a diamond cup wheel — rent a grinder with dust collection to control silica dust.
Step-by-step: repairing and leveling a wood subfloor
Wood subfloor work is slower and more physical than a self-leveler pour, but it addresses root causes rather than masking them.
Access and inspection
Remove finish flooring and any underlayment to expose the subfloor panels. If you have crawlspace or basement access, inspect joists from below with a flashlight. Look for: sagging or cracked joists, rot (soft wood, dark staining, fungal growth), missing or failed blocking, and any signs of past water damage.
Shimming and adding plywood
| Situation | Fix |
|---|---|
| Isolated low spot under 1/4" | Taper a plywood shim; glue and screw in place |
| Low spot 1/4"–3/4" | Stack shims or use a thicker shim; feather edges |
| Whole floor low or wavy | Add 1/4" or 3/8" plywood layer over entire subfloor |
| High spot (hump) | Plane or sand down; never add material over a hump |
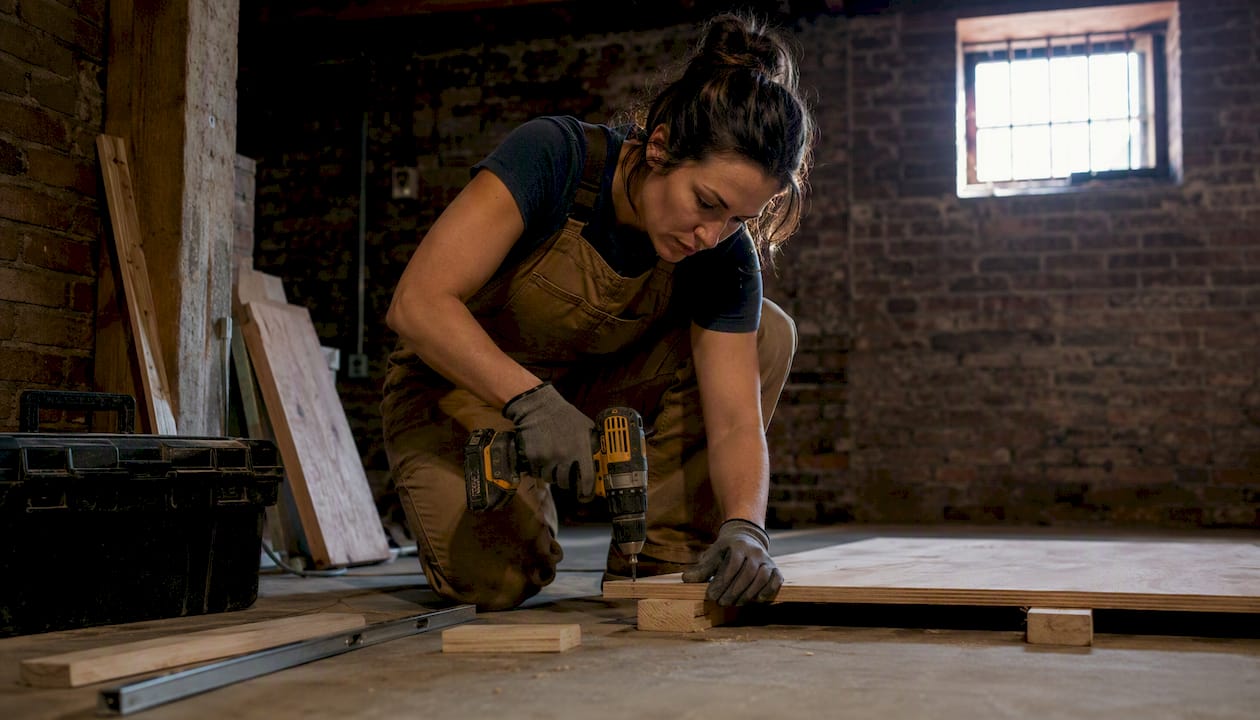
When adding a full plywood layer, use 3/4" exterior-grade plywood for structural additions or 1/4"–3/8" for a leveling overlay. Apply construction adhesive in a serpentine bead, then fasten with 2" decking screws every 6–8 inches along joists and every 8–12 inches in the field. Stagger panel joints so they don't align with existing subfloor seams.
Joist fixes
Sistering is the standard fix for a cracked or sagging joist. Use lumber of the same depth, run the sister the full span between bearing points, and fasten with construction adhesive and staggered screws every 12 inches. If the joist has deflected downward and you need to jack it back up, limit lifting to no more than 1/8" per day to avoid cracking drywall or plaster above.
Pro Tip: Before sistering, confirm the joist is not rotted at the bearing point. A joist that looks solid in the middle but crumbles at the end needs more than a sister — it needs a post or beam evaluation.
Signs that you've crossed into structural territory: multiple joists deflecting, rot at bearing points, a beam that has shifted, or a post that has settled. At that point, stop and call a licensed contractor or structural engineer. Structural issues can also affect your property's resale value if left unaddressed.
Common mistakes that cause floor leveling to fail
The most expensive mistake is pouring self-leveler over a bouncy subfloor. The compound is not structural; it will crack along the joist deflection lines within a season or two, and you'll be tearing it out and starting over. Fix the bounce first, always.
Skipping primer is the second most common failure point. Self-leveling underlayment bonds to a primed surface; without it, the compound can delaminate, bubble, or fail to adhere at the edges. Always use the primer specified by the SLU manufacturer — not a generic bonding agent — and apply it per the technical data sheet. Sealing pipe penetrations and wall joints with foam backer rod matters just as much: liquid underlayment will find any gap and drain into the crawlspace or basement below.
Mixing errors are the third category. Under-mixing leaves dry clumps that create hard lumps in the cured surface. Over-mixing or adding extra water weakens the compound and extends set time unpredictably. Use a paddle drill at the speed the manufacturer specifies, mix for the full recommended time, and measure water precisely.
On the safety side: concrete grinding generates fine silica dust that causes serious lung damage with repeated exposure. Always wear a P100 respirator when grinding, use a grinder with dust collection, and run a HEPA vacuum during cleanup. When jacking joists, work slowly and check adjacent walls for new cracks after each increment.
Homeowners tackling DIY projects for the first time often run into similar prep-related pitfalls across different repair types — avoiding common DIY mistakes starts with the same discipline: read the product instructions fully before opening a single bag or panel.
When should you call a professional instead of DIYing?
Some floor problems are genuinely beyond DIY scope, and pushing through them costs more in the end.
Call a licensed contractor or structural engineer when you find:
- Settlement or slope exceeding 1" across a room
- New cracks in drywall or plaster that appeared alongside the floor problem
- Active settlement (the floor is still moving, not just historically uneven)
- Widespread joist rot or rot at bearing points
- Multiple bouncy spots across different areas of the floor
- Any sign of foundation movement: sticking doors, diagonal cracks at window corners
What a professional assessment covers: a structural engineer will probe joists, check beam and post conditions, and determine whether the fix is cosmetic (self-leveler, plywood) or structural (underpinning, helical piers, beam replacement, slab jacking, or polyurethane foam injection for severe slab heave). DIY is practical for small rooms and minor dips; contractors typically charge roughly $1.50–$5 per square foot for leveling work depending on scope and region.
Before a pro visit, document:
- Photos of every visible crack, gap, and low spot
- Your straightedge measurements and room sketch
- When you first noticed the problem and whether it has changed
- Any recent water events (flooding, plumbing leak, heavy rain)
Pro Tip: A licensed handyman or contractor can often separate cosmetic from structural problems in a single site visit. That hour of assessment time can save you from buying $400 in self-leveler for a floor that actually needs a joist sister.
Key Takeaways
Diagnosing the root cause before choosing a repair method is the single decision that separates a lasting fix from an expensive redo.
| Point | Details |
|---|---|
| Measure before you act | Use a 6–10' straightedge or laser level; record readings every 12–24" to map the problem accurately. |
| Match method to substrate | Use self-leveling underlayment for stable concrete dips up to 1"; use plywood shims or added plywood for wood subfloors. |
| Bounce means stop | A springy floor has joist deflection; no leveling compound is structural, and pouring over deflection causes cracking. |
| Know the tolerance thresholds | Most finish flooring requires minimal flatness variation over about 10 feet; large-format tile and rigid LVP require tighter flatness tolerances. |
| Maddladder handles what DIY can't | For Kansas City homeowners facing structural issues, deep corrections, or joist repair, Maddladder offers licensed assessment and repair. |
A floor that humbles most first-timers
The conventional wisdom on floor leveling is that it's a weekend project. Sometimes it is. But the floors that look like a simple pour job are often the ones hiding a joist that's been slowly deflecting for a decade, or a slab that settled after a wet spring. The diagnostic step is where most homeowners rush, and it's the only step that actually determines whether the job goes smoothly.
What a first site visit usually reveals: the floor isn't uniformly low — it has a pattern. One corner dips, two joists flex, and the rest is fine. That pattern tells you whether you're buying two bags of self-leveler or calling a structural engineer. Skipping the measurement grid and going straight to the hardware store is how people end up with cracked compound and a floor that's worse than when they started.
Cure times and cleanup also catch people off guard. A self-leveling pour leaves the room unusable for at least a day, often two. Grinding high spots on concrete produces dust that settles everywhere. Plan the project around your household's schedule, not the other way around. And if you're installing finish flooring immediately after leveling, re-check flatness after full cure — thermal movement and moisture can shift a fresh pour slightly before it fully stabilizes.
Maddladder can handle the hard parts for Kansas City homeowners

Leveling a floor yourself is genuinely doable for minor dips on a stable slab or a wood subfloor with isolated low spots. The jobs that go sideways are the ones where the root cause turns out to be structural: a deflecting joist, a settling slab, or subfloor panels that have been wet long enough to delaminate. Those aren't weekend projects — they're multi-trade repairs that need the right diagnosis first.
Maddladder serves the Kansas City metro area with licensed handyman services that include floor inspections, subfloor repair and replacement, self-leveling pours, and coordination of structural work when joists or beams are involved. A visit starts with a free estimate and a clear breakdown of what's cosmetic versus what's structural, so you know exactly what you're dealing with before spending a dollar on materials. Check out Maddladder's repair and replacement services or browse the full service catalog to see what fits your situation — then get in touch for a free on-site estimate.
Authoritative sources and manufacturer guidance
Before purchasing any self-leveling product, download and read the manufacturer's technical data sheet (TDS). Coverage rates, primer requirements, working time, and cure schedules vary significantly between products — what's true for Ardex K-15 may not apply to Henry 555 or a Quikrete floor leveler. The TDS is the authoritative document; packaging summaries are not.
| Source | What it covers |
|---|---|
| Bob Vila: How to Level a Floor | Overview of leveling methods, out-of-level vs. out-of-plane distinction, DIY readiness |
| This Old House: How to Level a Concrete Floor | Self-leveling compound technique, rail system method, video demonstration |
| The Home Depot: How to Level a Floor | Subfloor prep by flooring type (laminate, tile, vinyl, hardwood) |
| The Spruce: How to Level a Floor | Wood subfloor correction, older home considerations |
| WikiHow: How to Level a Floor | Step-by-step visual guide for general leveling |
| Ardex product TDS | Coverage, primer spec, working time, cure schedule for Ardex K-15 and related products |
| Henry product TDS | Coverage, primer spec, working time, cure schedule for Henry 555 FloorPro and related products |
| Quikrete product TDS | Mix ratios, coverage, and cure times for Quikrete Floor Leveler |