
TL;DR:
- Proper grab bar installation involves securing them into studs or rated anchors at the correct height for safety and accessibility. It requires the right tools, accurate wall location, sealing with silicone caulk, and thorough load testing before use. Regular inspection is essential to ensure their continued safety and effectiveness.
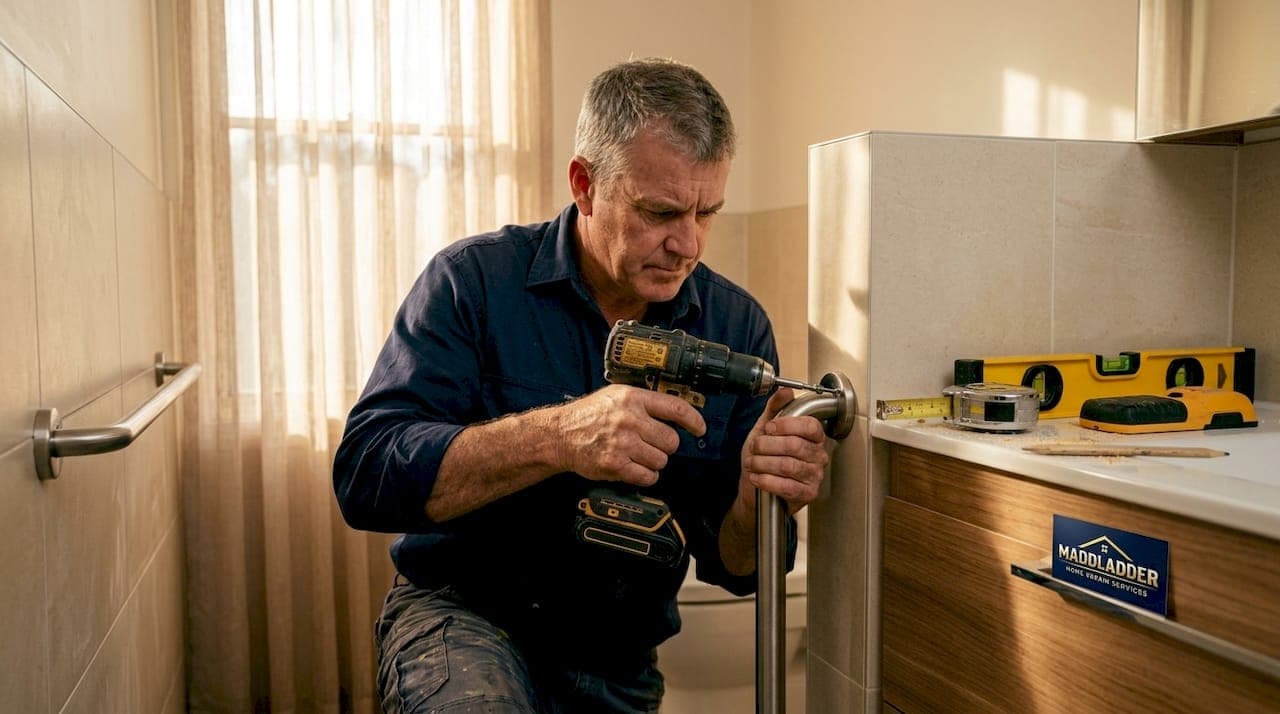
Grab bar installation is the process of securely mounting safety bars to walls to prevent falls and improve accessibility in bathrooms and other high-risk areas. Done correctly, it is one of the most effective home safety upgrades a homeowner or caregiver can make. The process requires a stud finder, cordless drill, diamond-tipped drill bits, silicone caulk, and load-rated hardware. ADA guidelines specify mounting heights between 32 and 38 inches from the floor, and all hardware must be rated for at least 250 pounds of shear load. A typical DIY installation takes about 2 hours with the right tools and hardware. Getting the position and anchoring right matters far more than the brand of bar you choose.
What tools and materials do you need for installing grab bars?
The right tools make the difference between a bar that holds and one that fails under pressure. Before you drill a single hole, gather everything on this list.
Tools and hardware you need:
- Stud finder (electronic): locates wall studs behind drywall or tile
- Cordless drill: drives screws and creates pilot holes
- Diamond-tipped drill bits: required for drilling through ceramic or porcelain tile without cracking
- Level: keeps the bar perfectly horizontal or at the correct angle
- Pencil and masking tape: marks drill points and protects tile surfaces
- Silicone caulk: seals around flanges to block water intrusion
- Stainless steel screws: resist corrosion in wet bathroom environments
- Toggle anchors (snap toggle or strap toggle style): rated for 250+ pounds when studs are not accessible
| Tool or Material | Function | Why It Matters |
|---|---|---|
| Stud finder | Locates framing behind walls | Studs provide the strongest anchor point |
| Diamond-tipped drill bit | Cuts through tile cleanly | Prevents cracking during pilot holes |
| Toggle anchors (snap/strap) | Anchors bar when no stud is present | Rated for 250+ pounds shear load |
| Silicone caulk | Seals flange edges | Stops water from rotting the wall behind tile |
| Stainless steel screws | Fastens flanges to wall | Resists rust in humid bathrooms |
Grab bars themselves come in straight, angled, and folding styles. Choose a bar rated for at least 250 pounds regardless of style. Decorative bathroom hardware cannot support a person's weight, so never substitute a towel bar or decorative rail for a proper grab bar.
Pro Tip: Choose stainless steel or brushed nickel grab bars with stainless steel mounting screws. Both materials resist moisture and will not corrode over years of bathroom use.
How do you locate studs and choose the best grab bar position?
Position matters more than any other single factor in grab bar installation. A bar mounted in the wrong spot offers little help when someone actually loses their balance.
Finding studs behind drywall and tile
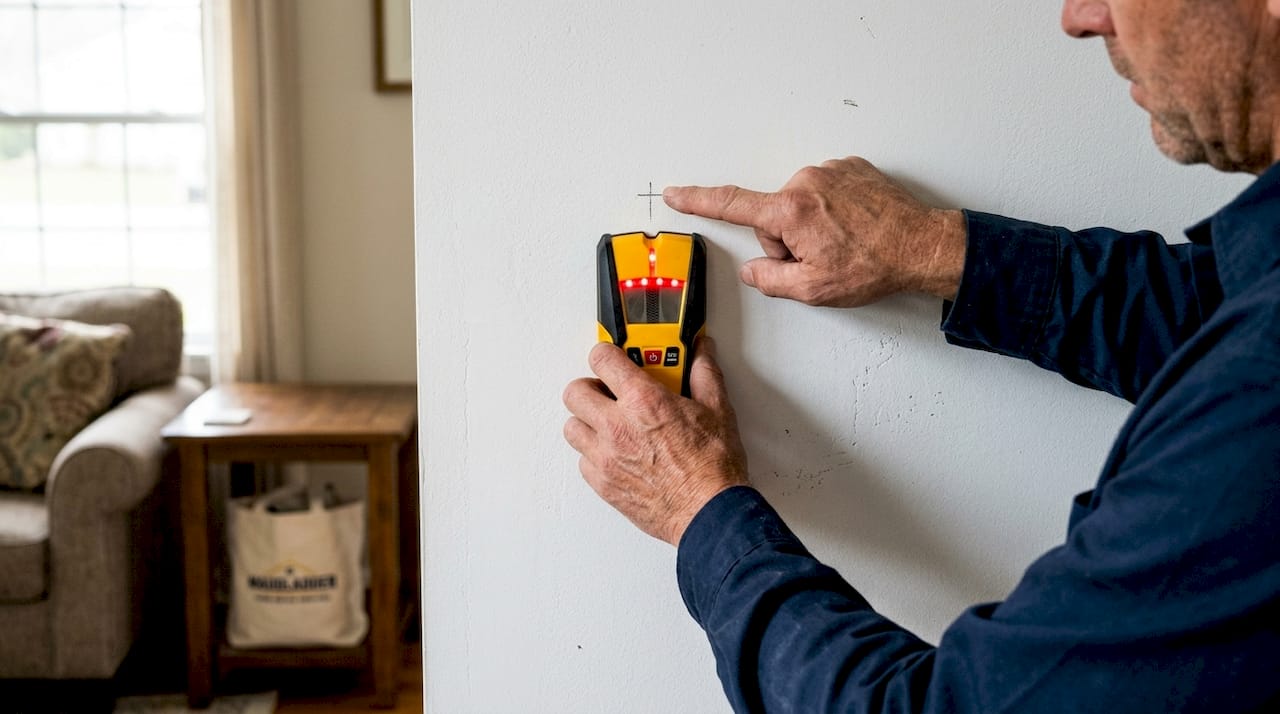
Standard wall studs sit 16 inches on center, meaning the center of each stud is 16 inches from the next. Grab bars measuring 16 or 32 inches long are designed so their flange holes align with this spacing. An electronic stud finder works well on drywall. On tiled walls, knocking along the surface helps locate studs when electronic scanners fail. A hollow sound means you are between studs. A duller, denser thud means you have found solid wood.
Mark stud locations with a pencil on the wall or on a strip of masking tape placed over the tile. Never rely on a single knock. Verify the stud location by knocking at multiple points above and below your target height.
Optimal mounting heights and positions
Horizontal grab bars mount between 32 and 38 inches from the floor for the best ergonomic reach. This range suits most adults and aligns with ADA accessibility standards. Vertical bars near shower entries typically mount with the lower end at about 32 inches and the upper end at 48 inches or higher.
Three recommended grab bar positions:
- Shower entry, vertical bar: mounted on the wall beside the shower door or curtain edge, helping users step in and out safely
- Shower back wall, horizontal bar: placed at 33–36 inches from the floor, giving support while standing or bathing
- Toilet side wall, horizontal bar: mounted 6–8 inches in front of the toilet bowl at 33–36 inches from the floor, assisting with sitting and standing
Pro Tip: Before drilling, stand in position and reach for the wall where the bar will go. Simulate the motion of grabbing it while off-balance. If the reach feels awkward, shift the planned location until it feels natural.
How do you drill, mount, and seal grab bars step by step?
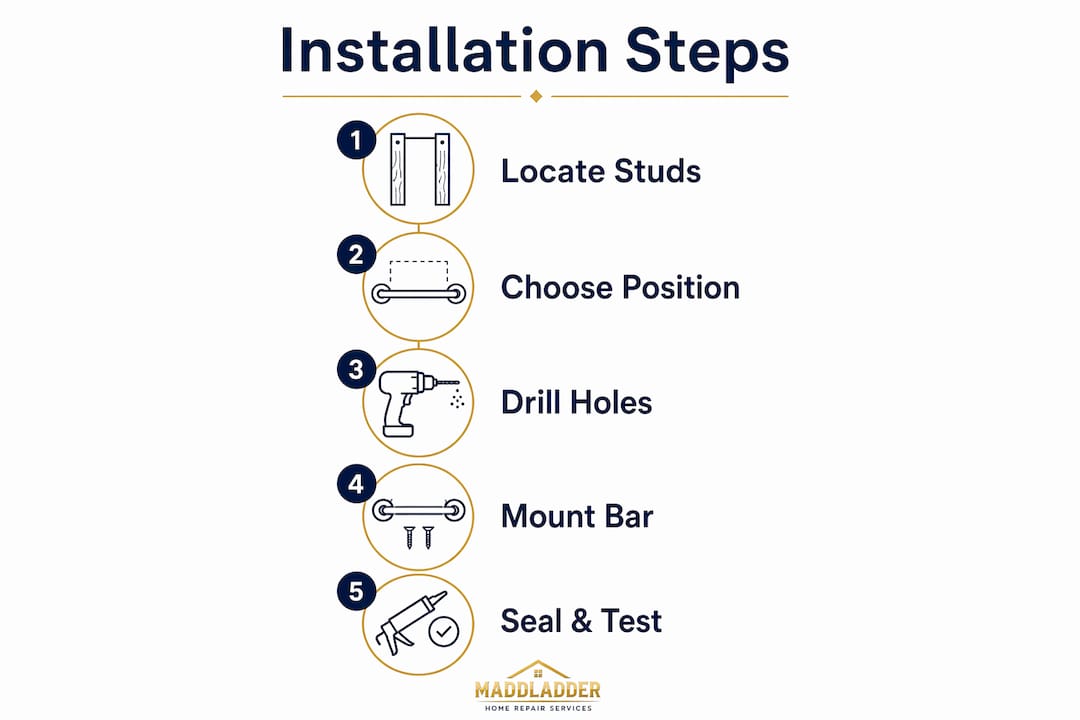
This is where the installation either succeeds or fails. Follow each step in order and do not skip the load test at the end.
-
Mark your drill points. Hold the grab bar flange against the wall at the correct height. Use a level to confirm alignment. Mark each screw hole with a pencil or through masking tape placed over the tile.
-
Prepare the tile surface. Place a fresh strip of masking tape over each drill mark on tile. Masking tape prevents the drill bit from slipping across the glazed surface and protects against scratches.
-
Drill pilot holes. Insert a diamond-tipped bit into your cordless drill. Set the drill to a low speed and apply light, steady pressure. Let the bit do the work. Forcing the drill or running it too fast causes tile cracks. Once through the tile, switch to a standard bit to finish the hole through drywall or into the stud.
-
Insert anchors or drive screws. If the hole lands on a stud, drive a stainless steel screw directly into the wood. If no stud is present, insert a snap toggle or strap toggle anchor rated for 250+ pounds before attaching the flange.
-
Apply silicone caulk. Run a thin bead of silicone caulk around the back edge of each mounting flange before pressing it against the wall. Silicone caulk around flanges blocks water from seeping behind the tile and rotting the wall structure over time.
-
Secure the flanges. Tighten each screw firmly. Do not overtighten, as this can crack tile or strip the anchor.
-
Load test the bar. Apply your full body weight to the bar and twist it in multiple directions. Any movement or looseness means the bar must be reinstalled with better anchors before anyone uses it.
| Common Mistake | What Goes Wrong | Fix |
|---|---|---|
| Skipping masking tape on tile | Drill bit slips, scratches tile | Always tape before drilling |
| Forcing the drill too fast | Tile cracks around hole | Use slow speed, light pressure |
| Using standard drywall anchors | Anchor pulls out under load | Use snap toggle or strap toggle rated 250+ lbs |
| Skipping silicone caulk | Water rots wall behind tile | Caulk every flange before mounting |
| No load test | Unsafe bar used without verification | Test with full body weight before use |
Pro Tip: Let the diamond-tipped bit do the work. The moment you feel resistance and push harder, you risk cracking the tile. Slow and steady wins here.
What do you do when studs are inaccessible or walls are tiled?
Not every grab bar location lines up with a stud. This is one of the most common problems homeowners face, and it has reliable solutions.
Drywall alone cannot support a person's weight. A standard drywall anchor will pull through the wall under the sudden load of someone grabbing a bar during a fall. The wall must have either a stud, a blocking board, or a heavy-duty toggle anchor rated for the job.
Options when studs are not accessible:
- Snap toggle or strap toggle anchors: rated for 250+ pounds of shear load, these are the most practical solution for existing walls with no accessible studs
- Blocking installation: during a remodel, a carpenter can install a horizontal board of solid wood between studs at the correct height, creating a solid mounting surface across the entire area
- Professional installation: when wall structure is unclear or unusual, a licensed handyman can assess and mount safely
Safety warning: Never mount a grab bar to a fiberglass shower surround without confirming solid backing behind it. Grab bars on fiberglass surrounds often fail because they are not anchored to solid studs. This is one of the most dangerous installation errors and causes serious falls.
Installing blocking behind drywall is the strongest long-term solution when remodeling. The blocking board must fasten to at least two studs to carry body weight reliably. If you are not opening the wall, snap toggle anchors are the next best option and work well in most standard drywall and tile situations.
Pro Tip: If you cannot confirm what is behind the wall, call a handyman before drilling. Guessing wrong on wall structure is the fastest way to end up with a bar that fails exactly when someone needs it most.
Key Takeaways
Grab bars installed at the correct height, into studs or rated anchors, and sealed with silicone caulk provide reliable fall protection that decorative hardware never can.
| Point | Details |
|---|---|
| Use rated hardware | All mounting hardware must handle at least 250 pounds of shear load. |
| Mount at the right height | Horizontal bars belong 32–38 inches from the floor per ADA guidelines. |
| Seal every flange | Apply silicone caulk around each flange to stop water from rotting the wall. |
| Load test before use | Apply full body weight and twist the bar to confirm it holds before anyone relies on it. |
| Know your wall type | Fiberglass surrounds and hollow drywall require blocking or toggle anchors, not standard screws. |
What I have learned from years of watching grab bar installations go wrong
The most common mistake I see is not the drilling. It is the placement. Homeowners pick a height that looks right from a standing position, then realize after mounting that the bar sits too low for someone who is already off-balance and reaching. Position the bar where your hand naturally goes when you are startled, not where it looks tidy on the wall.
The second mistake is skipping the load test. A bar that feels solid when you push it lightly can still fail under the sudden, twisting force of a real fall. Proper installation means testing hard before trusting it. I have seen bars that passed a gentle push fail immediately when someone grabbed them in a panic.
The third mistake is treating this as a one-time job. Regular inspection of grab bars matters because moisture and daily use loosen mounts over time. Check every bar in your home twice a year. Wiggle it, look at the caulk seal, and tighten any screws that have worked loose.
For seniors and caregivers, a properly installed grab bar is not just hardware. It is the difference between confident, independent movement and a fall that changes everything. Get the position right, anchor it properly, and check it regularly.
— Jennifer
Grab bar installation services from Maddladder
Grab bar installation looks straightforward until you hit tile that cracks, a wall with no stud in the right place, or a fiberglass surround that needs blocking. Maddladder handles all of it for homeowners across the Kansas City metro area.

Maddladder's accessibility installation services cover grab bars, ramps, and other safety upgrades, all done to ADA-compliant standards by licensed professionals. Whether you need one bar installed or a full bathroom safety assessment, the team offers free estimates and fast scheduling. No guesswork, no cracked tile, no bars that fail the load test. Contact Maddladder today for a free estimate on home safety upgrades that you can trust.
FAQ
How long does grab bar installation take?
A typical DIY grab bar installation takes about 2 hours with the correct tools and hardware. Professional installation is usually faster and includes a load test before the job is complete.
What height should grab bars be mounted at?
Horizontal grab bars mount between 32 and 38 inches from the floor per ADA guidelines. This range provides the best ergonomic reach for most adults during balance loss.
Can you mount grab bars without hitting a stud?
Yes. Snap toggle or strap toggle anchors rated for 250+ pounds of shear load provide a reliable alternative when studs are not accessible. Standard drywall anchors are not safe for this purpose.
How do you drill through tile without cracking it?
Place masking tape over the drill point, use a diamond-tipped drill bit, and run the drill at low speed with light pressure. Forcing the drill or running it too fast is the leading cause of tile cracks during grab bar installation.
How often should you inspect grab bars after installation?
Check every grab bar at least twice a year. Moisture and daily use loosen mounts over time, and any movement or looseness means the bar needs reinstallation before it is safe to use again.