
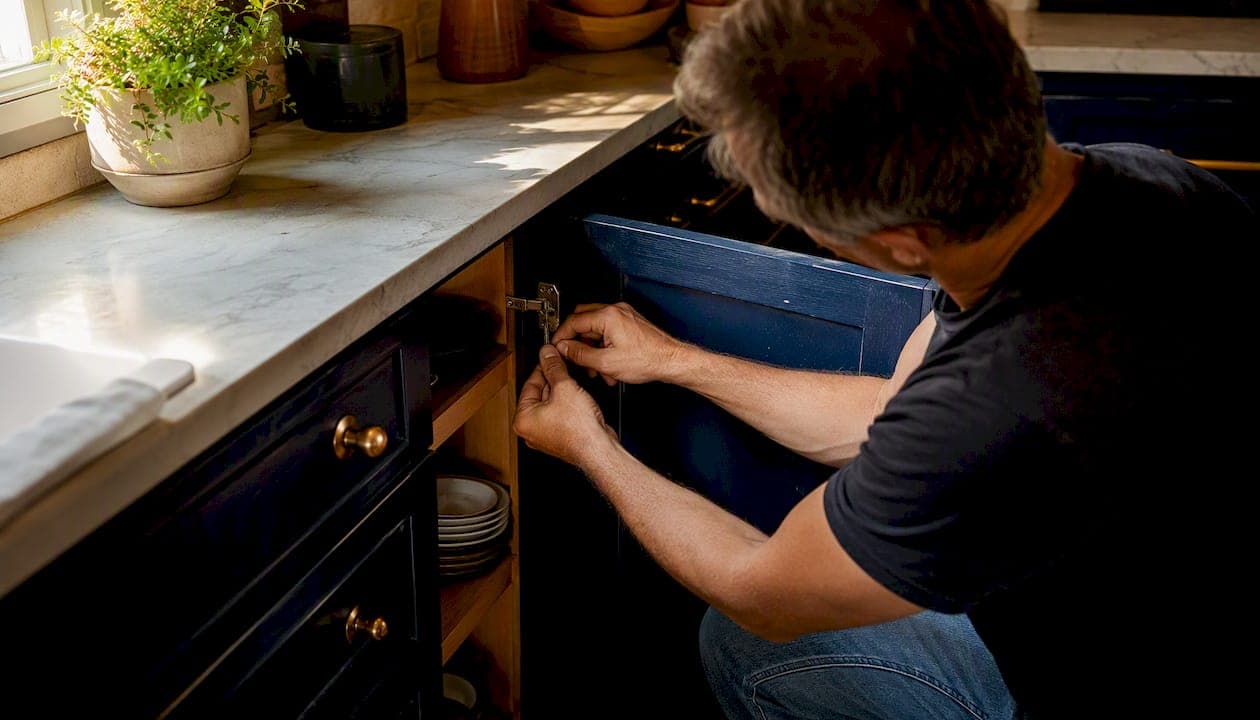
A sticky cabinet door is almost always caused by one of three things: built-up grease or residue on the surface, a misaligned hinge, or wood that has swollen from moisture. In most cases, you can fix it in under 30 minutes without replacing a single piece of hardware.
Here's where to start:
- Clean first. Wipe the door and frame with warm water and mild dish soap. If the door near your stove feels tacky, baked-on grease is the likely culprit.
- Adjust the hinge. If the door rubs or won't close flush, turn the hinge adjustment screws in 1/4-turn increments. Most sticking doors are fixed this way.
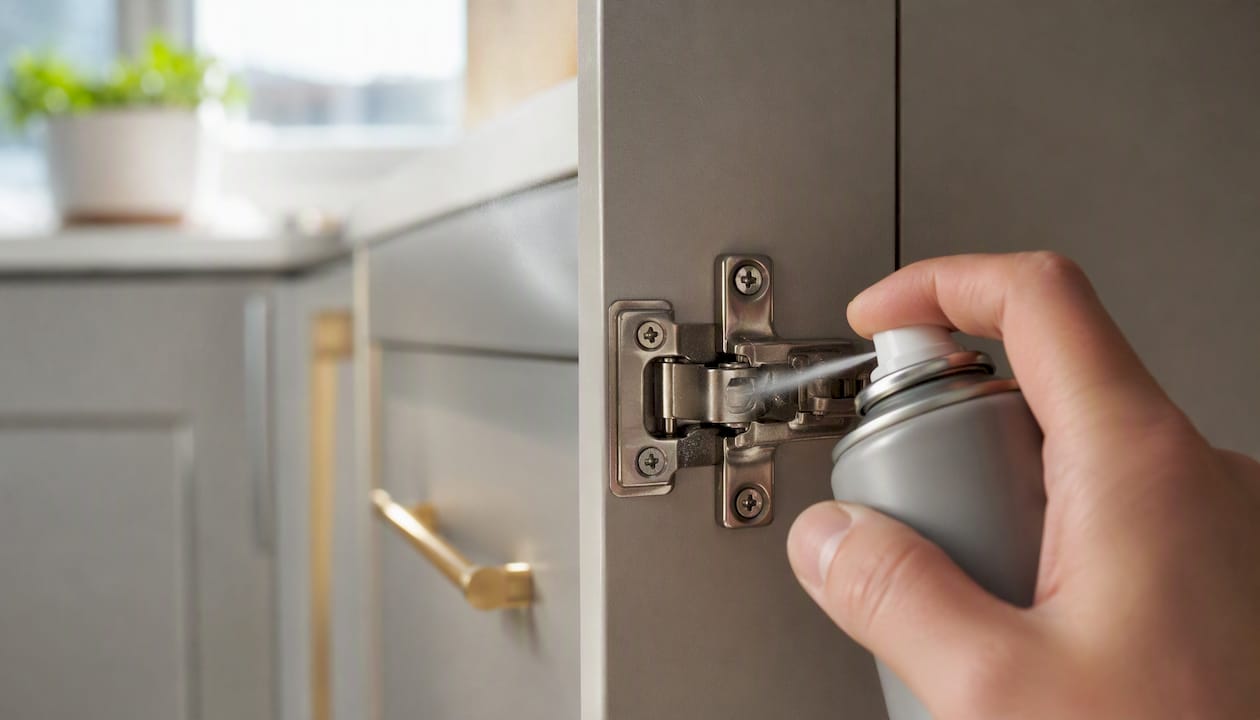
- Lubricate. A quick shot of silicone spray on the hinge pivot stops squeaking and reduces drag.
When to call a pro: If the finish stays tacky after degreasing, the vinyl wrap is peeling, or the cabinet box itself is cracked or crumbling, stop. Those repairs go beyond a screwdriver and a damp cloth.
Key Takeaways
Fixing sticky cabinet doors almost always follows the same order: clean the residue first, then adjust the hardware, and only sand or refinish if those steps don't solve it.
| Point | Details |
|---|---|
| Clean before adjusting | Warm water and dish soap removes most grease; test any stronger cleaner on a hidden spot first. |
| Hinge adjustment fixes most sticking | Turn the depth, lateral, or height screw in 1/4-turn increments and check fit after each change. |
| Fingernail test decides the path | If a degreased surface still marks with a fingernail, the finish has failed and cleaning won't help. |
| Seal sanded edges immediately | Any bare wood edge must be primed and painted or lacquered before re-hanging to prevent re-swelling. |
| Maddladder for finish failures | When re-coating, re-wrapping, or door replacement is needed, Maddladder's licensed team serves the Kansas City metro area starting at $75/hour. |
Table of Contents
- How to fix sticky cabinet doors: diagnose the cause first
- Tools and safe materials you'll need
- How to remove sticky or greasy residue without damaging finishes
- Adjusting common cabinet hinges: the three-screw method
- Lubricating hinges and keeping hardware moving smoothly
- Fixing or replacing latches, magnetic catches, and soft-close mechanisms
- When doors are swollen or warped: trimming and sanding safely
- Quick troubleshooting checklist: work through this in order
- How to prevent cabinet doors from getting sticky again
- When a handyman should handle it
- Maddladder handles cabinet repairs when DIY isn't the right call
- Sources
How to fix sticky cabinet doors: diagnose the cause first
Before you grab a cleaner or a screwdriver, spend two minutes watching the door. Open and close it slowly while looking at where it binds. That one observation narrows the fix considerably.
Run your finger across the door surface. Tacky near the stove or around the handle? That's grease. Tacky across every door in the kitchen, even ones far from the heat? That points to a failing finish or vinyl wrap plasticizer migration, which cleaning won't solve. A door that rubs only along the hinge side is an alignment problem. One that won't latch at all usually has a catch or damper issue.
Pro Tip: Check the pattern before anything else. Stickiness concentrated above the stove or around handles means deposited grease. Uniform tackiness across all doors, including ones in low-traffic spots, is a finish failure signal — and those two problems need completely different fixes.
Use this quick symptom guide:
- Tacky residue near the stove or handles → baked-on grease deposit
- Uniform tackiness across all doors → failed vinyl wrap or soft lacquer (plasticizer migration)
- Door rubs along the hinge side → hinge misalignment
- Door won't stay closed → magnetic catch, roller catch, or soft-close damper failure
- Door binds at top or bottom edge → swollen or warped wood
Airborne cooking fat concentrates above the hob and around the trash area. If that's where the stickiness lives, you're dealing with grease, not a finish problem. Start with cleaning. If the problem is spread evenly across every door, skip straight to the finish-failure diagnostic in the hinge section below.
Tools and safe materials you'll need
Gather these before you start. Having everything on the counter saves multiple trips.
Tools:
- Phillips #2 screwdriver (magnetic tip preferred)
- Microfiber cloths and a soft sponge
- Small ruler or feeler gauge (to measure door gaps)
- Hand plane or sanding block (for swollen wood only)
- Utility knife
- Toothpicks and wood glue (for stripped screw holes)
Cleaners and materials:
- Mild dish soap (Dawn works well)
- Baking soda
- Isopropyl alcohol (70% or 91%)
- Household alkaline degreaser (e.g., Krud Kutter or Simple Green)
- Silicone spray or dry PTFE lubricant
- Peel-and-stick rubber bumpers
- Primer and matching paint or lacquer (for cut wood edges)
Pro Tip: Before using any cleaner on your cabinet finish, test it on the inside face of the door or the underside of a shelf. Apply, wait 60 seconds, wipe off, and let it dry completely. If the finish looks dull, feels softer, or shows any color transfer, switch to a gentler option.
For safe DIY home repairs, having the right materials on hand before you start is half the job.
How to remove sticky or greasy residue without damaging finishes
Testing shows warm water with mild dish soap is the most effective first-line cleaner for greasy cabinet surfaces. It's gentle enough for painted, lacquered, laminate, and vinyl-wrapped doors, and it removes light to moderate grease without stripping anything.
Follow this sequence:
- Test patch first. Pick an inconspicuous spot (inside face of the door). Apply your chosen cleaner, wait 30–60 seconds, wipe off, and let dry. Check for softening, discoloration, or dullness before proceeding.
- Warm water and dish soap. Dampen a microfiber cloth, wring it nearly dry, and wipe the door surface. Rinse with a clean damp cloth, then dry immediately. Never let water sit on wood or laminate.
- Baking soda paste. If grease remains, mix baking soda with a small amount of water to form a paste. Apply gently with a soft cloth using circular motions. Rinse thoroughly and dry.
- Isopropyl alcohol spot treatment. For stubborn spots on lacquered or painted surfaces, apply 70% isopropyl alcohol to a cloth (not directly to the door). Test patch first. Wipe, rinse, dry.
- Alkaline degreaser. For heavy baked-on grease, apply a household degreaser like Krud Kutter per the product label. Work in small sections, rinse completely, and dry. Always test patch first.
- Fingernail test. After cleaning and drying, press a fingernail lightly into the surface. If it leaves a mark or the surface still feels tacky, the finish itself may have failed — not just the surface.
What not to use: Abrasive pads or steel wool scratch lacquer and laminate permanently. Oven cleaner is far too caustic for cabinet finishes. Straight acetone dissolves lacquer on contact. Undiluted bleach can lift color from painted surfaces and degrade adhesives on vinyl wrap.
Pro Tip: Airborne cooking fat can oxidize and bond chemically into a lacquer finish over years. Once that happens, ordinary washing won't lift it — you'll clean the surface layer but the tackiness returns within days. That's the signal to do the fingernail test and consider re-coating.
Adjusting common cabinet hinges: the three-screw method
Most sticking or rubbing doors are fixed by hinge adjustment, not replacement. European (cup) hinges have three adjustment screws controlling depth (in/out), lateral position (left/right), and height (up/down). Turning the wrong screw wastes time; knowing which does what gets the door right on the first try.
Step-by-step adjustment:
- Open the door and identify where it binds or rubs. Mark the spot lightly with a pencil.
- Locate the three screws on the hinge. The large center screw typically controls depth; the side screw controls lateral movement; the top or bottom screw adjusts height.
- Turn the relevant screw in 1/4-turn increments. Close the door and check fit after each turn.
- Fix one hinge fully before touching the neighboring door's hinges.
- Once aligned, check the gap around all four edges. It should be even (roughly 2mm on each side for most Euro hinges).
| Screw | Controls | Turn clockwise | Turn counterclockwise |
|---|---|---|---|
| Depth screw | In/out (door face flush with frame) | Pulls door in toward frame | Pushes door out |
| Lateral screw | Left/right position | Moves door toward hinge side | Moves door away from hinge |
| Height screw | Up/down position | Raises door | Lowers door |
Diagnose the binding location first, then use the specific screw for that axis. Turning more than 1/4 turn at a time risks cracking the hinge mounting plate — support the door with your free hand when loosening any mounting screw.
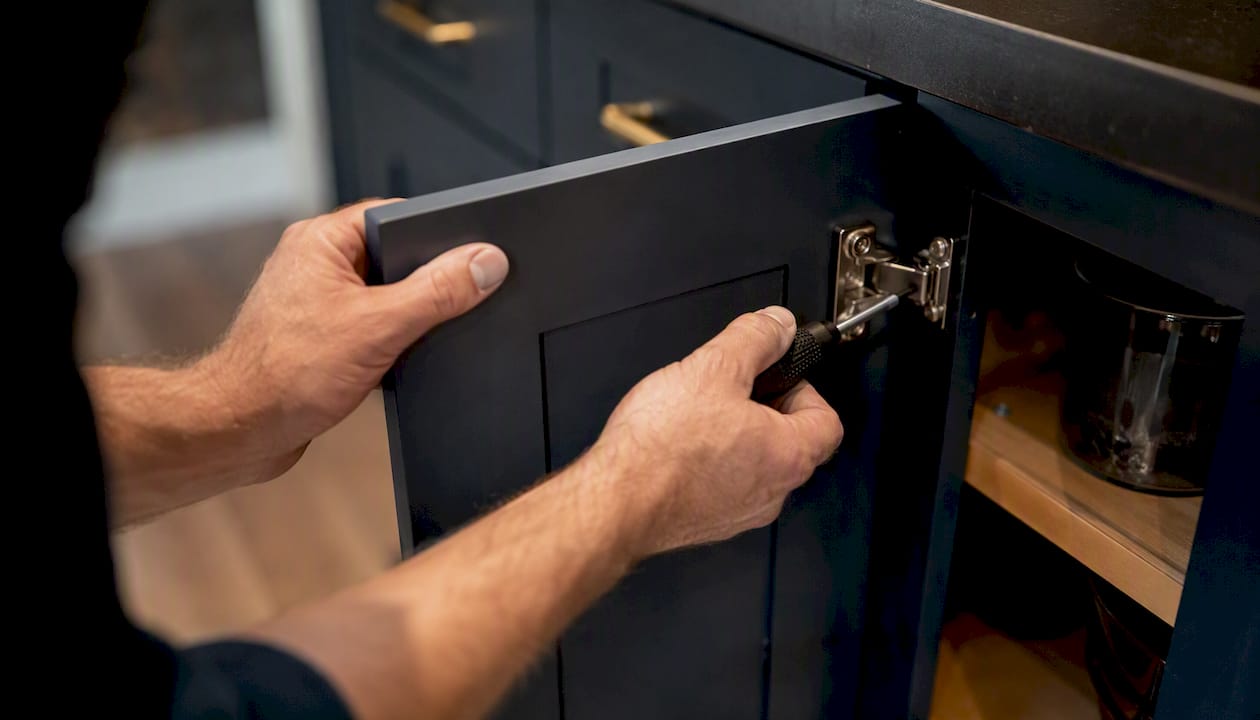
Stripped screw holes: If a screw spins without gripping, the hole is stripped. Dip two or three toothpicks in wood glue, pack them into the hole, let the glue cure fully (at least two hours), trim flush with a utility knife, then re-drive the screw. It's a durable fix that avoids a larger cabinet repair.
When to replace a hinge: A cracked mounting plate, a bent arm that won't spring back, or a hinge that won't hold adjustment after multiple attempts all mean replacement. Euro hinges are inexpensive and widely available at any home center.
Pro Tip: Use a magnetic screwdriver tip when working on recessed hinge screws. Dropping a screw into a cabinet base is a frustrating five-minute detour every time.
Lubricating hinges and keeping hardware moving smoothly
Clean the hinge before you lubricate it. Spraying lubricant onto a dirty pivot just traps grit and makes the problem worse within a few weeks.
- Wipe the hinge pivot area with a dry cloth or a cotton swab dampened with isopropyl alcohol. Remove any visible grease or debris.
- Apply silicone spray or dry PTFE lubricant to the pivot point. A one-second burst is enough. Cycle the door five or six times to work it in.
- Wipe off any excess with a dry cloth. Excess lubricant drips onto the cabinet box and attracts dust.
- Avoid WD-40 as a long-term hinge lubricant. It's a solvent-based product that works well for loosening stuck parts but evaporates quickly and leaves residue that attracts dirt. White lithium grease or dry PTFE lubricant lasts much longer.
- Lubricate every 6–12 months in a normal kitchen, more often if the kitchen sees heavy daily use.
For squeaking hinges specifically: clean first, then lubricate. A squeak that persists after lubrication usually means the hinge arm is bent or the pivot pin is worn. Replace the hinge.
Pro Tip: Dry PTFE (polytetrafluoroethylene) lubricant is the cleanest option for kitchen cabinet hinges. It goes on wet, dries to a thin film, and doesn't attract cooking dust the way oil-based products do.
Fixing or replacing latches, magnetic catches, and soft-close mechanisms
If the door swings freely but won't stay closed, the hinge is not the problem. The catch is. Common DIY cabinet repairs include catch replacement and adjustment, and most take under 15 minutes.
Adjusting a magnetic or roller catch:
- Open the door and loosen the catch mounting screws slightly (don't remove them).
- Slide the catch body toward or away from the door until the strike plate aligns squarely.
- Re-tighten the screws and test. The door should close with a firm click and no gap.
- If the door pulls away from the frame slightly when closed, the catch is too far back. Move it forward in small increments.
Replacing a failed catch:
- Remove the old catch and keep the screws. Measure the screw spacing before discarding the old unit.
- Hold the new catch in position, mark the screw holes, and pre-drill if needed.
- Install and test. Fine-tune position before fully tightening.
For latch repair techniques that apply across door types, this window latch repair guide covers useful parallel steps for aligning strike plates.
Soft-close dampers: Most hydraulic soft-close hinges have a small adjustment screw on the damper body. Turn it clockwise to slow the close speed, counterclockwise to speed it up. If the damper is fully adjusted and the door still slams or doesn't close at all, the damper unit itself has failed. Replace the hinge or the damper cartridge.
Pro Tip: Magnetic catches are the easiest to replace and cost under $5 at any hardware store. If a door has been slamming for months, check the strike plate for dents — a dented plate won't seat correctly no matter how well the catch is positioned.
When doors are swollen or warped: trimming and sanding safely
If the door still binds after cleaning and hinge adjustment, the wood itself may have absorbed moisture and expanded. This is common on doors near a dishwasher, a sink, or in a kitchen with poor ventilation.
- Remove the door. Support it while unscrewing the hinge from the cabinet box. Lay it flat on a padded surface.
- Identify the binding edge. Close the door partially and mark where it contacts the frame with a pencil or chalk. That's the material to remove.
- Dry the door first. If the wood feels damp, let it dry in a warm room for 24–48 hours before sanding. Sanding wet wood clogs the paper and removes too much material.
- Sand or plane in small passes. Use a sanding block (80-grit to start, 120-grit to finish) or a hand plane. Remove a little at a time, re-hang the door, and check the fit. It's much easier to take more off than to add material back.
- Seal the cut edge immediately. Bare wood absorbs moisture and will swell again. Apply a coat of primer, then matching paint or lacquer, to any freshly sanded edge before re-hanging.
- Address the moisture source. Run the exhaust fan while cooking, check for a slow dishwasher leak, and consider a small dehumidifier if the kitchen stays humid.
When not to DIY: Badly warped doors (more than a few millimeters of bow across the face) won't flatten with sanding. Veneered or vinyl-wrapped doors that have delaminated at the edges need re-wrapping or replacement. Attempting to sand a delaminating vinyl wrap typically makes it worse.
Repair complexity scales with the failure mode: loose hardware is a quick fix, mid-tier damage needs filler and sanding, and badly broken panels or failed veneers usually require full replacement.
Pro Tip: Wear a dust mask and eye protection when sanding. Cabinet finishes, especially older lacquers, can release fine particles that irritate the lungs. Lay a drop cloth inside the cabinet box to catch dust before it settles on shelves.
Quick troubleshooting checklist: work through this in order
Follow these steps from fastest to most involved. Don't skip ahead.
- Clean a test area with warm water and dish soap. Dry fully.
- Test for tackiness. Press a fingernail lightly into the cleaned area. If it marks, the finish has failed — skip to step 7.
- Adjust hinges. Turn the relevant screw 1/4 turn, close the door, check fit. Repeat as needed.
- Lubricate the hinge pivot. Apply silicone spray or dry PTFE, cycle the door, wipe excess.
- Check the catch. Adjust or replace the magnetic catch, roller catch, or soft-close damper.
- Remove and sand if swollen. Take off the door, mark the binding edge, sand in small passes, seal the edge, re-hang.
- Call a pro if: the finish stays soft after degreasing, vinyl wrap is tacky after cleaning, screw holes are crumbling, or the cabinet box is cracked or damaged.
DIY vs. pro decision: Cleaning, hinge adjustment, lubrication, and catch replacement are solid DIY territory for most homeowners. Finish re-coating, door re-wrapping, and structural cabinet repairs are where Kansas City homeowners typically decide that a licensed handyman saves more money than a DIY attempt costs.
Maintenance follow-up: Re-check the door one week after cleaning. Near the stove, check monthly — grease builds faster there than anywhere else in the kitchen.
How to prevent cabinet doors from getting sticky again
The fastest fix is the one you don't need. A short routine keeps doors moving smoothly and finishes intact.
- Weekly near the stove: Wipe cabinet faces with a damp cloth and mild dish soap. Dry immediately. This takes 90 seconds and prevents the grease layer from oxidizing into the finish.
- Monthly degreasing: Use a diluted alkaline degreaser on high-traffic doors (near the stove, beside the trash). Rinse and dry fully.
- Every 6–12 months: Lubricate all hinge pivot points with silicone spray or dry PTFE.
- Run the exhaust fan every time you cook. Airborne fat is the primary cause of finish-bonded grease deposits.
- Avoid silicone furniture polishes on kitchen cabinet doors. They leave a film that attracts grease and makes future cleaning harder.
- Add peel-and-stick rubber bumpers to door corners and top edges. They cushion impact, reduce finish wear at contact points, and cut down on the door-slamming that loosens hinges over time.
- Wipe spills immediately. Liquid that sits on a cabinet face, especially near the base, wicks into the finish and swells the substrate.
When a handyman should handle it
Some cabinet door problems are genuinely beyond a screwdriver and a bottle of degreaser. Knowing when to stop is as useful as knowing how to start.
Call a licensed handyman when:
- The finish stays soft after degreasing. Soft lacquer or plasticizer migration in vinyl wrap won't respond to cleaning. Re-coating or re-wrapping is the durable fix, and doing it wrong means replacing the door entirely.
- Screw holes are crumbling. Toothpick repairs work for minor stripping. When the cabinet box material itself is breaking down, the mounting needs professional assessment.
- The cabinet box is cracked or damaged. Structural repairs to the box require more than surface-level work.
- Doors need replacement. Measuring, ordering, and fitting replacement doors correctly takes experience, especially with older or custom cabinet lines.
- You're unsure about the finish type. Applying the wrong solvent to an unknown finish can cause irreversible damage in seconds.
What to expect from a handyman visit: A good technician will assess the failure mode first, then recommend the right-sized fix — whether that's hinge or catch replacement, door removal and refit, sanding and refinishing, or full door replacement. Maddladder's repair and replacement services cover all of these, starting at $75/hour for one-time jobs in the Kansas City metro area.
Have this information ready when you book: door count, hinge type (Euro cup or surface-mount), whether the finish is painted, lacquered, or vinyl-wrapped, and a photo of any visible damage.
Pro Tip: Leaving a sticking door unaddressed isn't just annoying. Sticking doors that go unfixed can stress hinge mounting points, crack cabinet box corners, and — for rental properties — become a tenant complaint that costs more to fix later than it would have now.
What actually matters: DIY wins vs. knowing when to stop
Most sticky cabinet door problems are genuinely fixable without professional help. Cleaning the surface, adjusting the hinge, and lubricating the pivot resolve the majority of cases, and none require special skills or expensive tools.
Where homeowners get into trouble is pushing past the point where DIY helps. A vinyl-wrapped door that's gone tacky from plasticizer migration looks like a cleaning problem. It isn't. Scrubbing it harder or applying stronger solvents strips the wrap further and turns a re-wrap job into a door replacement. The fingernail test after degreasing is the honest decision point: if the surface still marks, stop and call someone.
The other underrated move is doing the diagnostic step before anything else. Grabbing a degreaser when the real problem is a misaligned hinge wastes time and risks finish damage. Watching where the door actually binds takes 30 seconds and points directly at the fix.
Maddladder handles cabinet repairs when DIY isn't the right call
When the finish has failed, the cabinet box needs work, or you'd simply rather have it done right the first time, Maddladder's licensed handyman team in the Kansas City metro area handles the full range of cabinet door repairs: hinge and catch replacement, door removal and refit, sanding and refinishing, and full door replacement when needed.

One-time handyman services start at $75/hour, with free estimates and quick local response. No long-term commitment required. Whether it's a single sticky door or a full kitchen's worth of hardware that needs attention, the Maddladder repair and replacement service covers it. Get a free estimate at Maddladder and have the door working properly before the week is out.
Sources
- How to Fix Sticky Kitchen Cabinet Doors (Without Replacing Hardware) | Practical Home Guides
- How to Fix a Sticky or Misaligned Cabinet Door: Hinge Adjustment and Leveling
- I Tested 5 Ways To Clean Greasy Cabinets: Here's The Best
- Cabinet doors are sticky no matter how often they are cleaned — causes, diagnosis order & when to call a pro | ShunTool