
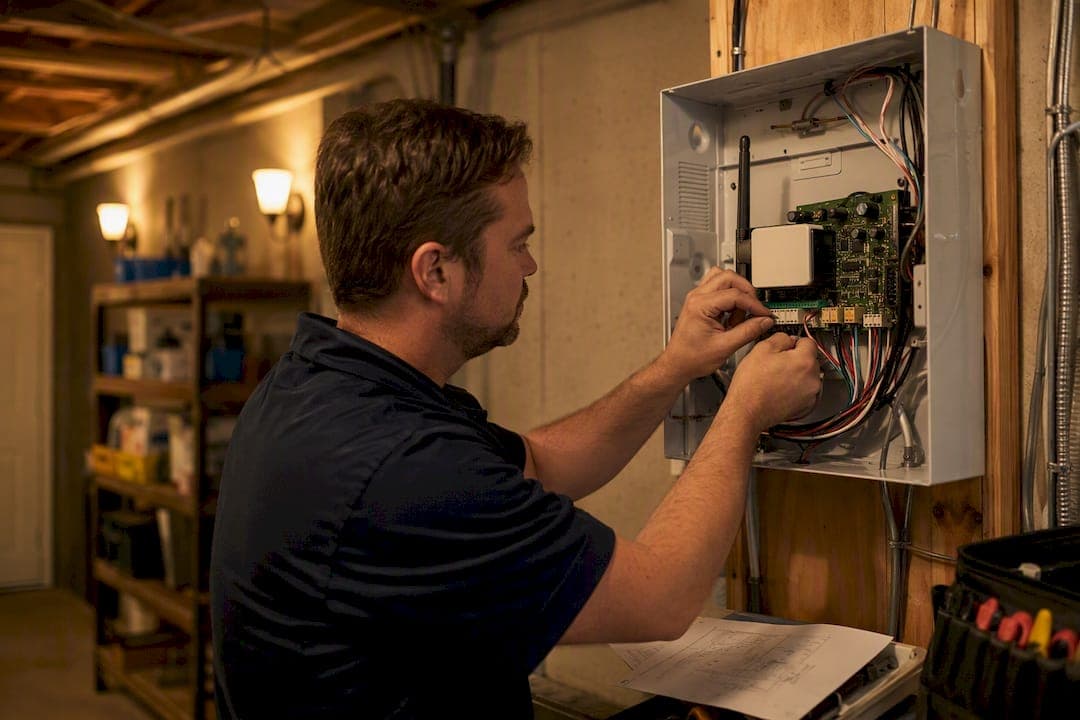
Fix three things first: the communicator that talks to your monitoring company, the locks on your main entry points, and the cameras covering your most exposed areas. That's the whole strategy behind how to upgrade unit security on a budget, and it works whether you're protecting a single-family home or managing 40 storage units. You don't need a demo and a rebuild. You need a sequence.
Start this afternoon with these three moves:
- Walk the property and log every device that's currently installed, including its age and connection type.
- Secure your main entry point first: a reinforced strike plate and a commercial-grade deadbolt cost less than one monitoring bill.
- Add a cellular or IP communicator if your panel still relies on a phone line. This alone often unlocks app control and faster dispatch.
Working cameras, comprehensive coverage, anti-tailgate gates, and regular maintenance checks often deliver more security value than a single premium purchase. Basics beat splurges, almost every time.
That principle, backed by Neighbor's self-storage security research, guides everything below. Whether you handle this yourself or bring in a licensed installer like Maddladder, the order matters more than the brand names on the boxes.
Key Takeaways
The fastest path to real security is sequencing the upgrade correctly: communicator and panel first, then locks, then cameras, then perimeter hardening.
| Point | Details |
|---|---|
| Start with the communicator | Move off phone-line monitoring to cellular or IP before adding any other smart device. |
| Audit before you buy | Log panel model, wiring type, and lock type first to avoid paying for redundant hardware. |
| Prioritize centralized management | A single dashboard for locks, cameras, and sensors reduces long-term labor more than premium hardware alone. |
| Don't defer life-safety sensors | NFPA-aligned smoke and CO detectors and flood sensors come before optional smart features. |
| Bring in Maddladder for staged installs | Maddladder plans and executes phased upgrades, from communicator retrofits to full smart-home rollouts, with a written plan and warranty. |
Where to Learn More
- Neighbor's self-storage security guide: budget-conscious upgrade priorities for facility owners.
- Canadian Centre for Cyber Security's ITSAP.10.035: patching and authentication basics for connected devices.
- Janus International's storage security guide: smart lock and cloud surveillance specifics.
- RentRedi's rental security upgrade guide: low-disruption upgrades for occupied rentals.
- NFPA: current smoke and CO detector standards.
Table of Contents
- How Do You Assess What's Worth Keeping in Your Current System?
- Why Upgrading the Panel and Communicator Gives You the Biggest Return
- Which Cameras Make Sense for HD, PoE, or Wireless Upgrades?
- What Access Control and Smart Lock Options Actually Hold Up?
- How Do You Harden Doors, Frames, and Perimeter Areas?
- Don't Defer Smoke, CO, and Flood Sensor Upgrades
- Wired or Wireless: What Actually Holds Up Under Pressure?
- How Should You Integrate Devices and Keep Them Maintained?
- What Do Common Upgrade Paths Cost, and How Long Do They Take?
- Should You Hire a Pro or Handle It Yourself?
- What Does a Professional Upgrade Workflow Actually Look Like?
- What Trade-Offs Do Installers See Most Often?
- Let Maddladder Handle the Installation Sequence for You
- Frequently Asked Questions
- Sources
How Do You Assess What's Worth Keeping in Your Current System?
Before buying anything, spend 45 minutes with a notepad and a flashlight. Most existing systems have at least one component still worth keeping, and finding it saves real money.
Check these items and write down what you find:
- Control panel model and communicator type: phone line, cellular, or IP? Note the brand and approximate age.
- Camera wiring: coax, PoE (Power over Ethernet), or Wi-Fi? Rewiring is the single biggest cost driver in most upgrades.
- Locks: standard deadbolt, electronic keypad, or existing smart lock? Check battery type and pairing method.
- Sensors: door/window contacts, motion detectors, and their wiring or wireless protocol.
- Monitoring type: self-monitored app alerts versus a professional monitoring contract.
- Backup power: does anything have battery backup, or does a power outage take the whole system down?
For compatibility, record the panel's firmware version and whether the manufacturer still pushes updates. A panel that hasn't seen a firmware update in three or four years, or one that locks you into a single proprietary app with no open API, is a strong signal to replace rather than retrofit.
Why Upgrading the Panel and Communicator Gives You the Biggest Return
If your budget only covers one upgrade this year, make it this one. Cellular and IP communicators replace the aging phone-line connection your alarm system may still depend on, and they're what enables real app control, faster monitoring response, and integration with cameras and locks down the line. A panel stuck on phone-line monitoring is the ceiling on everything else you might want to add.
You usually don't need to replace the whole panel to get there:
- Many manufacturers sell retrofit cellular communicator modules that plug into existing panels built in the last decade.
- Confirm your panel supports Contact ID or SIA reporting protocols before buying a communicator. Compatibility issues here are the most common installation headache.
- Budget 1 to 3 hours for a straightforward retrofit; a full panel swap runs closer to half a day, especially if wiring needs rerouting.
- If your panel is more than 12 to 15 years old or the manufacturer no longer supports it, replacing the panel outright is usually cheaper than fighting compatibility.
Pro Tip: You can almost always keep your existing wired door and window sensors when you add a cellular communicator. The sensors talk to the panel, not the phone line, so swapping only the communicator module preserves that wiring investment entirely.
Which Cameras Make Sense for HD, PoE, or Wireless Upgrades?
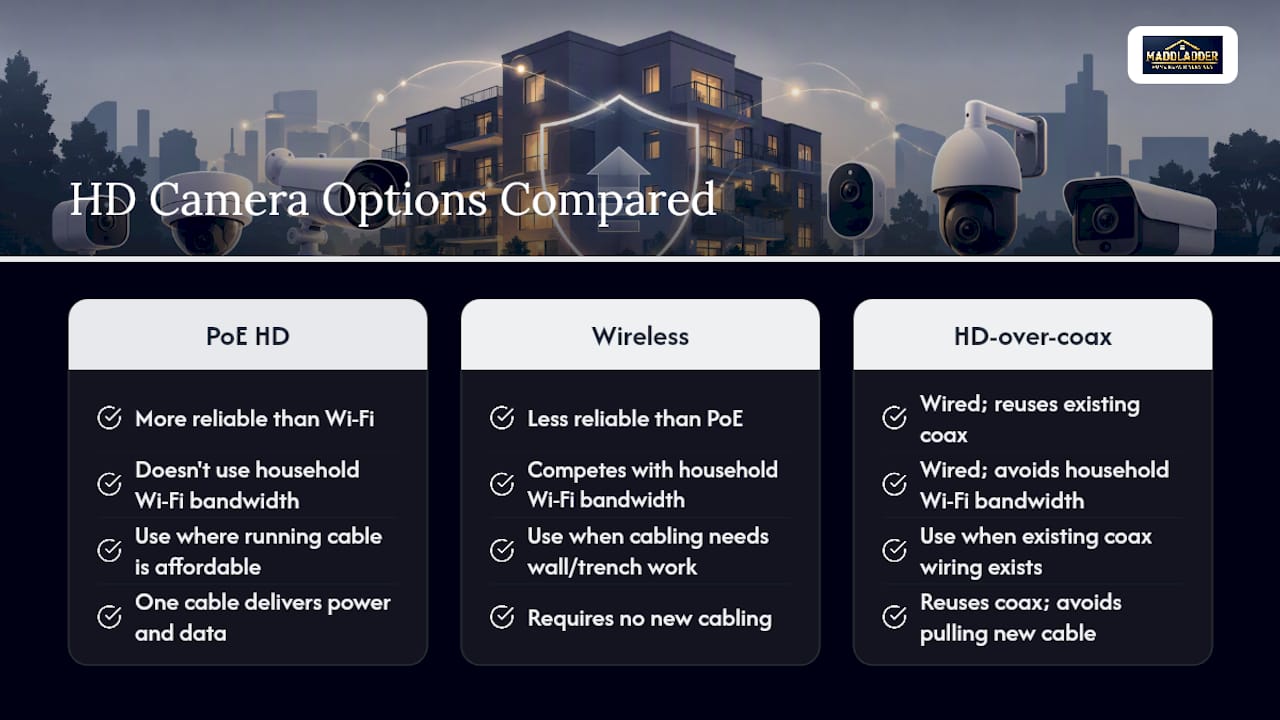
Use PoE HD cameras wherever running a cable is affordable. They're more reliable than Wi-Fi, they don't compete with your household network for bandwidth, and one cable delivers both power and data. Reserve wireless cameras for locations where running a line means tearing into finished walls or trenching concrete, which is common in storage facilities and detached garages.
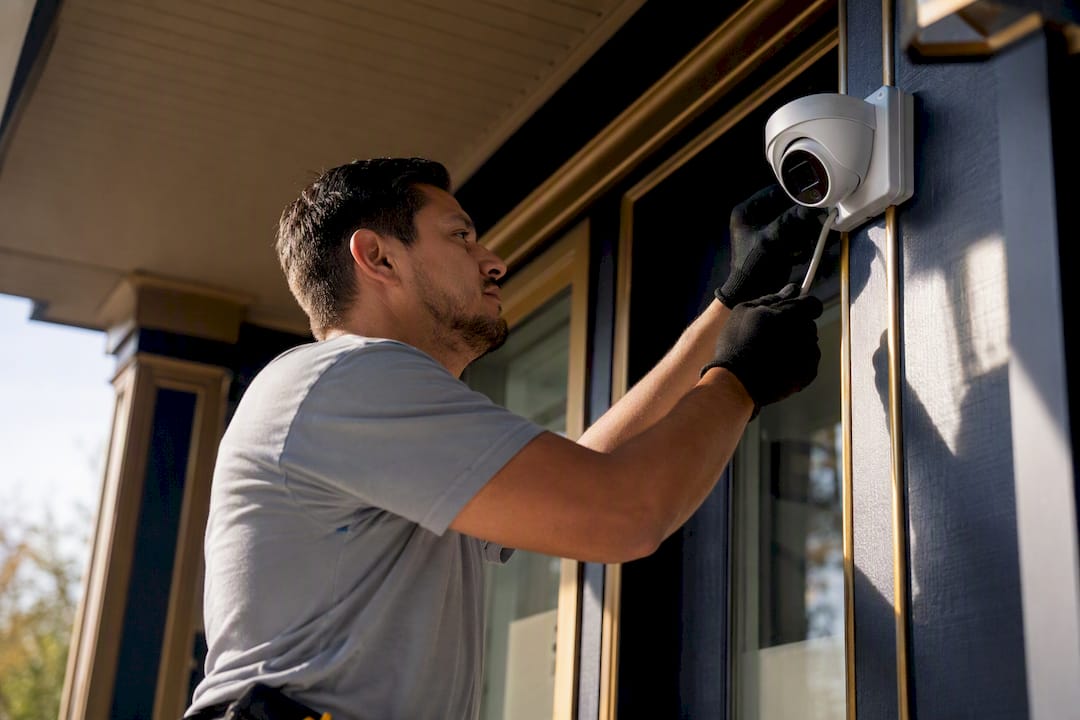
Placement matters as much as the hardware. Cover main entrances first, then parking areas and package or drop-off zones, and walk the perimeter looking for blind spots created by landscaping or building corners. For multi-unit properties, keep cameras angled away from neighboring windows and private outdoor spaces. Tenants notice, and complaints about privacy overreach are avoidable with five minutes of angle-checking.
On recording: local NVR (network video recorder) storage costs less over time and keeps footage on-site, but it's vulnerable if a thief disables the box itself. Cloud storage costs a recurring fee but survives a break-in or a fire, and most services keep 30 to 90 days of footage depending on the plan.
If you already have coax wiring in place, HD-over-coax upgrades let you reuse it for a real image-quality jump without pulling new cable. If you're starting from bare walls, running PoE gives you better long-term reliability and easier future expansion, according to the high-tech storage security guide from Janus International.
What Access Control and Smart Lock Options Actually Hold Up?
For homes with one or two entries, a quality residential smart lock with keypad backup covers most needs. For multi-unit rentals or storage facilities managing dozens of tenants, that approach breaks down fast. Prioritize commercially rated smart locks with audit trails and a local fallback, since research on multi-unit rental security points to management-layer failures, not device failures, as the real cause of security gaps at scale.
Look for these features before buying:
- Audit logs showing who accessed what, and when.
- Remote provisioning, so you can issue or revoke access without a site visit.
- Keyed override, because a dead battery shouldn't lock anyone out permanently.
- Battery health reporting and tamper alerts sent to your phone or dashboard.
Check whether the lock needs a separate access controller or integrates directly with your existing panel. For storage units specifically, hasp-based smart locks and cloud-managed digital keys let you issue temporary access codes to movers or new tenants without cutting a new key, and gate keypads with rotating codes handle facility-wide entry well.
How Do You Harden Doors, Frames, and Perimeter Areas?
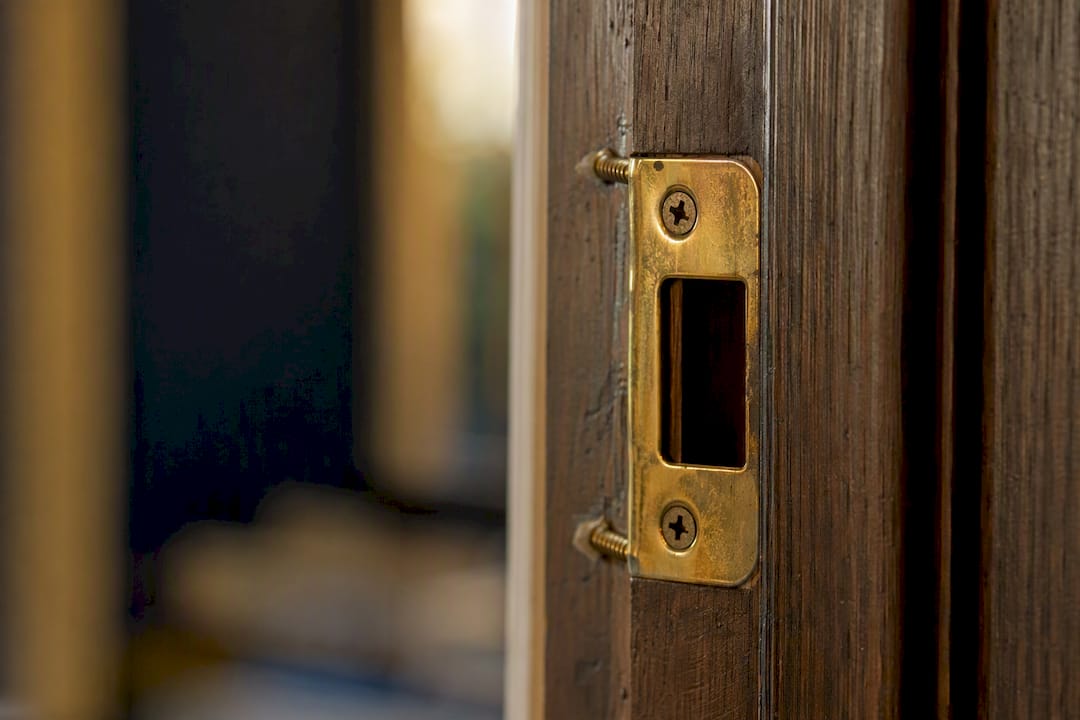
Electronics get the attention, but a hollow-core door with a short-screw strike plate undoes a $400 camera system in about eight seconds. Start with reinforced strike plates, 3-inch screws that reach the door frame's structural stud, and a hinge-side reinforcement plate if the door swings outward. These upgrades run under $50 per door and dramatically raise the force needed to kick it in.
Outside, motion-activated lighting closes blind spots and works as a deterrent on its own, since smart lighting placed alongside cameras improves both detection and camera image quality at night. For storage facilities, anti-tailgate gates that require a badge or code per vehicle stop the common trick of following an authorized car through an open gate.
Pro Tip: A door reinforcement kit, longer strike-plate screws, and a hinge-pin upgrade together cost less than a single smart camera but often matter more for actually stopping a forced entry. Proper door fit also cuts drafts and moisture intrusion, which door winterization guidance covers in more depth if your doors are older.
Don't Defer Smoke, CO, and Flood Sensor Upgrades
Environmental sensors protect life, not just property, so they shouldn't wait for a "someday" budget line. Prioritize detectors that meet current NFPA standards, along with reliable flood sensors in basements, mechanical rooms, or ground-floor storage units.
- Tie smoke and CO detectors into your monitoring system if your panel supports it, so an alarm dispatches help even when nobody's home.
- Place smoke detectors in every bedroom and hallway, and CO detectors near fuel-burning appliances and attached garages.
- Test units monthly and replace batteries yearly, replacing the whole unit every 8 to 10 years regardless of how it's tested.
Wired or Wireless: What Actually Holds Up Under Pressure?
Keep wiring where it already exists and where power reliability matters most, like entry cameras and main door locks. Choose wireless for retrofits where running cable means real demolition, particularly in finished basements or storage units with concrete walls.
Backup power deserves its own line item. Put a UPS (uninterruptible power supply) on your NVR and any PoE switch, and confirm your communicator and smart locks have battery backup rated for at least 24 hours. A security system that dies with the power grid isn't protecting anything.
On networking, keep security devices on a separate network segment from guest Wi-Fi, and favor wired PoE connections for cameras since they handle bandwidth-heavy video far more reliably than a crowded wireless network.
Pro Tip: Before finalizing any wireless device placement, run it for 48 hours and check the signal strength log. A camera that drops connection twice a day looks fine on day one and becomes a blind spot by week three.
How Should You Integrate Devices and Keep Them Maintained?
The upgrade with the best long-term payoff isn't a device at all. It's centralized management: one dashboard, one login, one place to see which devices are online and which need attention. That single change reduces both risk and the hours you spend chasing problems later.
Build a maintenance rhythm around these checks:
- Walk the site quarterly and physically verify every camera's field of view hasn't shifted.
- Apply firmware updates on a set schedule rather than waiting for a failure to prompt it, following the cyber hygiene guidance from Canada's Centre for Cyber Security on patching and strong authentication for connected devices.
- Check battery levels on locks and sensors monthly through your dashboard rather than waiting for a low-battery alert in the field.
- Set role-based access for who can view footage and revoke old logins when staff or tenants change.
Pro Tip: Test failover behavior before you trust it. Cut power or Wi-Fi to a smart lock and confirm it still opens with a physical key or code before you rely on it for daily access.
What Do Common Upgrade Paths Cost, and How Long Do They Take?
Budget upgrades run in the low hundreds and can happen over a single weekend: a cellular communicator retrofit, two or three smart locks on main entries, and a couple of motion-activated lights. Most homeowners handle this tier themselves with basic tools.
Moderate upgrades, typically requiring one to two weeks including scheduling and installation, add PoE cameras on main entrances and a centralized management app tying locks, cameras, and the panel together. This tier is where many property managers bring in a professional for the wiring and configuration work.
Full modernization, often staged over two to four months for larger properties, includes site-wide smart lock rollout, cloud-based footage retention, gate operator upgrades, and backup power across every critical device. Staging it in phases, starting with your highest-traffic entry point and expanding outward, keeps cash flow manageable and avoids a chaotic all-at-once installation.
Should You Hire a Pro or Handle It Yourself?
Simple hardware swaps, like replacing a strike plate or installing a battery-powered smart lock, are safe DIY territory for most homeowners. Hand off anything involving alarm system registration, complex wiring, gate operator installation, or work that needs to meet local code. Those jobs carry liability and licensing requirements that a weekend project shouldn't touch.
Before hiring an installer, ask:
- Are you licensed and insured for this type of work in this area?
- Have you handled upgrades like this one specifically, not just new installations?
- Will the new hardware integrate with what I'm keeping, or does it require a full replacement?
- What warranty covers the labor, separate from the manufacturer's hardware warranty?
Watch for red flags: pressure to rip out everything you already have, no written scope of work, vague answers about who handles monitoring after installation, or no documentation of what was installed and where.
What Does a Professional Upgrade Workflow Actually Look Like?
A licensed installer typically works through security upgrades in this order:
- Inspection: document every existing component and its condition.
- Prioritize: rank upgrades by risk and budget, following the sequence covered above.
- Order hardware: confirm compatibility with anything staying in place.
- Schedule staging: plan installation to minimize downtime on active entry points.
- Install the panel and communicator: the foundation everything else connects to.
- Install locks and cameras: working outward from main entries to the perimeter.
- Integrate and test: verify camera angles, confirm lock audit logs are recording, and test monitoring dispatch end-to-end.
A solid acceptance checklist confirms every camera covers its intended area, every lock logs access correctly, monitoring dispatches on a test alarm, and backup power actually holds the system up during a simulated outage. Maddladder's smart home upgrade projects in the Kansas City area follow this same staged sequence, whether the job is a single-family home or a multi-building property.
What Trade-Offs Do Installers See Most Often?
Every upgrade decision is a trade-off, and homeowners rarely get told that upfront. Cost versus resilience. Convenience versus privacy. Cloud dependence versus a local fallback that still works when the internet doesn't.
The mistakes I see repeated most: too many cameras and not enough placement thought, device-health monitoring that nobody ever checks, firmware updates skipped for years, and homeowners who never got a written estimate of the insurance savings their upgrade might actually produce. Feature lists sell easily. Operational fit is what determines whether a system still works two years in, after the novelty wears off and nobody's checking the dashboard daily.
Let Maddladder Handle the Installation Sequence for You
Maddladder plans and installs the exact sequence covered in this guide, tailored to what you're already running, so you don't spend a weekend troubleshooting compatibility between an old panel and a new smart lock.
Every project starts with an inspection and a written upgrade plan, not a sales pitch for a full system replacement. From there, Maddladder stages the work, whether that's a communicator retrofit and two smart locks or a full smart home upgrade rollout across a multi-unit property, and backs the installation with a service warranty. Minor electrical work for hardwired detectors or NVR power runs through the same licensed team, so nothing gets left half-finished between contractors. If your main entry needs new hardware alongside the electronics, the repair and replace service covers strike plates, reinforced frames, and door fitting in the same visit. Get a free estimate and a written plan before anything gets installed.
Frequently Asked Questions
What's the first step in how to upgrade unit security on a tight budget? Start with a 45-minute audit of your existing panel, wiring, and locks. Then upgrade the communicator to cellular or IP before spending on anything else, since it unlocks monitoring and app control for every future addition.
Do I need to replace my entire alarm system to modernize it? Rarely. Most panels built in the last decade accept a retrofit cellular communicator module, and your existing wired door and window sensors typically stay connected without any changes.
How do I improve security without disturbing tenants in a rental or storage facility? Favor low-disruption upgrades like doorbell cameras, motion-activated lighting, and secured windows and doors, which improve protection without requiring access to occupied units.
When should I hire a licensed installer instead of doing it myself? Bring in a professional for alarm registration, gate operator installation, complex wiring, and anything that needs to meet local electrical or fire code. Simple hardware swaps like a lock or strike plate are safe to do yourself.
Can security upgrades lower my insurance premiums? Depending on the underwriter and your claims history, documented upgrades like monitored alarms and reinforced entries can reduce premiums, though the amount varies by provider.
Sources
- 10 Best Self-Storage Security Solutions for Facility Owners in 2026 - Neighbor Blog
- The Complete High-Tech Guide to Upgrading Your Storage Unit Security
- How to Protect Your Units With Rental Property Security Upgrades
- Top measures to enhance cyber security for small and medium organizations (ITSAP.10.035) - Canadian Centre for Cyber Security