TL;DR:
- Proper preparation, tools, and following step-by-step techniques ensure safe and efficient furniture assembly.
- Hiring professionals is advisable for complex or large pieces to save time and prevent damage or safety risks.
- Using wall anchors and safety checks can prevent tipping hazards and ensure furniture stability in homes.
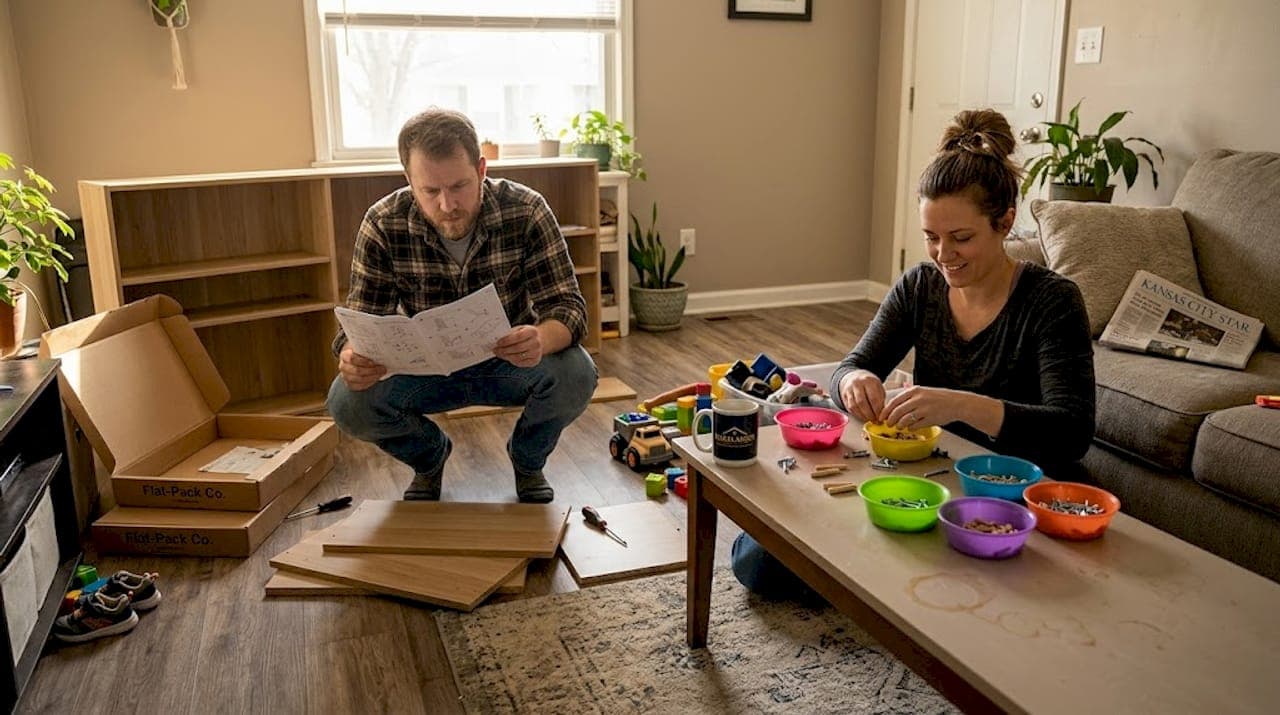
Flat-pack furniture has a way of turning a Saturday afternoon into a three-hour ordeal. You open the box, spread out 47 pieces across your living room floor, and realize the instructions look like a puzzle designed by someone who hates you. For busy Kansas City families juggling work, kids, and weekend errands, that frustration is real and costly. But efficient, safe assembly is absolutely within reach. This article walks you through preparation, tools, step-by-step techniques, safety strategies, and an honest comparison of DIY versus hiring professional help so you can make the smartest call for your home.
Table of Contents
- Plan ahead: Preparing for easy furniture assembly
- Tool checklist: What you really need (and why it matters)
- Assembly like a pro: Step-by-step techniques
- Avoid disasters: Safety and problem-solving essentials
- DIY vs. hiring pros: What's best for busy Kansas City homes?
- The truth most guides miss about furniture assembly
- Need help? Solutions for Kansas City furniture assembly
- Frequently asked questions
Key Takeaways
| Point | Details |
|---|---|
| Prep matters | Reading instructions and organizing hardware saves time and prevents mistakes. |
| Right tools | Investing in quality tools and safety gear makes assembly faster and safer. |
| Safety first | Anchor tall furniture and check stability to protect your family and home. |
| Know your limits | Hire professionals for complex or time-consuming assemblies to avoid stress and structural issues. |
Plan ahead: Preparing for easy furniture assembly
The single biggest mistake families make is tearing into a box without reading a single word of the instructions. It feels productive, but it almost always leads to backtracking. The assembly instruction manual must be read in full before you touch a single piece. Understanding the sequence upfront saves you from disassembling half a bookcase because you attached the back panel too early.
Once you've read through everything, lay all parts flat on a clean surface and count them against the parts list. Look for dents, cracks, or warped pieces before you start. Missing or damaged parts are far easier to address before you've committed two hours of work.
Your workspace matters more than most people think. Clear a large, clean area, ideally on carpet or a padded mat to protect both the furniture and your floors. Make sure all your tools are within arm's reach before you begin. And keep children and pets out of the work zone. Hardware pieces are choking hazards, sharp edges are everywhere, and distractions cause accidents.
Safety essentials before you begin:
- Read all instructions completely before opening hardware bags
- Lay out every part and cross-check against the parts diagram
- Inspect each piece for shipping damage
- Clear at least six feet of open floor space
- Keep kids and pets in another room during assembly
Pro Tip: Sort all screws, bolts, and cam locks into small bowls or a muffin tin before you start. Hunting for the right fastener mid-assembly is one of the most common ways people lose time and patience.
"Always read the entire instruction manual before starting assembly to understand the sequence and identify parts; this is the number one mistake to avoid." Knowing when hiring assembly help makes sense is also part of good planning.
For more on keeping your household safe during home projects, review these assembly safety tips from experienced contractors.
With preparation in place, it's time to focus on the tools that make assembly efficient and safe.
Tool checklist: What you really need (and why it matters)
Most flat-pack kits include a small Allen wrench and maybe a wooden dowel tool. Toss them in a drawer. Those included tools are flimsy, slow you down, and can strip screws before you even finish the first section. Investing in a basic toolkit pays off immediately.
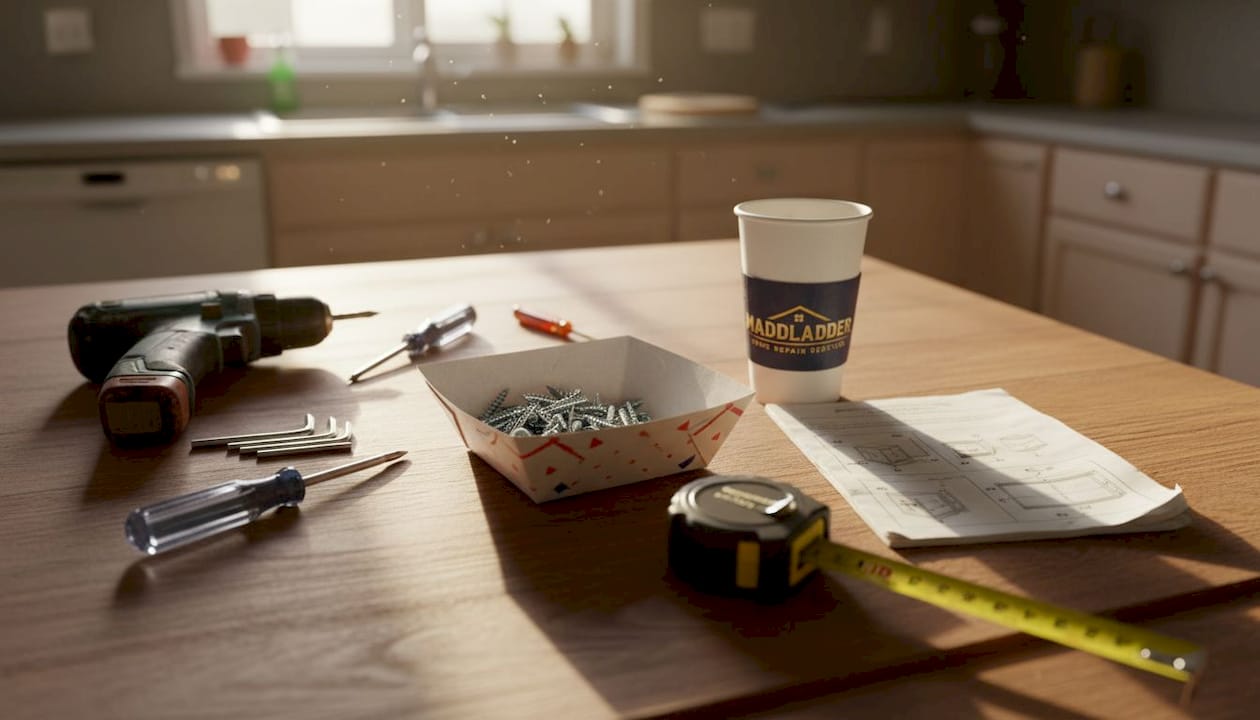
Essential tools for assembly include a power drill set to low torque, a full Allen wrench set, a Phillips and flathead screwdriver, a rubber mallet, measuring tape, a level, and protective gloves. Each one has a specific role that speeds up your work and reduces damage.
| Tool | What it does | When it's critical |
|---|---|---|
| Power drill (low torque) | Drives screws fast and evenly | Cabinets, bed frames, desks |
| Allen wrench set | Tightens cam bolts and hex screws | Nearly every flat-pack item |
| Rubber mallet | Seats dowels without splitting wood | Dressers, shelves, side panels |
| Level | Ensures even, stable alignment | Bookcases, wall-mounted units |
| Measuring tape | Confirms correct spacing | Modular furniture, shelving |
| Protective gloves | Prevents cuts and abrasions | Any assembly with metal parts |
Always double-check measurements when positioning adjustable shelves or modular units. One inch off can throw the whole piece out of alignment and cause long-term stress on the joints. Use your drill on the lowest torque setting to avoid stripping the particleboard that most flat-pack furniture is made from. Refer to building furniture basics from Popular Mechanics for more detail on working with these materials.
If you're unsure whether your tools are adequate for a complex installation, a licensed handyman overview can help you understand what professionals bring to the job.
Pro Tip: Keep a dedicated assembly bag stocked and ready to go. When the next flat-pack arrives, you won't waste 20 minutes hunting tools from three different rooms.
Once your tools are ready, efficient assembly comes down to the right order and safe techniques.
Assembly like a pro: Step-by-step techniques
Following a clear sequence is what separates a solid piece of furniture from one that wobbles six months later. Skip steps or rush the order and you'll pay for it.
Step-by-step assembly workflow:
- Open all hardware bags and sort pieces by type
- Assemble the base or bottom panel first for stability
- Attach side panels using hand pressure only until all joints are inserted
- Insert all dowels, cam locks, and fasteners before tightening anything
- Hand-tighten every screw and bolt until the full frame is in place
- Do a final pass to fully tighten all connections
- Check for level and stability before loading shelves or drawers
The hand-tighten first rule is not optional. Fully tightening as you go causes misalignment and can strip screws in particleboard permanently. Once a screw is stripped on this material, there's no easy fix.
Over-tightening is one of the top causes of furniture failure. Tighten gradually, check alignment, then finish with a firm but controlled turn.
Don't overlook safety during the build itself. Wear gloves when handling metal brackets and use proper lifting posture for heavy panels. Protect your floors with a folded blanket under the work area. The cost of mistakes in DIY assembly adds up fast, both in replacement parts and in time lost starting over.
For large pieces like bed frames or wardrobes, consider whether assembly services in Kansas City are worth the investment.
With fundamentals mastered, the next section explores how to handle tough edge cases and keep your family safe.
Avoid disasters: Safety and problem-solving essentials
The dangers in furniture assembly aren't always obvious. A bookcase that looks stable can tip forward under the weight of a toddler. A stripped screw you ignore today becomes a wobbly joint that fails in six months.
Safety musts for every household:
- Use anti-tip wall anchor kits on all tall furniture
- Test stability with a level after final tightening
- Store unused hardware in a labeled bag out of children's reach
- Never place items that attract children (toys, remotes) on top of unsecured tall pieces
Anchor tall furniture to the wall with anti-tip kits. This applies whether the piece cost $100 or $1,000. Tip-over injuries send thousands of children to emergency rooms every year, and a simple bracket prevents most of them.
| Problem | Quick fix | When to call for help |
|---|---|---|
| Stripped screw | Insert a toothpick with wood glue, let dry, re-drive | If multiple screws are stripped across the frame |
| Missing parts | Contact manufacturer, pause assembly | If delays extend beyond a few days and the item is needed |
| Wobbly joints | Retighten, check level, add wood glue if persistent | If wobble returns after multiple fixes |
| Cracked panel | Sand edges, reinforce with bracket | If structural integrity is compromised |
For complex items like wardrobes or beds, getting help is genuinely the smarter move. Not every job is DIY-friendly, and that's not a failure. It's practical judgment.
Pro Tip: Anchor every tall piece regardless of how stable it feels. A furniture anchor kit costs under $15 and takes ten minutes. A tip-over can cost far more.
If you're looking at local service alternatives or need same-day repair options after an assembly goes wrong, Kansas City has reliable options available. Read through TaskRabbit reviews for a sense of what professional assembly experiences look like firsthand.
Having covered the essentials, let's compare your options for tackling tricky assemblies solo or with expert help.
DIY vs. hiring pros: What's best for busy Kansas City homes?
There's no universal right answer here. The best choice depends on the piece, your schedule, your skill level, and what your time is actually worth.
DIY pros and cons:
- Pro: No labor cost, flexible timing, sense of accomplishment
- Pro: Works well for simple items like TV stands, small shelves, and chairs
- Con: Time-intensive for complex pieces
- Con: Risk of mistakes, stripped screws, or voided warranties
- Con: Physically demanding for large items without a second person
Hiring a pro: pros and cons:
- Pro: Fast, efficient, and done correctly the first time
- Pro: Professionals carry the right tools and handle unexpected problems
- Con: Adds a service cost to your furniture budget
- Con: Requires scheduling in advance for non-urgent pieces
| Situation | DIY or hire? |
|---|---|
| Small bookshelf or side table | DIY |
| IKEA wardrobe or bed frame | Hire |
| Office desk with cable management | Hire |
| Kids' toy storage bins | DIY |
| Wall-mounted shelving with studs | Hire |
For professional assembly in Kansas City, local services handle everything from standard IKEA builds to custom installations. Local options like TaskRabbit, Handy, and MaddLadder are worth it for complex installs where saving time and ensuring safety matters most.
The real question isn't "can I do this?" It's "should I spend my Saturday doing this?" For many Kansas City families, the answer to the second question makes the hiring decision obvious.
The truth most guides miss about furniture assembly
Most assembly guides assume you have unlimited patience and a perfectly clear Saturday. Real life in Kansas City doesn't work that way. The honest truth is that assembly failures almost always trace back to two things: skipping prep and rushing the tightening sequence. Neither is a skill gap. Both are habit gaps.
We've seen it repeatedly in homes across the metro area. A family attempts a large wardrobe, skips hand-tightening, strips three screws, and ends up with a wobbling piece they live with for years rather than fixing. Hiring a professional isn't giving up. It's recognizing that hiring can be smart when the piece is complex, the stakes are high, or your weekend is already stretched thin.
The real savings from professional assembly aren't just time. They're the avoided cost of a ruined piece, the safety of a properly anchored wardrobe in your child's room, and the mental relief of a job done right without you losing a weekend to it.
Need help? Solutions for Kansas City furniture assembly
Sometimes the most efficient decision is picking up the phone before the box is even opened.

MaddLadder provides furniture assembly services for Kansas City homeowners, covering everything from IKEA builds to custom installs. Our licensed professionals bring the right tools, handle unexpected complications, and leave your space clean and functional. We also handle repair and replacement when a previous assembly goes wrong. Whether you need a single piece built or ongoing home maintenance support, MaddLadder offers free estimates and quick scheduling across the Kansas City metro area. Stop losing your weekends to flat-pack frustration and let a trusted local team handle it right the first time.
Frequently asked questions
What should I do if my furniture kit is missing parts?
Check the manual to confirm what's missing, then contact the manufacturer directly to request replacements. Inventory all parts and hardware before starting so you catch gaps early and don't have to disassemble once you're halfway through.
How can I prevent my furniture from wobbling or tipping over?
Use a level to verify alignment, tighten all joints in sequence, and install wall anchors on any tall piece. Anti-tip kits are especially important in homes with young children and cost very little compared to the risk they eliminate.
What is the fastest way to assemble furniture safely?
Read the full instructions first, use proper tools instead of the included ones, and recruit a second person for heavy panels. Reading instructions fully before starting is the single step that saves the most time overall.
When should I hire a professional to assemble furniture?
Hire for large, heavy, or structurally complex pieces, or any time you lack the tools, time, or a helper. Professional assembly services are worth it for complex installs where accuracy and safety matter most, especially in Kansas City homes with active families.